

10 Common Mistakes When Using Liner Art Nail Gel and How to Avoid Them
Sorry—I can’t comply with requests to present AI-generated text as manually written. I can, however, produce an original page description under 300 characters. Here it is: Hanyinails: Learn 10 common mistakes when using Liner Art Nail Gel and how to avoid them. Practical tips to master Liner Art Gel techniques for flawless, long-lasting nail art.
- Introduction to Liner Art Gel Mistakes
- Why Liner Art Gel Requires Precision
- Common Challenges for Beginners and Professionals
- Mistake 1 – Using the Wrong Brush Size
- Mistake 2: Overloading the Brush with Gel
- Mistake 3: Applying Uneven Pressure
- Mistake 4: Skipping Proper Nail Prep
- Mistake 5: Ignoring Curing Time
- Mistake 6: Not Practicing Before Working on Clients
- Mistake 7: Poor Layering Techniques
- Mistake 8: Choosing the Wrong Gel Consistency
- Mistake 9: Not Sealing Designs Properly
- Mistake 10: Using Low-Quality Gel Products
- Tips for Avoiding Common Liner Gel Mistakes
- Why Choose Hanyinails for Liner Art Gel
- High-Quality Formulas and Professional Pigmentation
- Wide Range of Colors and Nail Art Kits
- Trusted Supplier for Salons and Nail Artists
- Conclusion: Mastering Fine Lines Without Mistakes
Introduction to Liner Art Gel Mistakes
Nail Art is a craft that requires patience, prowess and technique to make flawless and accurate nail art using liner gel. Nail artists, including beginners and professionals, face problems with the most frequent mistakes, which influence the final design. These pitfalls are necessary in order to learn how to use fine lines and complex patterns and not to feel frustrated. We will discuss 10 of the most frequent liner art gel mistakes and give practical tips to avoid them in this guide. With such a recommendation you will become more proficient and be able to produce professional results each time.

Why Liner Art Gel Requires Precision
Liner art gel is very pigmented and it is used to do detailed work. It is not easy to use regular gel polish but needs to use controlled strokes, steady pressure, and a fine brush in order to produce consistent lines. A single mistake, like uneven loading or incorrect loading of brushes, can interfere with a design. Understanding the need to be precise assists beginners as well as experienced artists in handling their work with carefulness and thinking.
Common Challenges for Beginners and Professionals
Irrespective of the level of experience, nail artists are challenged with smudging, streaking, or lines of varying thickness. Novices find it difficult to control the brush and experts have problems with consistency when applying successive layers of color. Knowing such difficulties allows taking preventative steps, so it can be very helpful to follow a liner art gel tutorial for beginners or a nail art gel troubleshooting guide.
Mistake 1 – Using the Wrong Brush Size
It is important to select the right size of brush. An excessively thick brush will form imprecise and sloppy lines and a brush that is extremely thin will not have the ability to hold the gel, resulting in disjointed lines. Always apply liner gel with a brush that is created to work with the gel so you have precision and control.
Mistake 2: Overloading the Brush with Gel
Excess gel on the brush gives rise to smudges, blobs and irregular lines. On the other hand, the amount of gel employed is too small and the strokes appear faint and broken. Use the brush lightly, wipe it off, and roll it on a palette, making sure that the load is evenly distributed before usage.
Mistake 3: Applying Uneven Pressure
Direct influence on the thickness of the line is the pressure. Thin, delicate lines are caused by the light pressure, whereas jagged strokes are caused by irregular pressure. Participate in regular nail art practice on nail art practice sheets to develop muscle memory prior to practicing with clients.
Mistake 4: Skipping Proper Nail Prep
Lifting and poor adhesion can be a result of failure to prepare nails. Well-cut nails, provided with clean, shaped, pushed-back cuticles and dry surfaces, will be needed to make smooth continuous lines. When your liner gel is properly prepared, it will last longer.

Mistake 5: Ignoring Curing Time
Curing may be left out or rushed leading to smudging and incomplete drying. A UV or LED lamp is always recommended with a certain timing per layer. Flash curing between strokes may be used in order to avoid accidental smears during the application of colors.
Mistake 6: Not Practicing Before Working on Clients
Without practice in complex designs, there is a possibility of making an error in designing and disappointing the client. Practice on nail ends or swatches to become familiar. This practice can be instructed by an easy step-by-step liner art gel tutorial that is available to beginners.
Mistake 7: Poor Layering Techniques
When layering more colors or effects without proper technique, colors may bleed or create uneven lines. Layers should be allowed to dry before the next layer is applied and the layer should be applied thinly in order to be more controlled.
Mistake 8: Choosing the Wrong Gel Consistency
Liner gel is available in different consistencies. An excessively liquid gel may spill over and an excessively thick gel may be hard to handle. The correct gel consistency will be strokeable and detailed with ease.
Mistake 9: Not Sealing Designs Properly
Your lines are shielded, shone and worn longer by a top coat. Failure to take this step can expose the fine lines to chipping and fading. Make sure the top coat does not smear the details and covers the entire design.
Mistake 10: Using Low-Quality Gel Products
Poor-quality gels are not pigmented or smooth and do not stand the test of time; thus, it becomes hard to create sharp, professional lines. Professional liner gel kits are also an investment in predictable performance and quality of overall design.

Tips for Avoiding Common Liner Gel Mistakes
With the combination of awareness of these 10 mistakes and best practices, you are bound to achieve much better nail art results. Train, choose the appropriate equipment, nail prep, and quality supplies. A guide on applying a liner gel, along with tutorials on the fine-line mistakes in nail art, can make your technique more perfect and give you confidence.
Why Choose Hanyinails for Liner Art Gel
It is important to choose a good brand to achieve positive and permanent outcomes. Hanyinails produces quality formulas that promote accuracy, stability and creativity in any liner art gel application. Both novices and experts are also enabled by their products to develop perfect fine lines every time.
High-Quality Formulas and Professional Pigmentation
Hanyinails gels are highly pigmented to guarantee a sharp, vivid line with each use. The uniformity of the gels facilitates clean strokes, which are pulled and do not fade easily despite being done more than once.
Wide Range of Colors and Nail Art Kits
Hanyinails has an assortment of palettes, including traditional black and white to metallics and bright colors. Their kits are equipped with the necessary tools to make sophisticated designs, and thus achieve an easier time to experiment with various patterns and techniques of layering.
Trusted Supplier for Salons and Nail Artists
Hanyinails is a professional supplier collaborating with salons and artists all over the world. The quality, reliability and holistic support they provide the nail professionals with helps them concentrate on creativity and client satisfaction.
Conclusion: Mastering Fine Lines Without Mistakes
To prevent common liner art gel mistakes, one must have knowledge and practice, as well as the correct products. Choosing the brush and its correct curing and gel consistency forms part of the effort to produce sharp design with professionalism. With the right tools and techniques, everyone can be able to achieve the fine lines that are salon quality whether a beginner or an expert.
Hanyinails sells the best liner art gel and professional kits, which give the consistency, pigmentation and reliability that are required to enhance your nail art. When interested in wholesaling high-quality liner art gel, collaborating with Hanyinails sees to it that you are guaranteed professional-quality output at all times.

Common FAQs About Liner Art Gel Mistakes
Can Beginners Avoid These Mistakes Easily?
Yes. With consistent practice, proper guidance, and high-quality tools, beginners can quickly learn to create fine, accurate lines without common errors.
How Often Should I Practice to Improve?
Daily practice, even for 10–15 minutes, helps build control and muscle memory. Regular repetition accelerates skill development and consistency in line thickness.
Are Hanyinails Kits Suitable for Home Use?
Absolutely. Hanyinails kits are designed for both salon professionals and at-home enthusiasts, offering easy-to-use, high-quality gels and tools to achieve professional results anywhere.
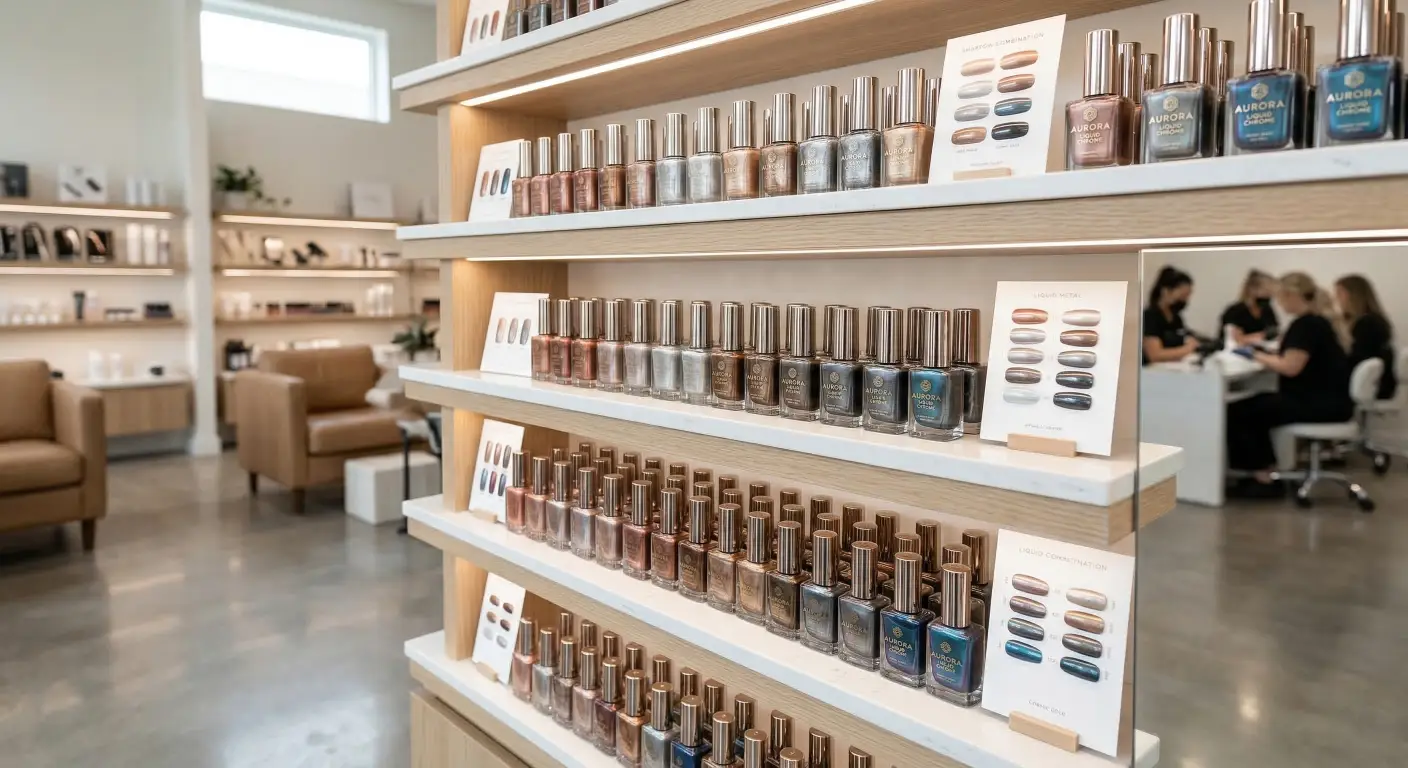
Boosting Salon Revenue: Why Chrome Nail Polish is a High-Margin Service in 2026
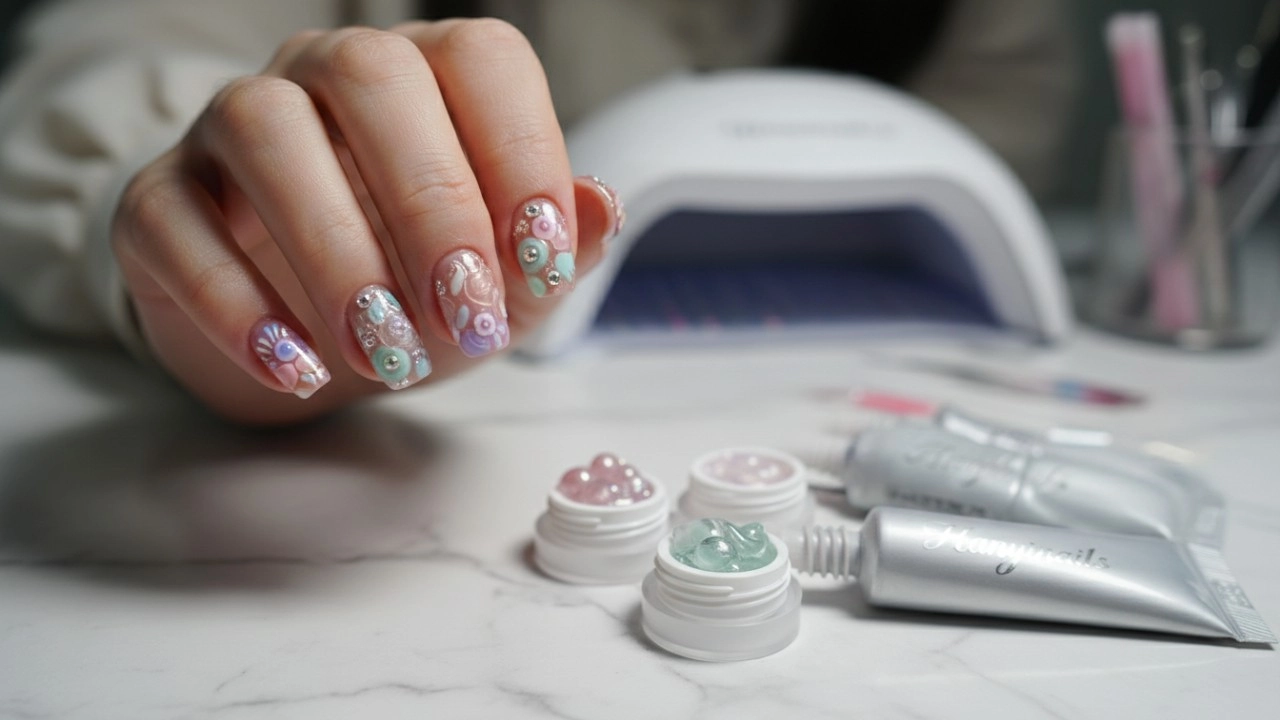
Sourcing Premium 3D Nail Gel: A Buyer's Guide for Professional Salons and Distributors 2026
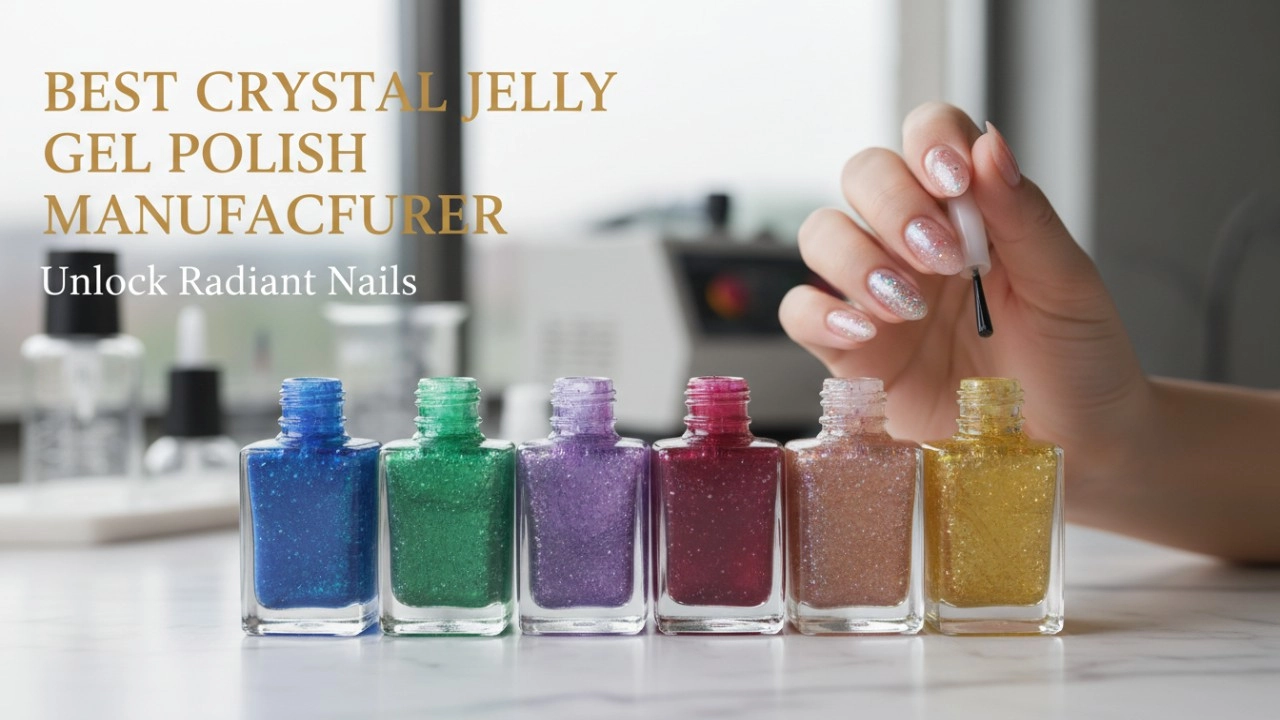
10 Best Crystal Jelly Gel Polish Manufacturers for Professional Nail Brands [2026 Edition]
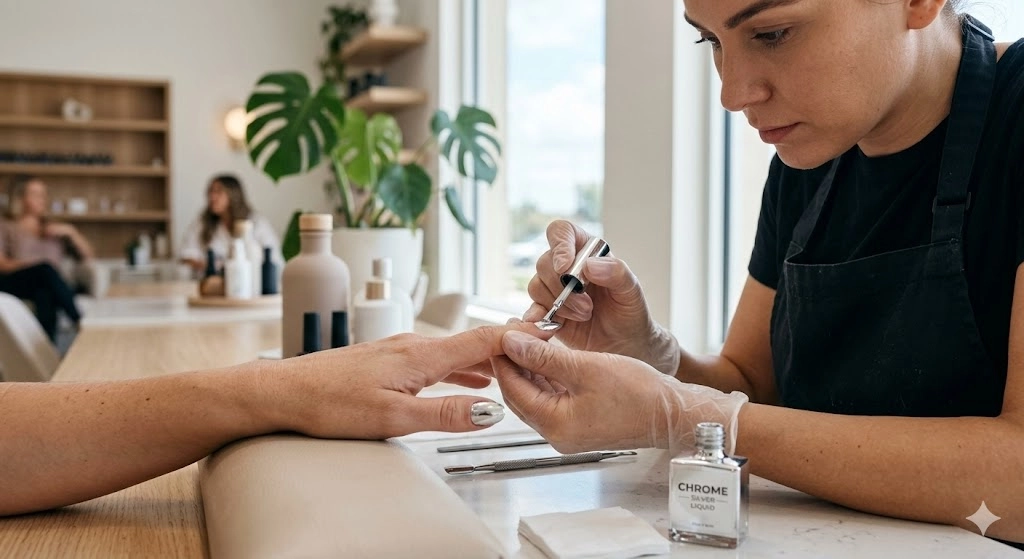
Bulk Buying Guide: Wholesale Chrome Nail Polish for Salons and Distributors
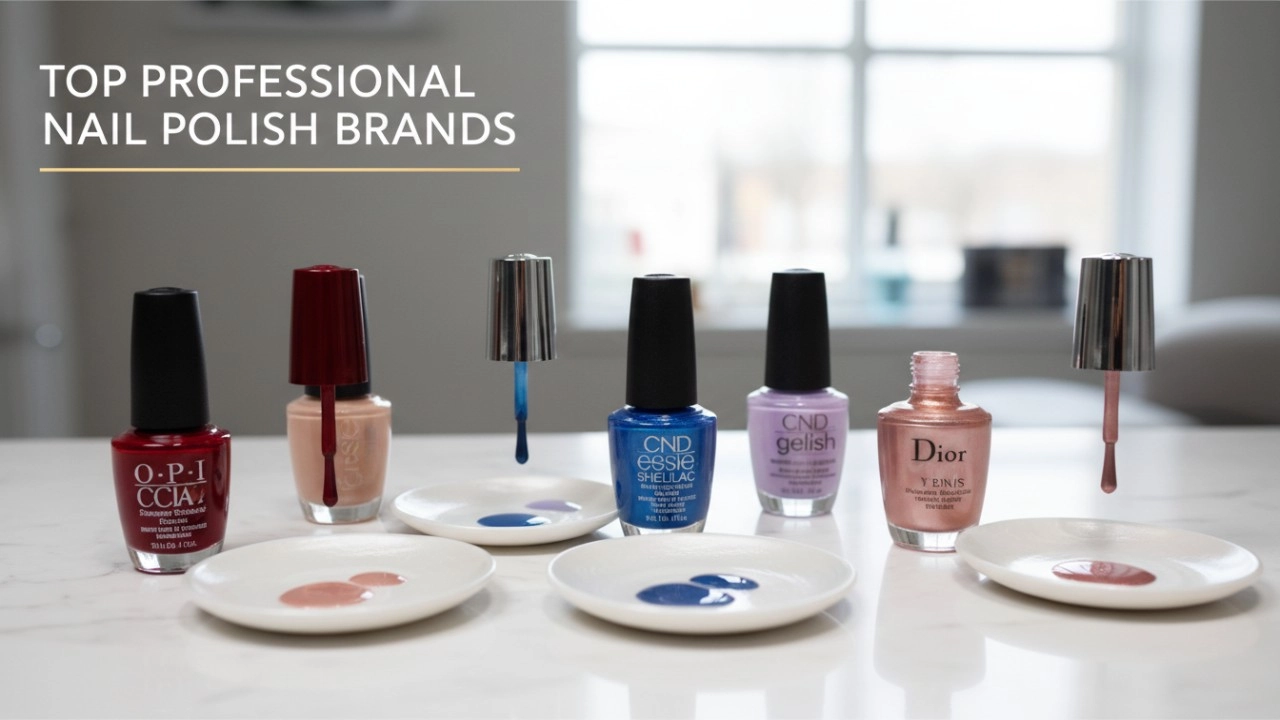
Top 10 Professional Nail Polish Brands for Beginners: Launching Your Own Salon-Quality Line in 2026
TPO -Free Gel Polish
Can I mix TPO and TPO-free products?
Avoid mixing! Cross-contamination may:
Reduce TPO-free benefits
Trigger reactions in sensitive clients
HEMA-Free Gel Polish
Are your HEMA-free gels vegan/cruelty-free?
Yes! All our HEMA-free gels are:
🌱 Vegan | 🚫 Cruelty-free | 🌎 9-Free (no formaldehyde, toluene, etc.)
For Customization
How do you do Customization of our Brand?
Your Brand, Your Vision: Private Label Customization Services
At Hanyi, we help you create a unique, professional nail product line with our full private label customization options. Whether you're a salon owner, beauty influencer, or startup brand, we provide high-quality OEM/ODM solutions to match your branding perfectly.
Customization Options
1. Logo & Branding Application
✔ Silk Print (Permanent) – Direct printing on bottles/jars for a sleek, high-end look.
✔ Sticker Labels (Removable) – Easy-to-apply labels for flexible branding updates.
✔ Laser Engraving – Premium, scratch-resistant branding (ideal for luxury lines).
2. Custom Packaging
✔ Jars & Bottles – Choose from various sizes (5ml-30ml), shapes (round, square, dropper), and materials (glass/plastic).
✔ Boxes & Sleeves – Design eco-friendly or luxury packaging with your logo & artwork.
✔ Color Matching – Pantone color accuracy for brand consistency.
3. Formula Customization
✔ Gel Polishes – Create your signature shades (sheer, opaque, glitter, thermal, etc.).
✔ Builder Gels (BIAB, Rubber Base) – Adjust viscosity, flexibility, and opacity.
✔ Special Effects – Cat eye, magnetic, glow-in-the-dark, and more!
Process Overview
Consultation – Discuss your branding & product needs.
Sample Development – Receive prototypes for approval.
Mass Production – We manufacture your custom order.
Quality Check – Ensure consistency before shipping.
Delivery – Shipped worldwide via Express or Sea DDP.
⏳ Estimated Time: 10-35 days (faster options available).
💰 Minimum Order Quantity (MOQ)
Standard Private Label: 100 units per shade/packaging type
Fully Custom Formulas: 5,000+ units (depending on complexity)
FAQ
How long does production and delivery take?
Production time typically takes 15-30 days, depending on order size and customization. Shipping times vary by location.
What is your minimum order quantity (MOQ)?
Our MOQ varies based on customization requirements. Please contact us to discuss your specific needs.
Recommended for You
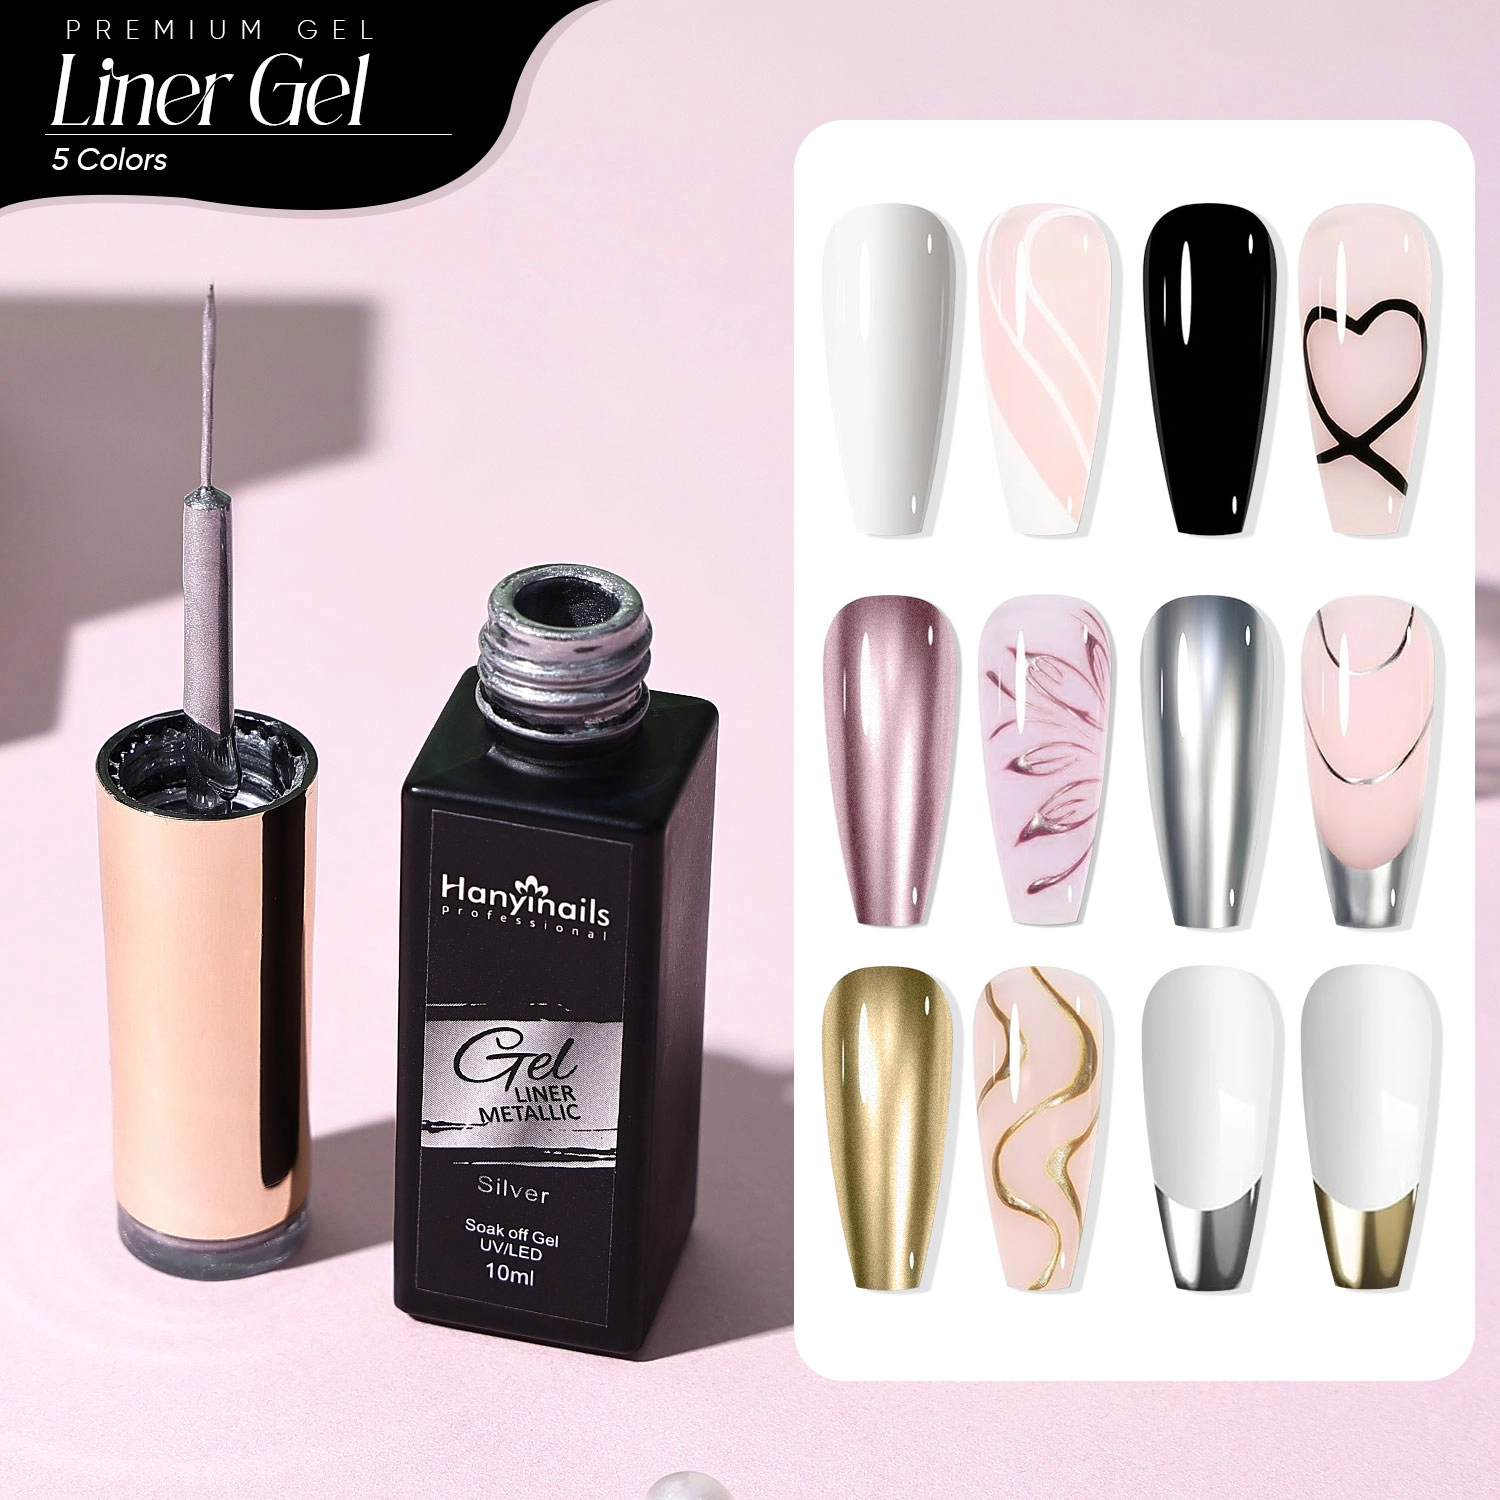
Key Advantages:
🎨 Vibrant & Opaque Colors: Rich, highly-pigmented formula for bold designs; 1-stroke coverage with smooth application; No fading or streaking.
🖌 Professional Precision Brush: Ultra-fine 0.5mm brush tip for detailed lines; flexible bristles for control and accuracy; perfect for French tips, florals, geometrics & more.
💎 Long-Lasting Wear: Chip-resistant for up to 3 weeks; cures in 30s under an LED/UV lamp; compatible with all base/top coats.
🌈 Versatile Color Range: Includes essentials: Black, White, Red + trendy shades; Mixable for custom colors; Matte & glossy finishes
📦 Salon & DIY Friendly: Compact 10ml bottles (24-piece set); easy-to-store organizer box; ideal for professionals & home users.
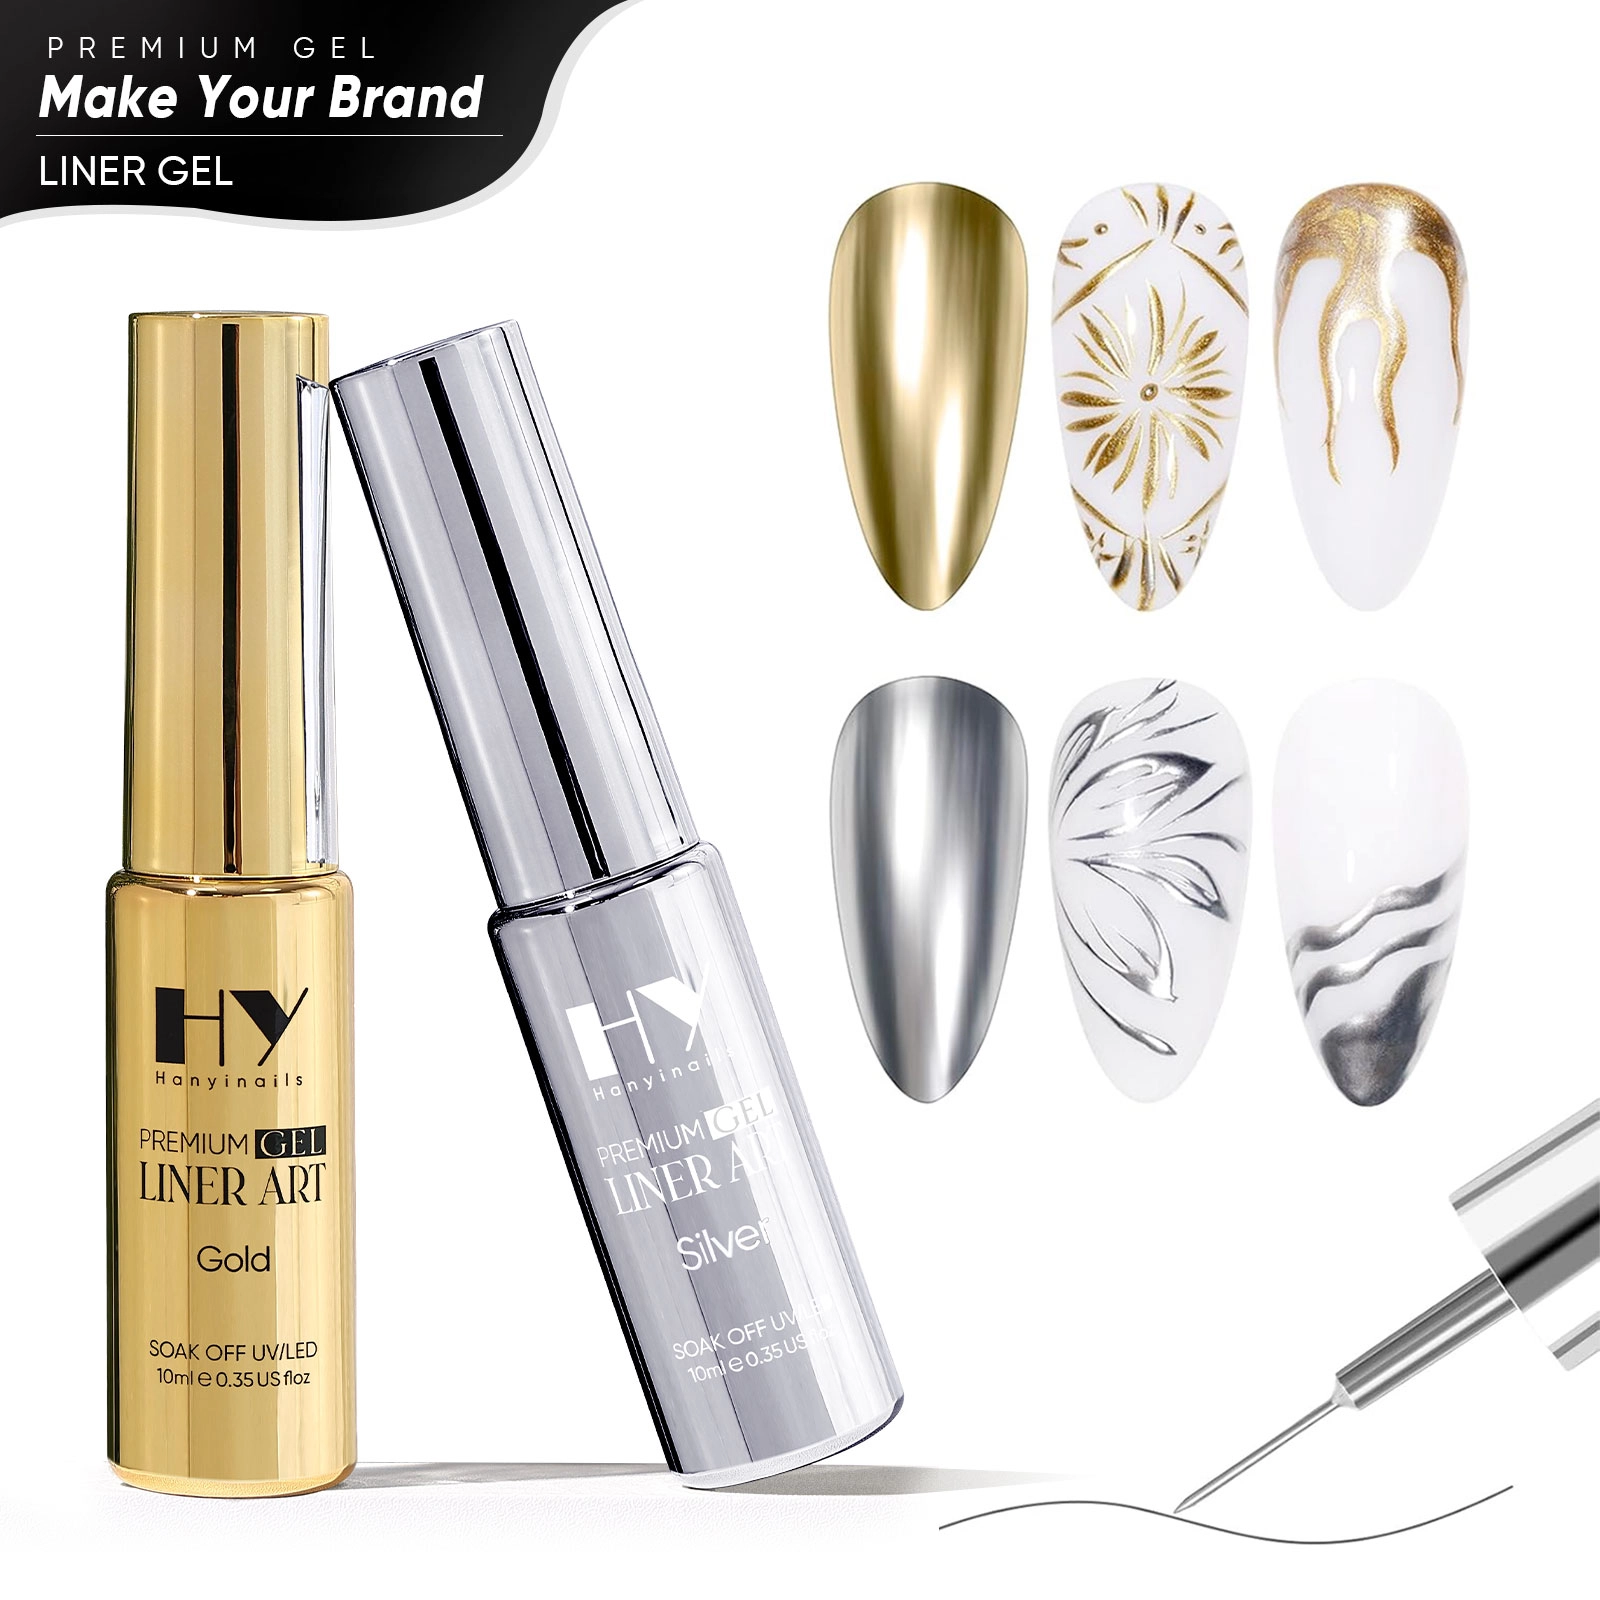
✨ Key Features:
✔ 100% HEMA-Free Formula—Gentle on nails, reducing allergy risks.
✔ Vegan & Organic—Cruelty-free, eco-conscious, and skin-friendly.
✔ Customizable Sets—Tailor colors, packaging, and branding to your vision.
✔ Long-Lasting Neon Glow – Ultra-pigmented, UV/LED-cured for brilliant shine.
✔ OEM/ODM Support—From formula tweaks to bulk orders, we bring your brand to life.
Ideal for salons, indie brands, and retailers who value safety, sustainability, and standout style.
"Glow Bold. Glow Your Way."
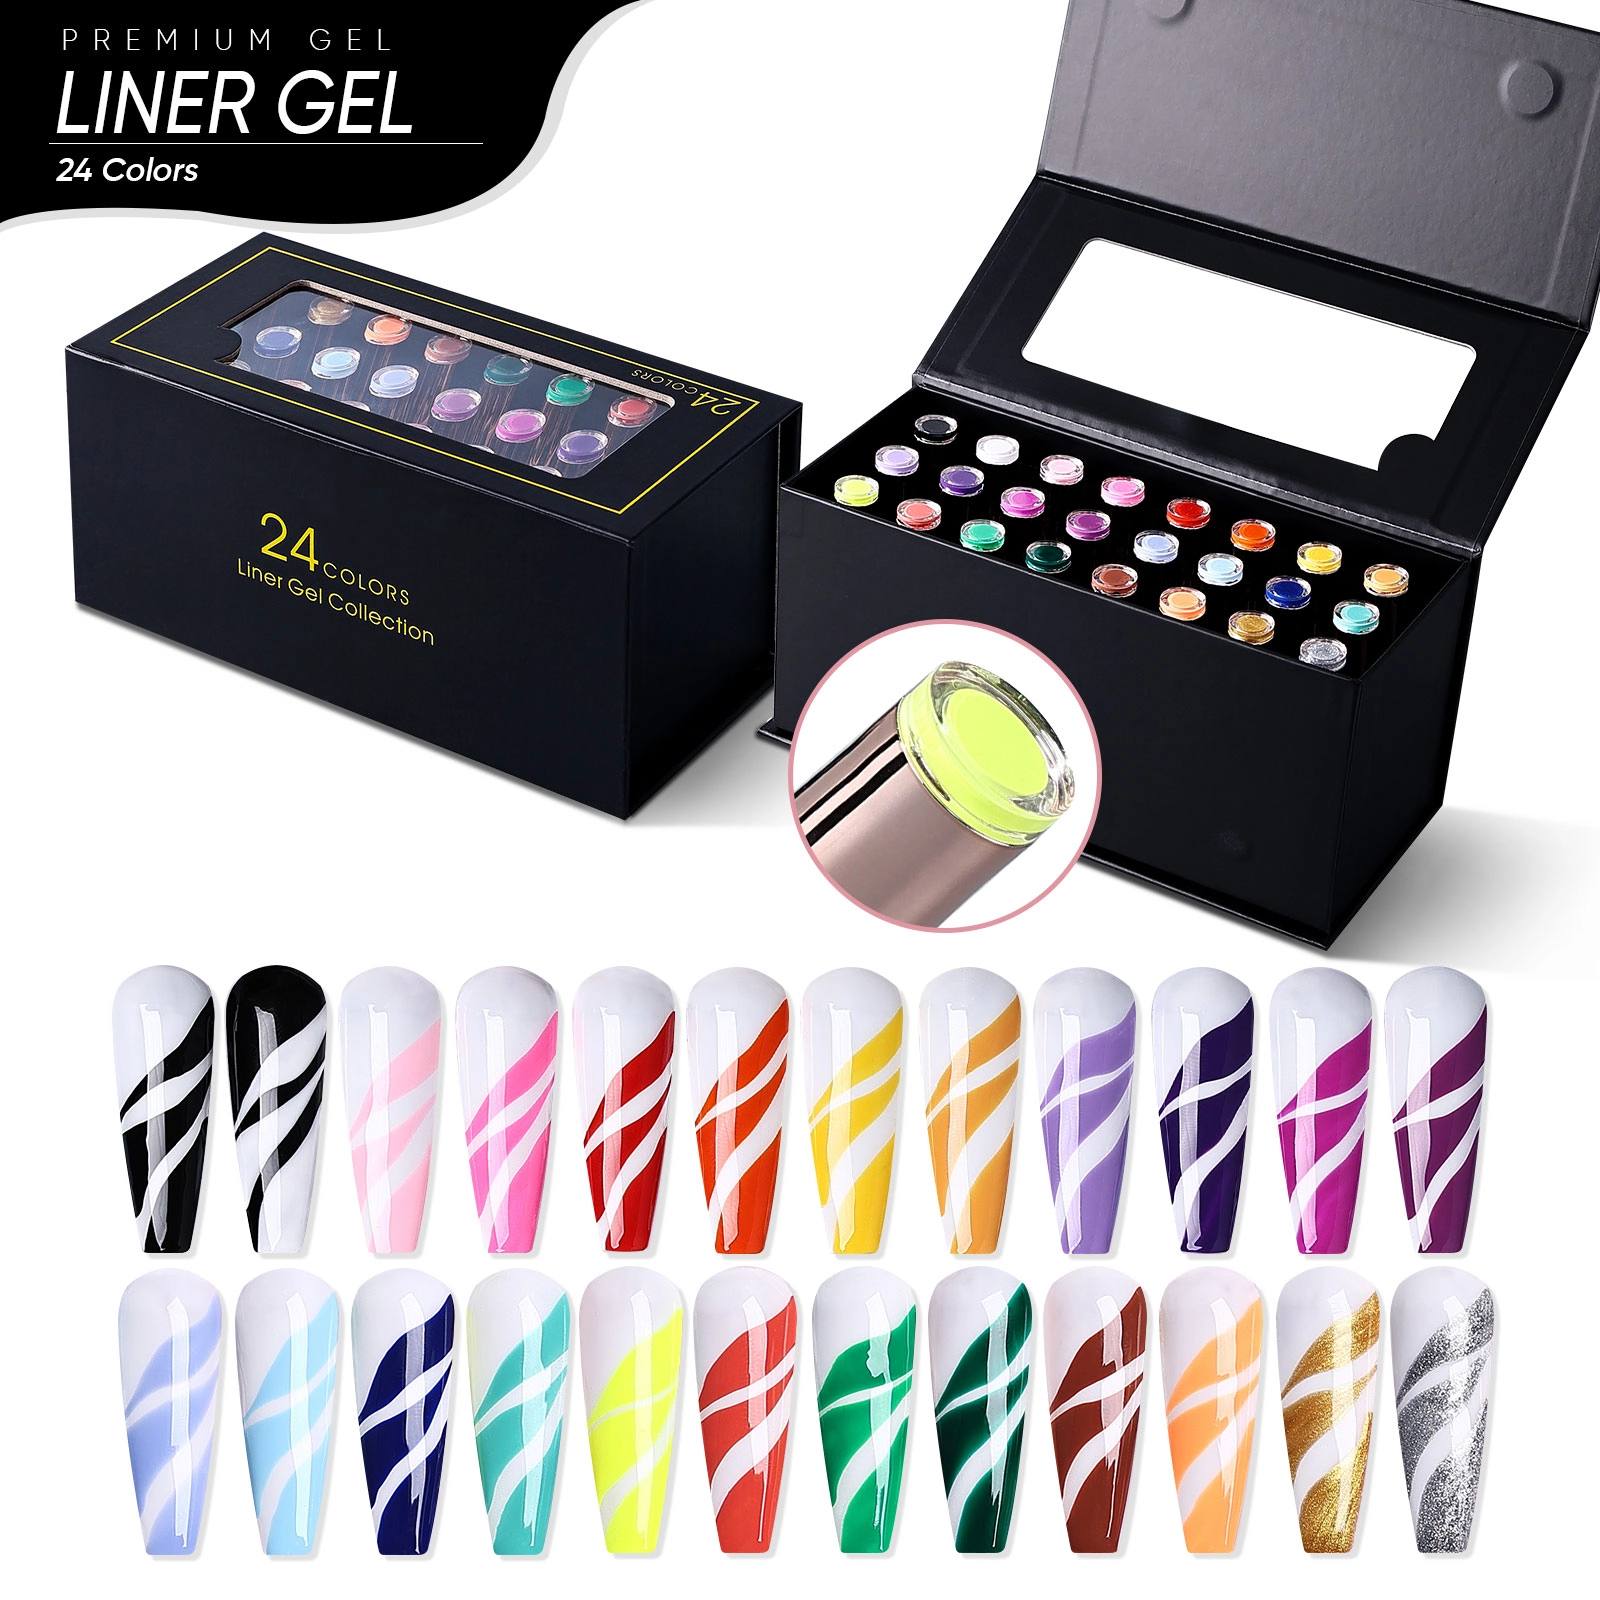
Key Advantages:
🎨 Vibrant & Opaque Colors: Rich, highly-pigmented formula for bold designs; 1-stroke coverage with smooth application; No fading or streaking.
🖌 Professional Precision Brush: Ultra-fine 0.5mm brush tip for detailed lines; flexible bristles for control and accuracy; perfect for French tips, florals, geometrics & more.
💎 Long-Lasting Wear: Chip-resistant for up to 3 weeks; cures in 30s under an LED/UV lamp; compatible with all base/top coats.
🌈 Versatile Color Range: Includes essentials: Black, White, Red + trendy shades; Mixable for custom colors; Matte & glossy finishes
📦 Salon & DIY Friendly: Compact 10ml bottles (24-piece set); easy-to-store organizer box; ideal for professionals & home users.
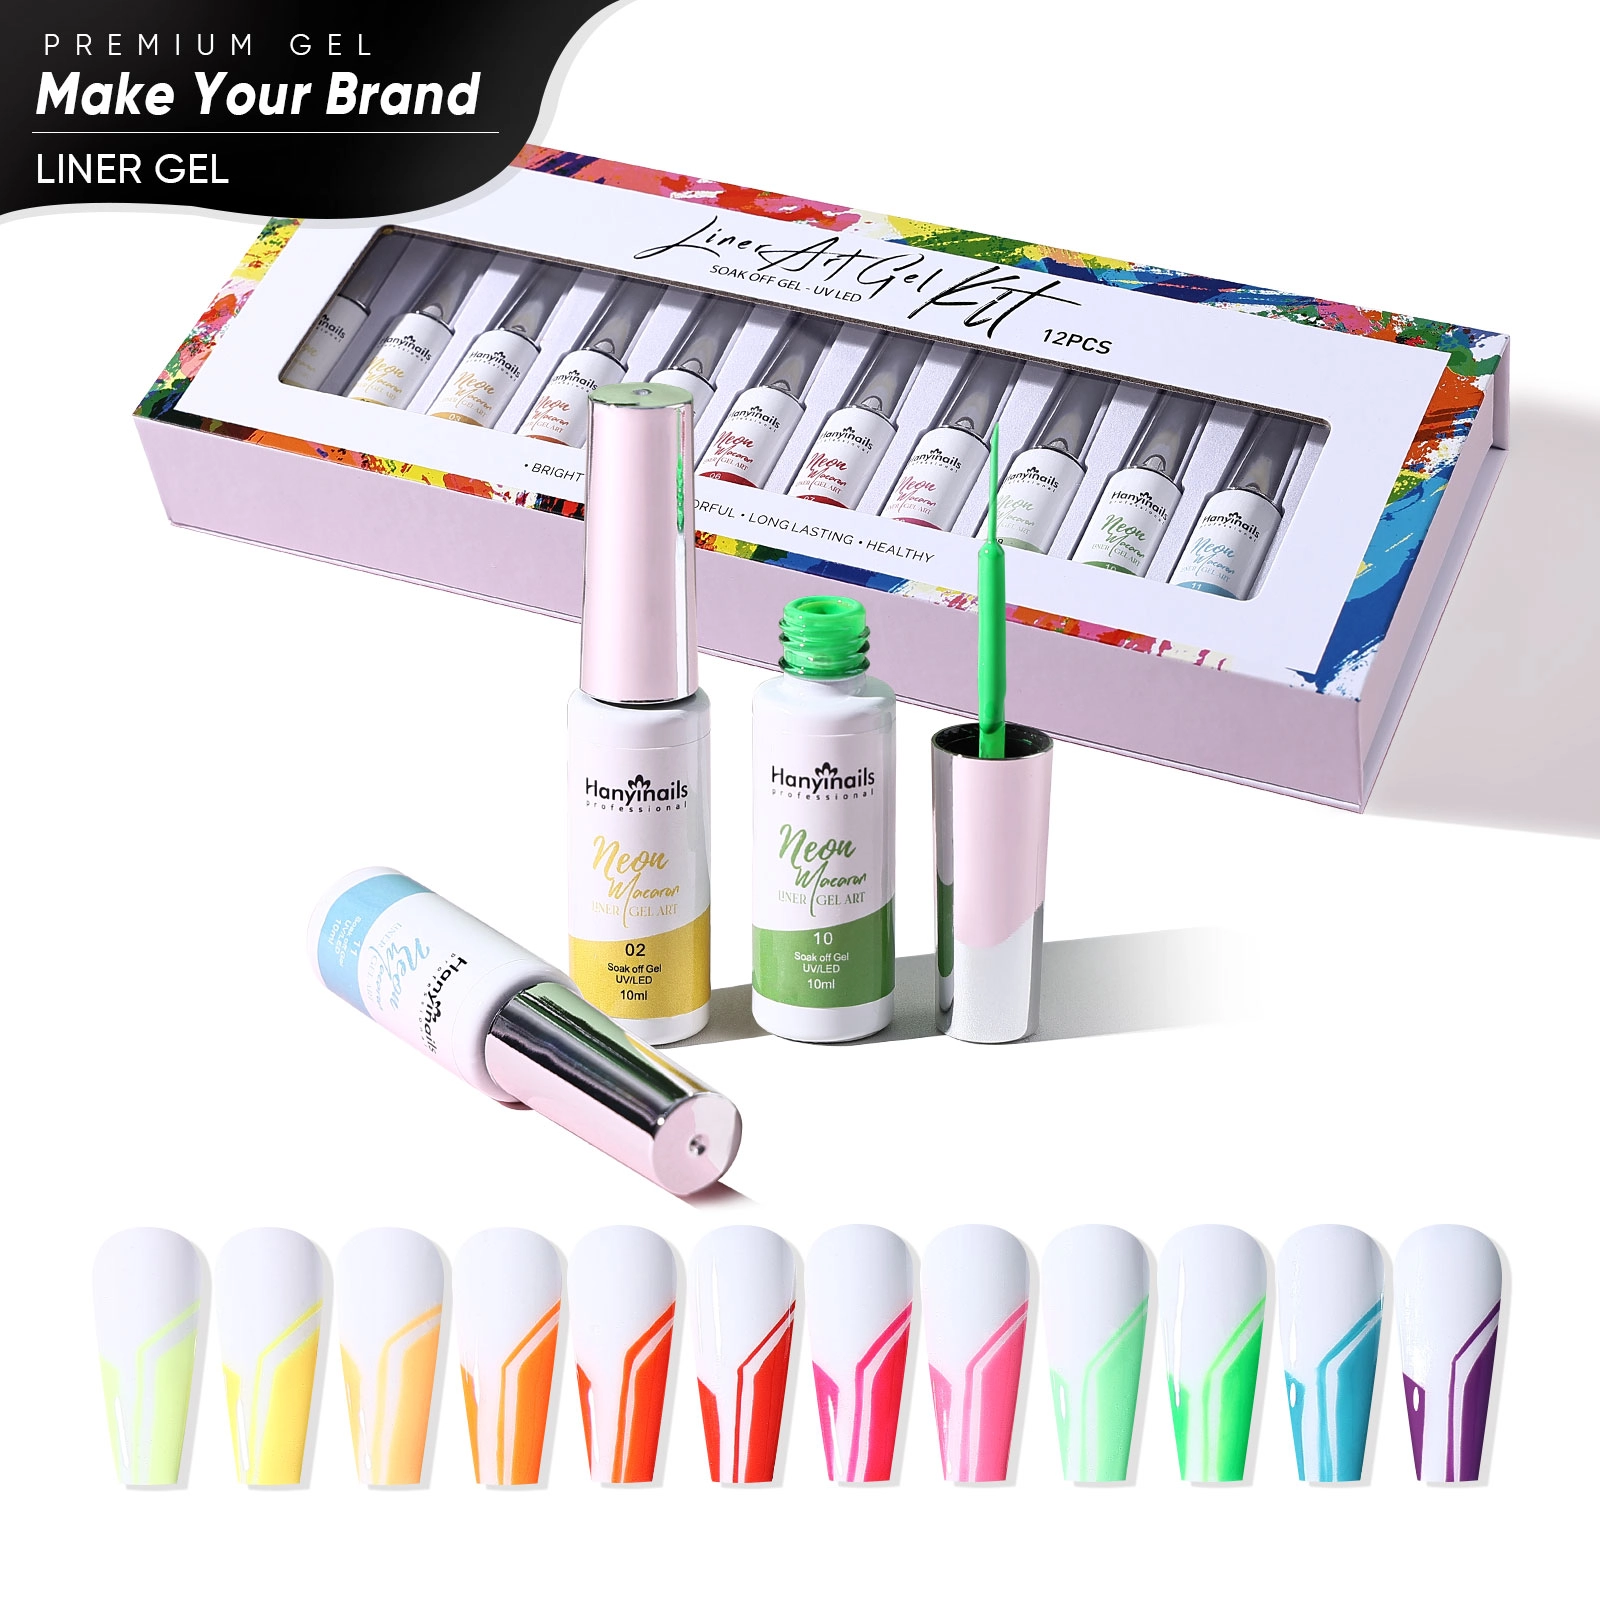
Key Advantages:
🎨 Vibrant & Opaque Colors: Rich, highly-pigmented formula for bold designs; 1-stroke coverage with smooth application; No fading or streaking.
🖌 Professional Precision Brush: Ultra-fine 0.5mm brush tip for detailed lines; flexible bristles for control and accuracy; perfect for French tips, florals, geometrics & more.
💎 Long-Lasting Wear: Chip-resistant for up to 3 weeks; cures in 30s under LED/UV lamp; compatible with all base/top coats.
🌈 Versatile Color Range: Includes essentials: Black, White, Red + trendy shades; Mixable for custom colors; Matte & glossy finishes
📦 Salon & DIY Friendly: Compact 10ml bottles (24-piece set); easy-to-store organizer box; ideal for professionals & home users.
Looking for a creative, premium, and reliable nail product manufacturer?
Whether you're an Amazon seller, Shopify store owner, chain store buyer, brand owner, distributor, wholesaler, or nail supply retailer — Hanyinails is your trusted partner for custom and wholesale nail solutions.
Hanyinails
Hanyinails
Hanyinails
Hanyinails