How to Use Blooming Gel: The Ultimate Guide to Beautiful Watercolor Nail Art
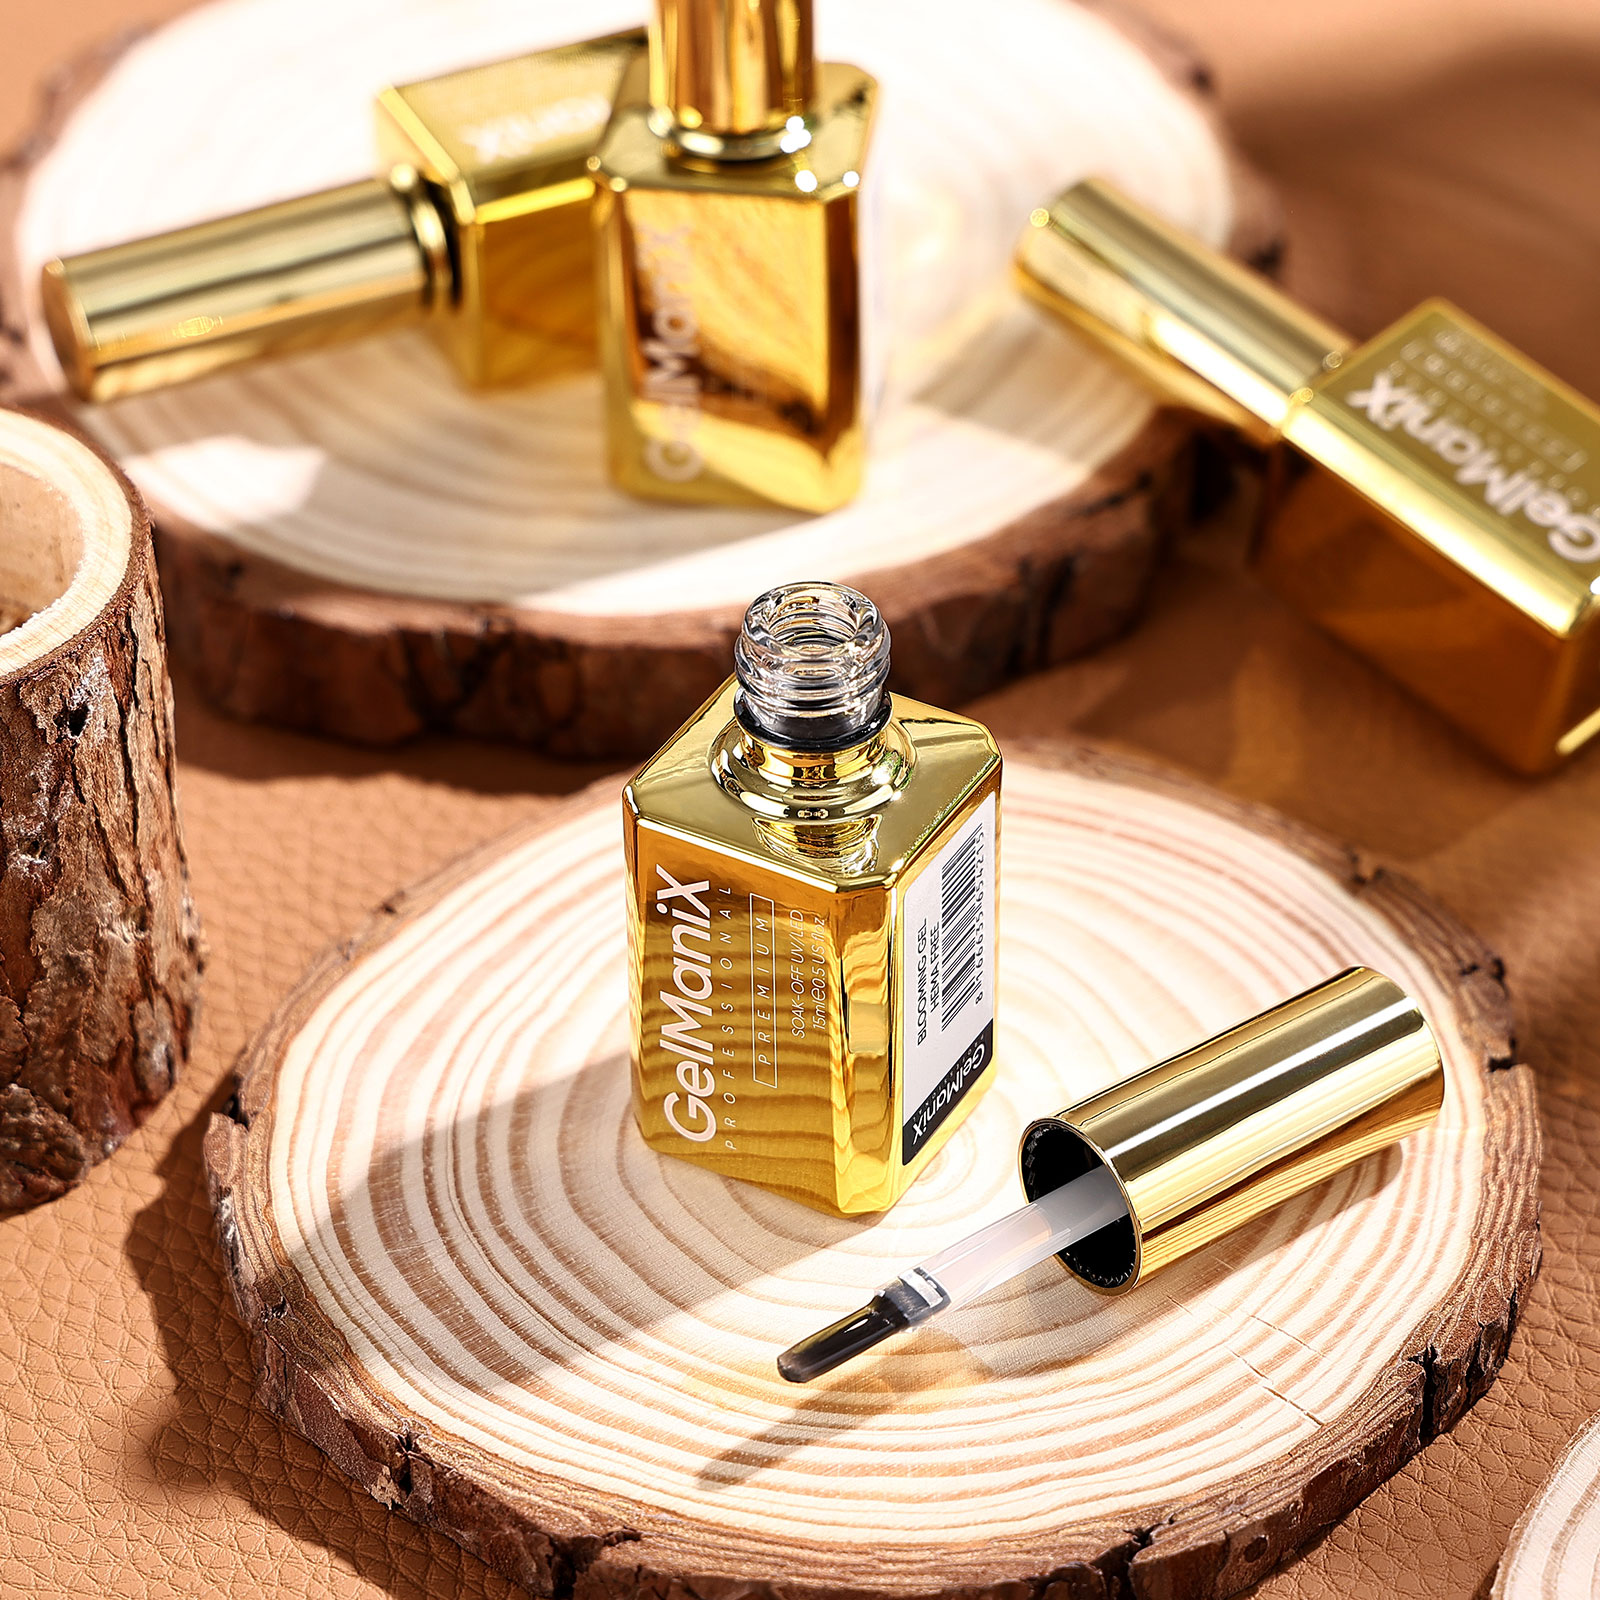
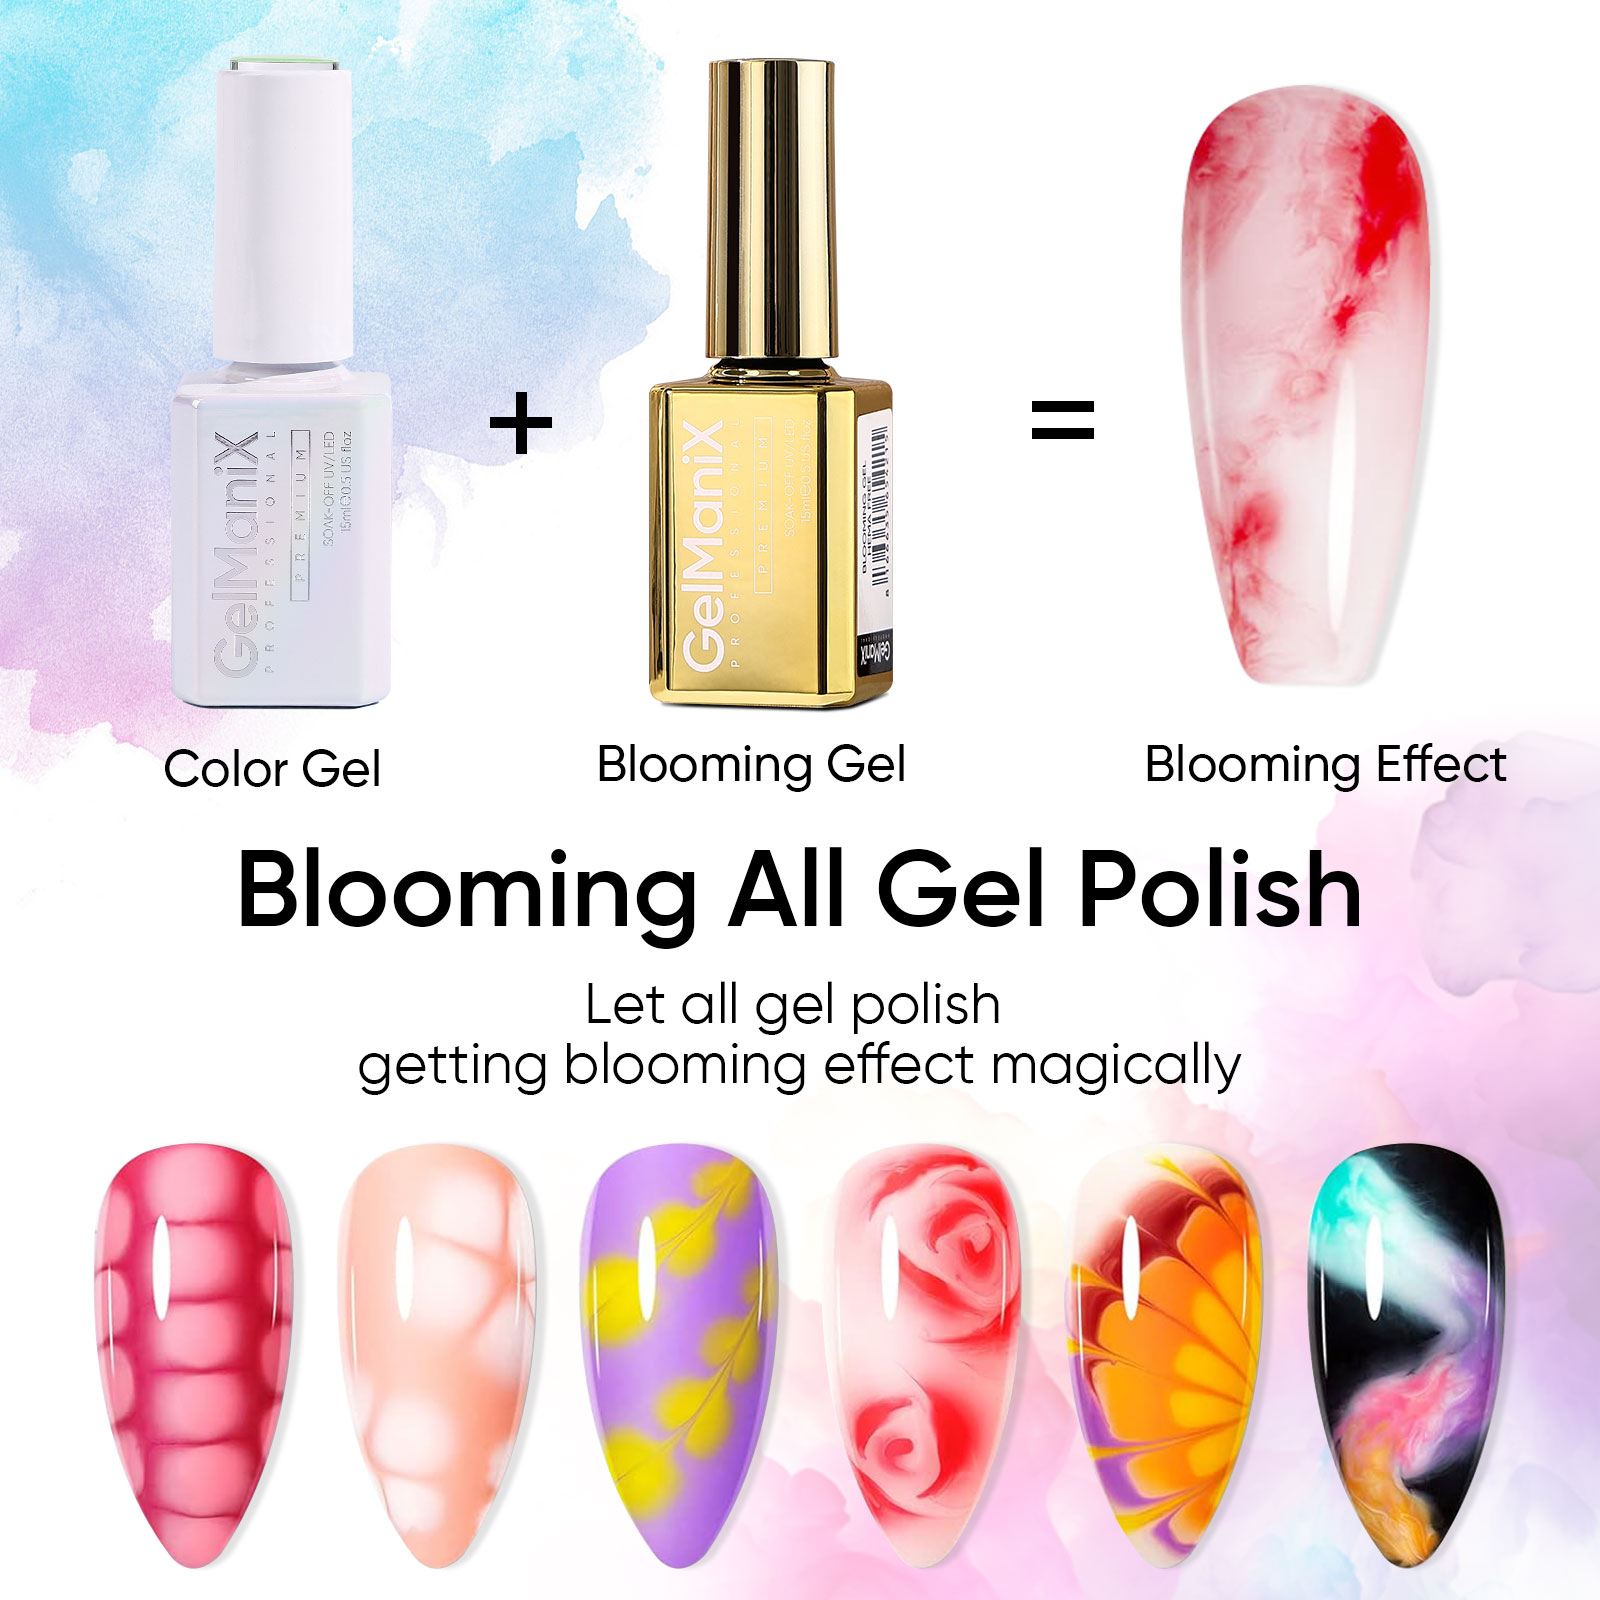
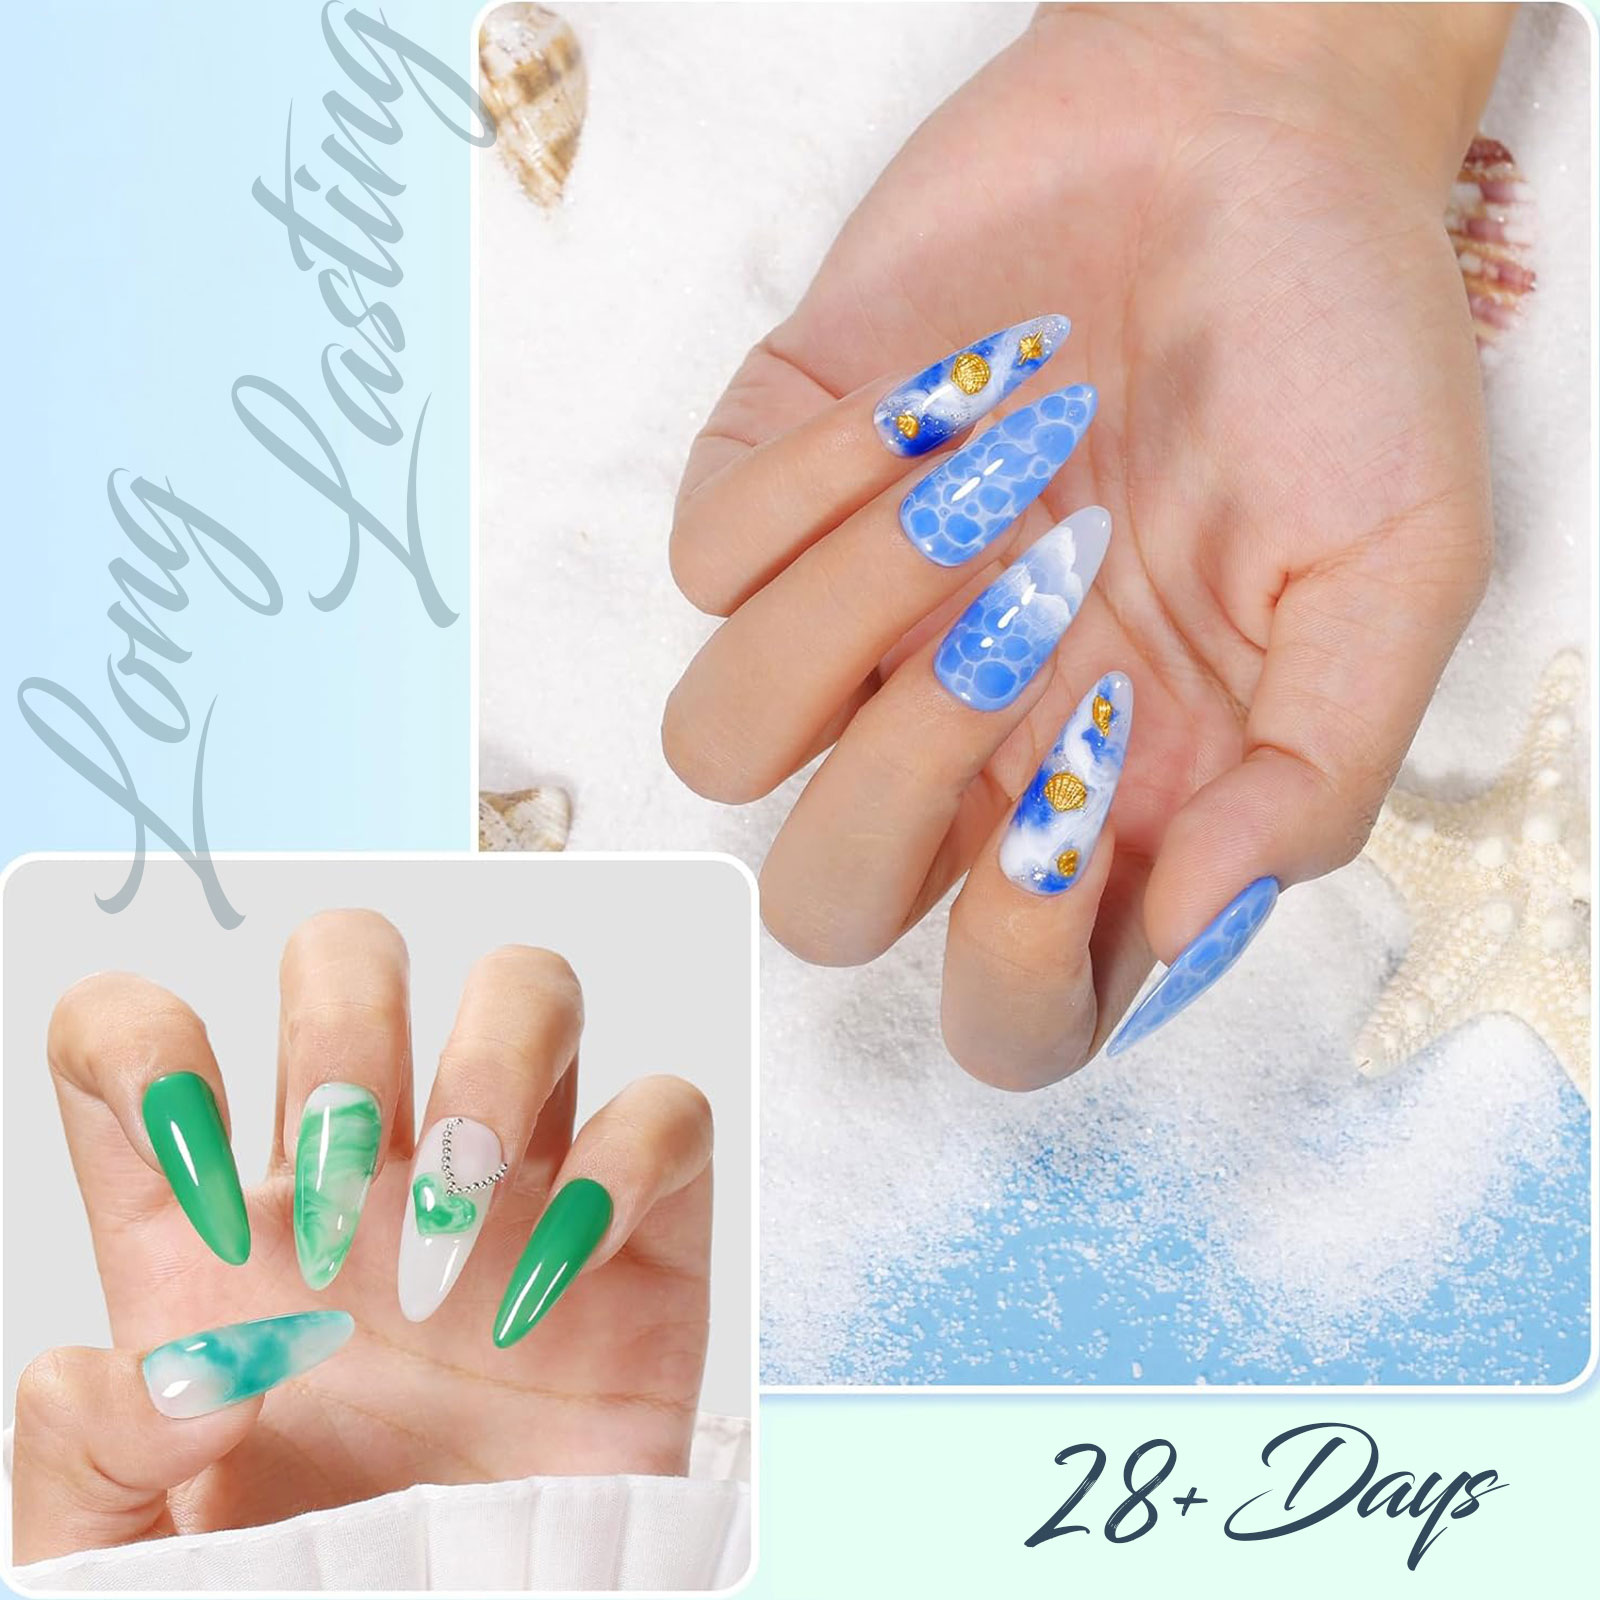
Have you ever admired those soft, ethereal watercolor nail designs that seem to blend seamlessly into beautiful ombre and marble patterns? Behind many of these stunning looks is a magical product called blooming gel. Also known as diffusion or watercolor gel, this special transparent gel is designed to slowly spread and blend colors placed on top of it before curing, creating those beautiful gradient effects that are so difficult to achieve with regular polishes.
If you've struggled with creating perfect ombre nails or wanted to achieve that professional marble effect without advanced skills, blooming gel might become your new best friend. This comprehensive guide will walk you through everything you need to know about using blooming gel, from basic techniques to pro tips for stunning results.
- What Makes Blooming Gel Special?
- Essential Supplies You'll Need
- Step-by-Step: Creating Basic Blooming Gel Designs
- Step 1: Preparation and Base
- Step 2: Applying the Blooming Gel
- Step 3: Adding Color and Creating Effects
- Step 4: Sealing Your Design
- Pro Tips for Perfect Results
- Troubleshooting Common Issues
- Advanced Techniques to Try
- Unleash Your Creativity
What Makes Blooming Gel Special?
Unlike regular gel polishes that stay where you place them, blooming gel has a unique formulation that remains workable for longer periods. When you place dots or lines of colored gel onto uncured blooming gel, they gradually spread and blend outward, creating soft, diffused edges and beautiful color transitions. The slower curing time gives you a window to manipulate the colors and create your desired effect.
Essential Supplies You'll Need
Before you begin, gather these materials:
-
Blooming gel/diffusion gel
-
Base coat and top coat
-
UV/LED lamp for curing
-
2-3 gel colors for blending (light colors work best)
-
Detail brush or dotting tool
-
Lint-free wipes and isopropyl alcohol
-
Nail prep: dehydrator and primer
-

Step-by-Step: Creating Basic Blooming Gel Designs
Step 1: Preparation and Base
-
Prep your nails properly: push back cuticles, lightly buff, and apply dehydrator and primer
-
Apply your base coat and cure according to instructions
-
Apply a light-colored background gel (white, nude, or light pink work well) and cure completely
Step 2: Applying the Blooming Gel
-
Apply a medium-thick layer of blooming gel to one nail at a time
-
Do not cure yet - the gel should remain tacky and workable
Step 3: Adding Color and Creating Effects
For Ombre Effect:
-
Place dots of your chosen colors along the nail bed
-
Watch as the colors gradually spread and blend
-
Use a dotting tool to gently guide the blending if needed
-
Cure once you're happy with the diffusion
For Marble Effect:
-
Create thin lines or swirls of different colors
-
Use a detail brush to gently marble the colors together
-
The blooming gel will help soften the lines naturally
-
Cure when satisfied with the pattern
Step 4: Sealing Your Design
-
Once cured, the blooming gel will have a slightly tacky surface
-
Apply your top coat carefully to seal the design without disturbing it
-
Cure for the full recommended time
-

Pro Tips for Perfect Results
-
Work Quickly but Carefully: You have limited time before the gel begins to set
-
Start with Light Colors: Dark colors can dominate and muddy your design
-
Less is More: Begin with small amounts of color - you can always add more
-
Practice on a Palette: Test color combinations and techniques before applying to nails
-
Keep Tools Clean: Wipe your brushes frequently to prevent color contamination
Troubleshooting Common Issues
Problem: Colors spreading too much
Solution: Use less blooming gel or work more quickly
Problem: Colors not spreading enough
Solution: Apply a thicker layer of blooming gel or add more color
Problem: Colors turning muddy
Solution: Choose colors that blend well together and avoid using too many shades

Advanced Techniques to Try
Once you've mastered the basics, experiment with:
-
Multi-color gradients using 3-4 complementary colors
-
Floral effects by creating flower shapes that gently diffuse
-
Geometric designs with controlled color placement
-
Negative space designs incorporating bare nail areas
Unleash Your Creativity
Blooming gel opens up a world of creative possibilities for nail artists of all skill levels. Whether you want to create soft ombre transitions, elegant marble effects, or dreamy watercolor designs, this versatile product makes it accessible and enjoyable. Remember that practice is key - each attempt will help you understand how different colors interact and how much blooming gel works best for your desired effects.
Don't be afraid to experiment with color combinations and techniques. Some of the most beautiful designs come from happy accidents and creative exploration. With blooming gel in your nail art arsenal, you'll be creating professional-looking watercolor designs in no time.
Ready to try blooming gel? [Explore our premium blooming gel and beginner-friendly kits] perfect for creating stunning watercolor nail art at home!

Top Benefits of Magic Poke Gel Polish for Creative Nail Artists

Toxic-Free Glam: Top 10 Vegan & Organic Salon Gel Nail Polishes Experts Swear By (2026 Guide)

Soft Gel Nail Tips Kit vs. Acrylics: Which Method is Better for Your Nails? (2026 Comparison)

Magic Poke Gel Polish vs Regular Gel: What's the Real Difference?

Best Professional Gel Nail Polish Brands 2026: The Definitive Industry Ranking & Buyer's Guide
TPO -Free Gel Polish
Why choose TPO-free gel polish?
Benefits:
Reduced allergy risk – Ideal for sensitive skin
Less yellowing over time vs. TPO-based gels
Safer for nail techs – Lower fumes during curing
Are TPO-free gels less durable?
Not necessarily! Ours provide:
14+ days wear (with proper prep)
High-gloss finish
Chip resistance
Pro Tip: Use a TPO-free base/top coat for best results.
Do TPO-free gels cure properly?
Yes! Advanced formulas use alternative photoinitiators like:
EMK (Ethyl-4-dimethylaminobenzoate)
819 (Phenylbis(2,4,6-trimethylbenzoyl)phosphine oxide)
Cure time: Same as traditional gels (30-60 sec under LED/UV).
For Logistics
What is the Shipping Time?
1.Express delivery 5-7 days
2.20-25 days by sea DDP.
3.15 days by air DDP.
HEMA-Free Gel Polish
Are your HEMA-free gels vegan/cruelty-free?
Yes! All our HEMA-free gels are:
🌱 Vegan | 🚫 Cruelty-free | 🌎 9-Free (no formaldehyde, toluene, etc.)
Recommended for You

Key Features:
🌸 Blooming Effect Magic—Perfect for marble, tie-dye, ink, and flower nail designs. Just apply a dot and watch the art bloom.
🧼 Clear Transparent Base—Designed to work under or between layers of color gels or ink for a natural spread.
🎨 Easy to Use—Self-spreading texture helps beginners and professionals create advanced art without effort.
🔧 UV/LED Compatible—Cures in 60s under LED or 90–120s under UV lamp.
🧴 OEM/ODM Customization—Customize bottle shape, volume, label, brush, and formula as per your brand.
✨ No Yellowing, No Peeling—Long-lasting wear with excellent clarity and smoothness.
❌ HEMA-Free Formula Optional—Gentle and safe version available on request.
Looking for a creative, premium, and reliable nail product manufacturer?
Whether you're an Amazon seller, Shopify store owner, chain store buyer, brand owner, distributor, wholesaler, or nail supply retailer — Hanyinails is your trusted partner for custom and wholesale nail solutions.


Hanyinails
Hanyinails
Hanyinails
Hanyinails