
The Complete Guide to Liner Art Nail Gel: Techniques, Tips, and Designs
Master Liner Art Nail Gel with Hanyinails’ complete guide—techniques, pro tips, tools, and trendy designs. Step-by-step instructions for flawless application at home or in the salon.
- What Is Linear Art? Nail Gel and Why It's Popular in Nail Art
- Definition and Main Features
- Why Nail Artists Prefer It Over Other Products
- Liner Art Nail Gel vs Regular Gel Polish: Key Differences Explained
- Texture, Brush Design, and Application Control
- Design Flexibility and Detail Precision
- Durability and Finish Comparison
- Essential Tools and Preparation for Liner Art Nail Gel
- Choosing the Right Brush and Gel Quality
- Preparing the Nail Surface for Long-Lasting Results
- Step-by-Step Tutorial: How to Create Perfect Fine Lines with Liner Art Nail Gel
- Basic Line Work for Beginners
- Advanced Techniques for Patterns and Shapes
- 10 Common Mistakes When Using Liner Art Nail Gel and How to Avoid Them
- Applying Too Much Product
- Incorrect Curing Time
- Poor Storage Leading to Product Damage
- Creative Design Ideas Using Liner Art Nail Gel
- Minimalist Lines and Geometric Shapes
- Ombre and Gradient Line Art
- Seasonal and Holiday-Inspired Designs
- Conclusion
What Is Linear Art? Nail Gel and Why It's Popular in Nail Art
Liner Art Nail Gel is not a regular nail polish; it is a special product that is created to use in precision detail work and detailed artwork. It can be applied in a controlled manner due to its unique formulation and is therefore perfect for making sharp lines, geometric patterns, and thin flourishes that regular gel polish cannot easily accomplish.

Definition and Main Features
Liner Art Nail Gel is a gel nail product that comes in a fine, built-in brush so you can draw super-thin lines without having to change tools. It is a bit thicker than normal gel polish, which prevents the gel from spreading when applying it. It is cured using UV/LED lamps, which make it durable and high gloss with a chip-resistant finish.
Why Nail Artists Prefer It Over Other Products
Liner Art Nail Gel is a favorite of professional nail artists because of its accuracy and adaptability. It is perfect in simple nail art and complex artworks, and it provides the possibility to create straight lines, symmetrical patterns, and layers. Brands such as Hanyinails, which have salon-quality formulas, make application easy and pigmentation bright, making designs pop.
Liner Art Nail Gel vs Regular Gel Polish: Key Differences Explained
Although both Liner Art Nail Gel and traditional gel polish are gel-based, they have completely different uses and are created with different purposes in mind. Knowing these differences is important in choosing the appropriate product for your nail art. Liner gels are more precise and detailed, whereas regular gel polish works better on covering bigger surfaces of the nails with solid colors. Selecting the right product will make your designs sharp, professional, and durable.
Texture, Brush Design, and Application Control
Standard gel polish is supplied with a standard brush, which is suitable when covering the whole nail but not so good when it comes to patterns or fine line work. On the contrary, Liner Art Nail Gel has a thin, long brush that enables the artist to make precise lines, swirls, and geometric designs. It is a bit thicker in consistency, so it does not spread in unwanted places, and you have complete control over where you put it. Such brands as Hanyinails make sure that their liner gels are smooth and evenly flowing, which decreases the possibility of streaks and makes precision work much easier, particularly for salon professionals and serious hobbyists.
Design Flexibility and Detail Precision
The major strength of the Liner Art Gel over the Regular Gel Polish is the versatility of design. Liner gels are ideal to use in more detailed nail art like lace, abstract, floral, or layered designs. They can be applied with crisp edges and fine details that cannot be attained by the traditional gel polish. With the learning of these gels, nail artists are able to produce professional-quality artwork without the use of other tools; thus, they are popular both at home and in the salon. This accuracy provides a possibility of creative experimentation and unusual, striking design.
Durability and Finish Comparison
Liner gels and regular gel polish are both cured using UV or LED light and provide long-term results. Nevertheless, Liner Art Nail Gel usually has a higher concentration of pigments, which guarantees thick, bright lines, which will not fade with time, even on such high-traffic places as thumbs or index fingers. When combined with a top coat, liner gel designs will last weeks with their brilliance and shine. A quality brand such as Hanyinails will ensure durability as well as a salon-quality finish to each application.

For a more detailed breakdown of their differences, check out our full article “Liner Art Nail Gel vs Regular Gel Polish: Key Differences Explained”.
Essential Tools and Preparation for Liner Art Nail Gel
Liner Art Nail Gel is the perfect nail art gel, but it is also about preparation as much as it is about application. The right tools and careful preparation work are the keys to accurate and durable designs.
Choosing the Right Brush and Gel Quality
Although most liner gels are accompanied by a built-in fine brush, some artists find it useful to use a professional liner brush to get the best control. A good quality brush gives smooth lines, avoids streaking, and enables layering of colors. To achieve the desired results, it is important to select a high-quality brand of gel, e.g., Hanyinails, to guarantee the viscosity and pigmentation of the gel are consistent and allow more advanced Liner Art Gel Techniques to be performed. This is particularly necessary in making intricate designs or multi-colored patterns where the slightest error can influence the result.
Preparing the Nail Surface for Long-Lasting Results
It is important to prepare the nails before using any liner gel. Begin by washing the nails, pushing back cuticles, and lightly buffing the nail surface to eliminate oils and roughness. Use a base coat to enhance adhesion and cure as per the manufacturer's directions. This will avoid premature lifting or chipping and give a smooth surface on which the liner gel can be applied.
Step-by-Step Tutorial: How to Create Perfect Fine Lines with Liner Art Nail Gel
Liner Art Nail Gel takes some practice and patience to master the fine lines, but it is worth the results.
Basic Line Work for Beginners
To the beginners, simple straight lines and geometric shapes are advised to be practiced. In learning how to use liner art gel, you should steady your hand by placing it on a flat surface. The strokes are smooth, and the pressure is light to prevent streaks or uneven lines. Dry the layers one by one to fix the design and avoid smudging. Learning on a nail wheel or artificial tips will allow a beginner to gain confidence before using it on natural nails.
Advanced Techniques for Patterns and Shapes
When you feel confident with Fine Lines with Liner Art Gel, then proceed to more complex designs like swirls, lace, floral designs, or abstract designs. To create professional detailing, mix several gel colors, metallic accents, or gradient line effects. The trick is patience and layering—cure the colors one at a time so that they have crisp edges. Hanyinails liner gels are smooth, pigmented formulas that allow advanced techniques to be performed by intermediate artists.

10 Common Mistakes When Using Liner Art Nail Gel and How to Avoid Them
Even the most experienced of nail artists have the occasional mishap that ruins their designs. Finding these errors can save time and lead to a better result.
Applying Too Much Product
Even the most experienced of nail artists have the occasional mishap that ruins their designs. Finding these errors can save time and lead to a better result.
Incorrect Curing Time
Under-curing results in a tacky gel that can easily be smudged, and over-curing may cause the gel to be brittle and crack. Use the recommended curing times of UV/LED as given by the manufacturer. Hanyinails high-quality gels also contain clear instructions to provide consistent curing.
Poor Storage Leading to Product Damage
Premature thickening or curing may result from leaving the gel bottle open or by exposing it to direct light. Proper Liner Art Gel Storage Tips, such as keeping bottles tightly sealed and out of direct sunlight, will keep gel in good condition and make it workable over a longer time. Salon professionals in particular need to take proper care of their storage, as they have to perform consistently on a daily basis.
Creative Design Ideas Using Liner Art Nail Gel
Liner Art Nail Gel opens up a world of unlimited creative potential, with artists able to experiment with subtle and elegant designs as well as bold and statement-making nail art. Learning the liner gel technique can help you add the finer details to your nail designs to move them up to a professional level, providing clients or personal projects with a professional and attention-grabbing finish.
Minimalist Lines and Geometric Shapes
The minimalist designs are the current trend in contemporary nail art because of their sleek and elegant appearance. With Liner Art Nail Gel, you can make super thin lines of black, gold, or white on nude or pastel bases to make patterns like triangles, stripes, squares, and abstract geometric shapes. The designs are ideal in both professional and casual environments, and they are elegant without being too fancy.
Ombre and Gradient Line Art
More complicated designs can be created by mixing two or more gel colors in fine lines to create beautiful ombre or gradients. Using two or more shades, you can blend them together using Liner Art Gel to make a smooth transition, which will provide depth and interest to your nail art. This method enables the easy application of trending nail art designs, such as pastel sunsets and metallic gradients, to give endless creativity.
Seasonal and Holiday-Inspired Designs
Seasonal and holiday-inspired nail art is simplified with Liner Art Nail Gel because of its fine brush that makes intricate details that match festive designs. In winter, dainty snowflakes and icy patterns can be painted with precision, and in spring, blooming flowers, leaves, or butterflies can be depicted. Tiny pumpkins, stars, or candy motifs can be drawn sharply without smudging during Halloween or the holiday season.

Conclusion
Liner Art Nail Gel will provide the nail artist with unmatched precision, strength, and design capability, which is why it is a must-have product among nail artists of all levels. Whether it is selecting the appropriate tools or learning how to use fine-line techniques, every step will make you a better designer of beautiful, permanent designs.
Hanyinails is a reputable producer of high-quality nail products, such as salon-quality Liner Art Nail Gel that is highly pigmented, easy to apply, and durable. Hanyinails is a brand that has years of experience and a dedication to quality, and it helps professionals and home users all over the world.
In case you are willing to take your nail art to the next level, check out the variety of products Hanyinails offers or reach out to them to partner with one of the most popular liner art nail gel manufacturers. To start, visit Hanyinails.

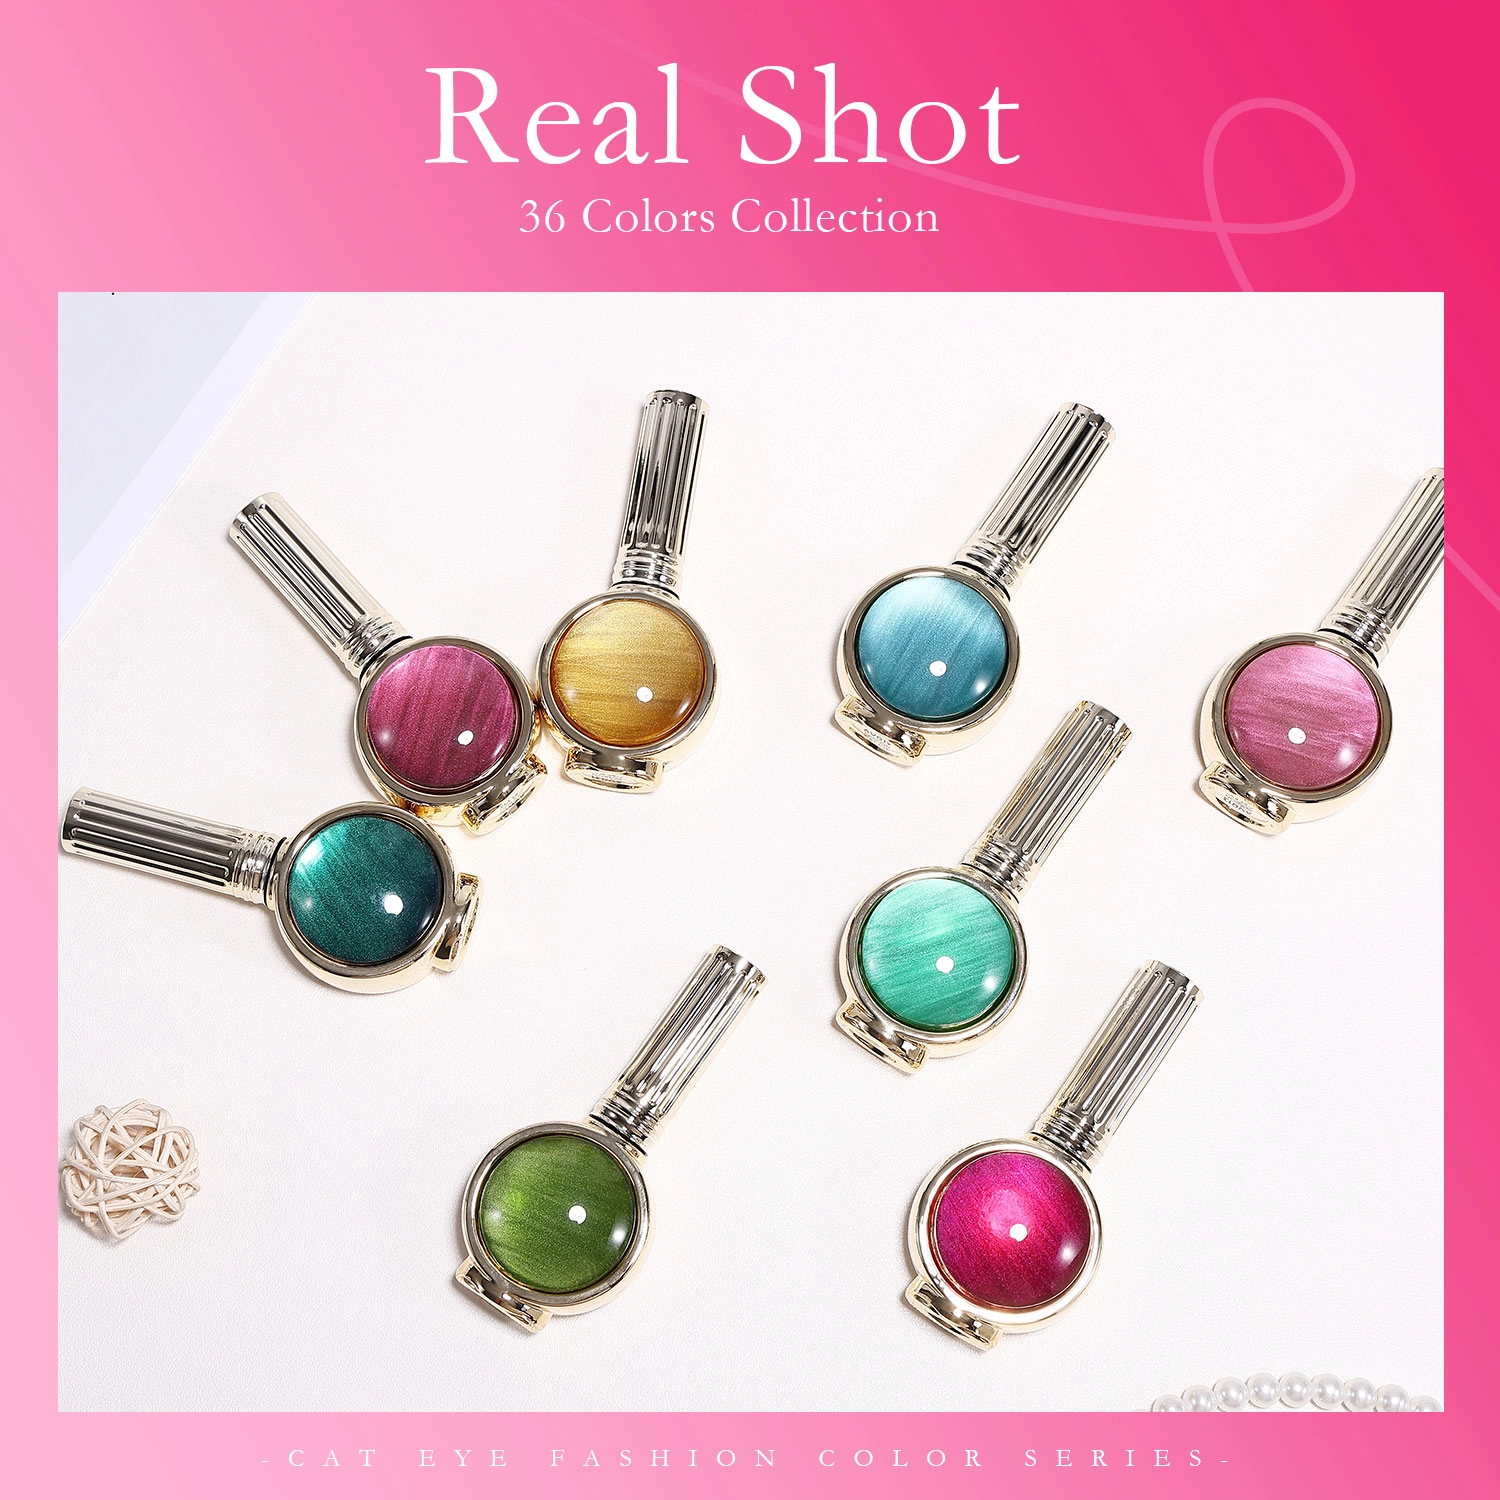
Seasonal Nail Art Ideas for Salons: Boost Client Retention with 36 Colors Cat Eye Gel
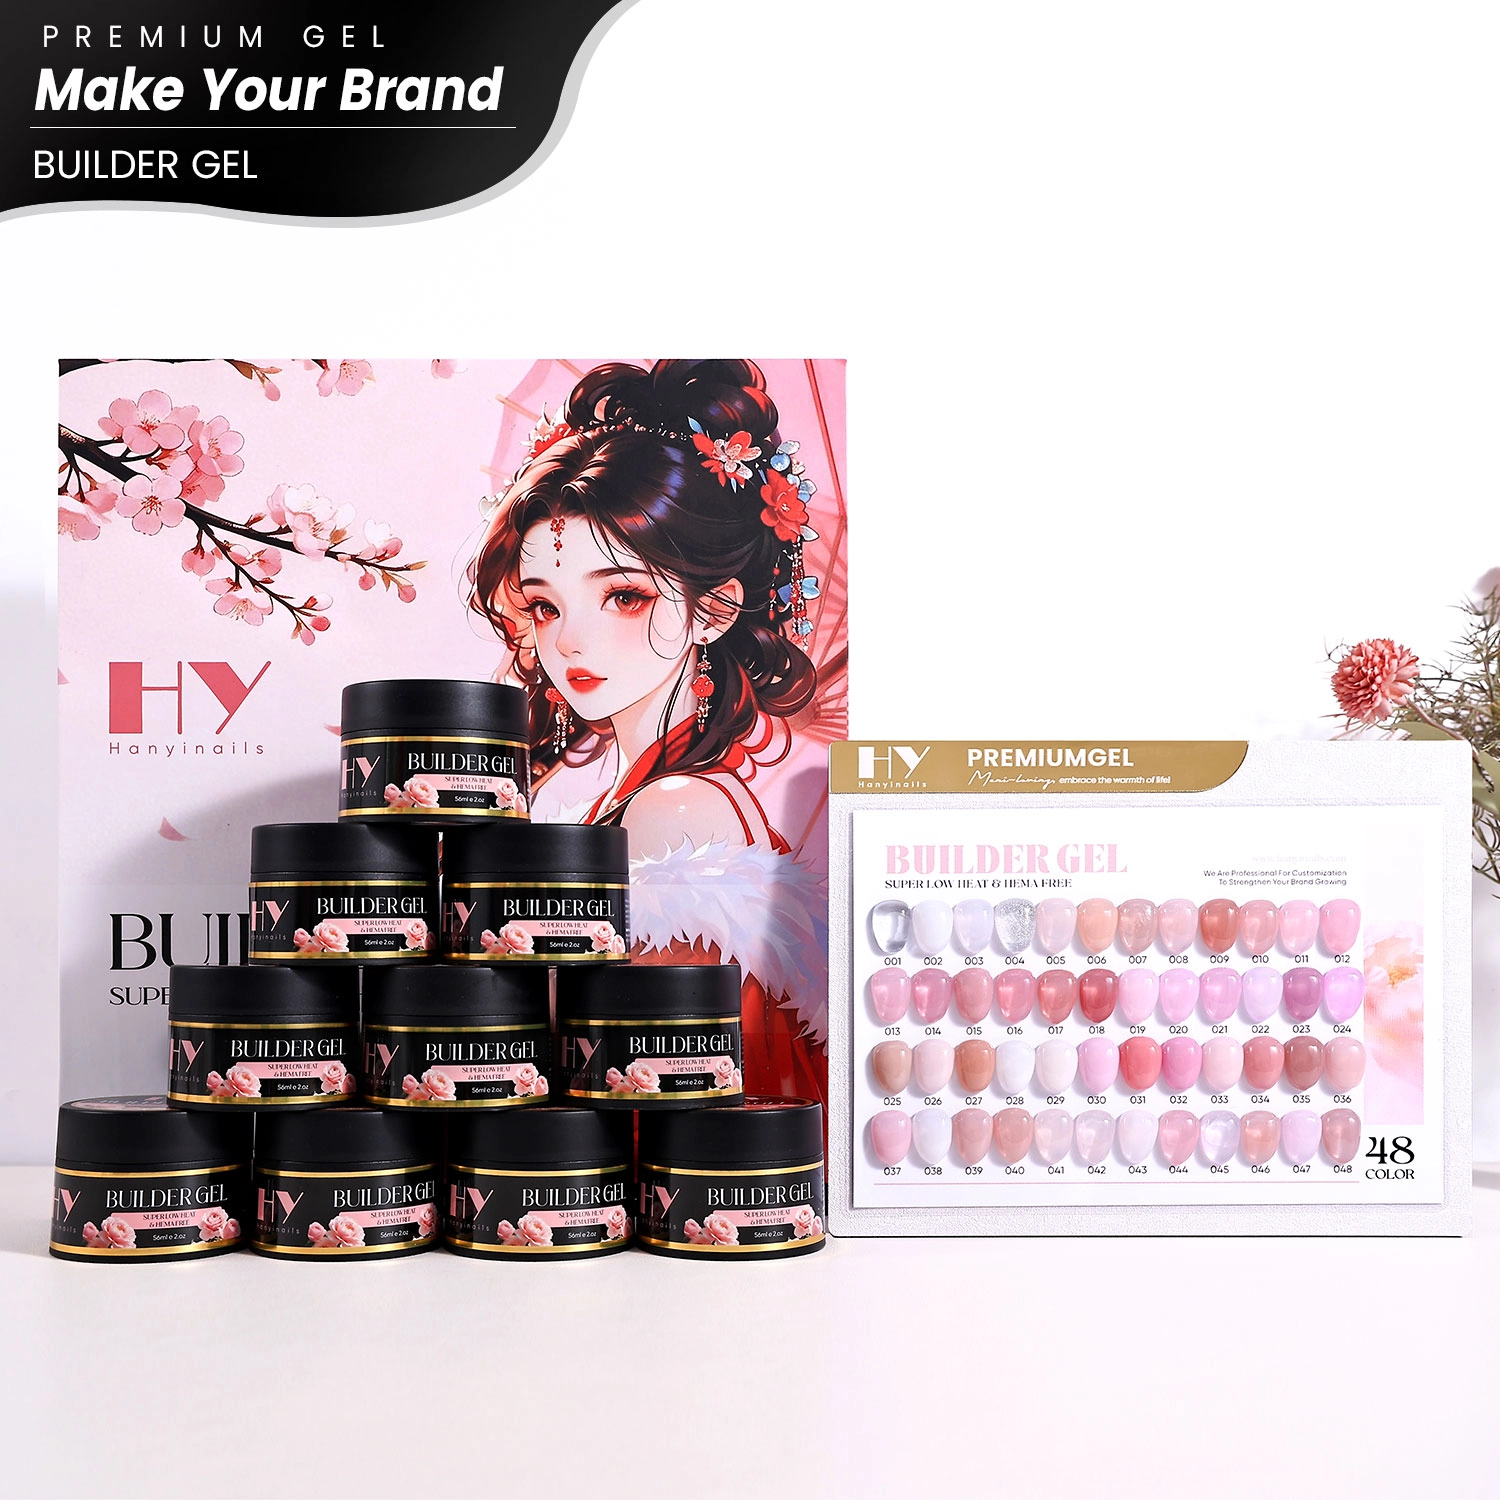
How to Build Apex with Builder Gel for Beginners – Step-by-Step Guide for Strong, Perfectly Shaped Nails
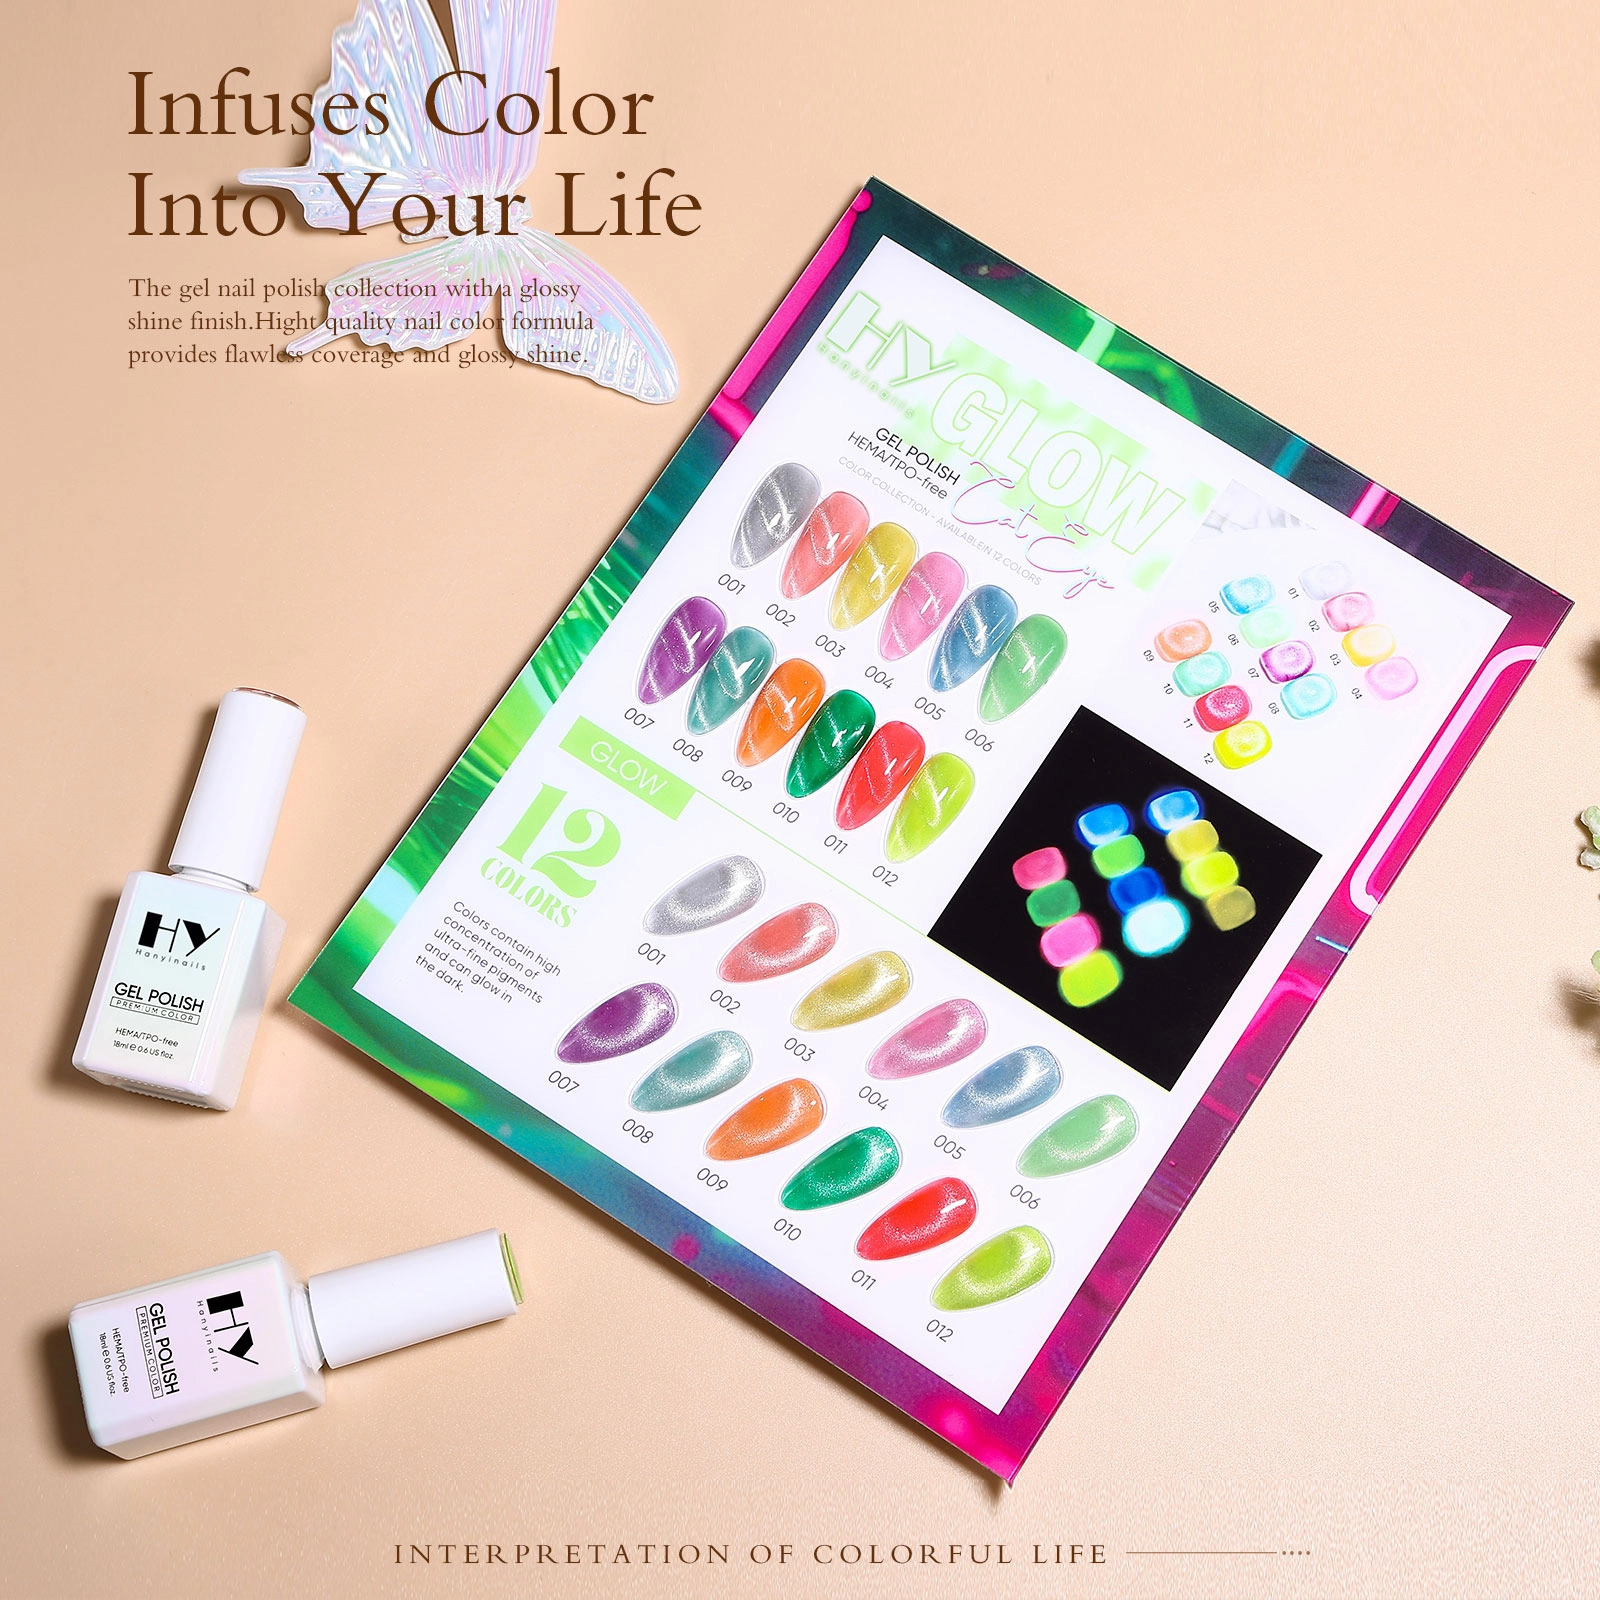
Glow Cat Eye Line Disappears After Top Coat? Here's How to Fix It
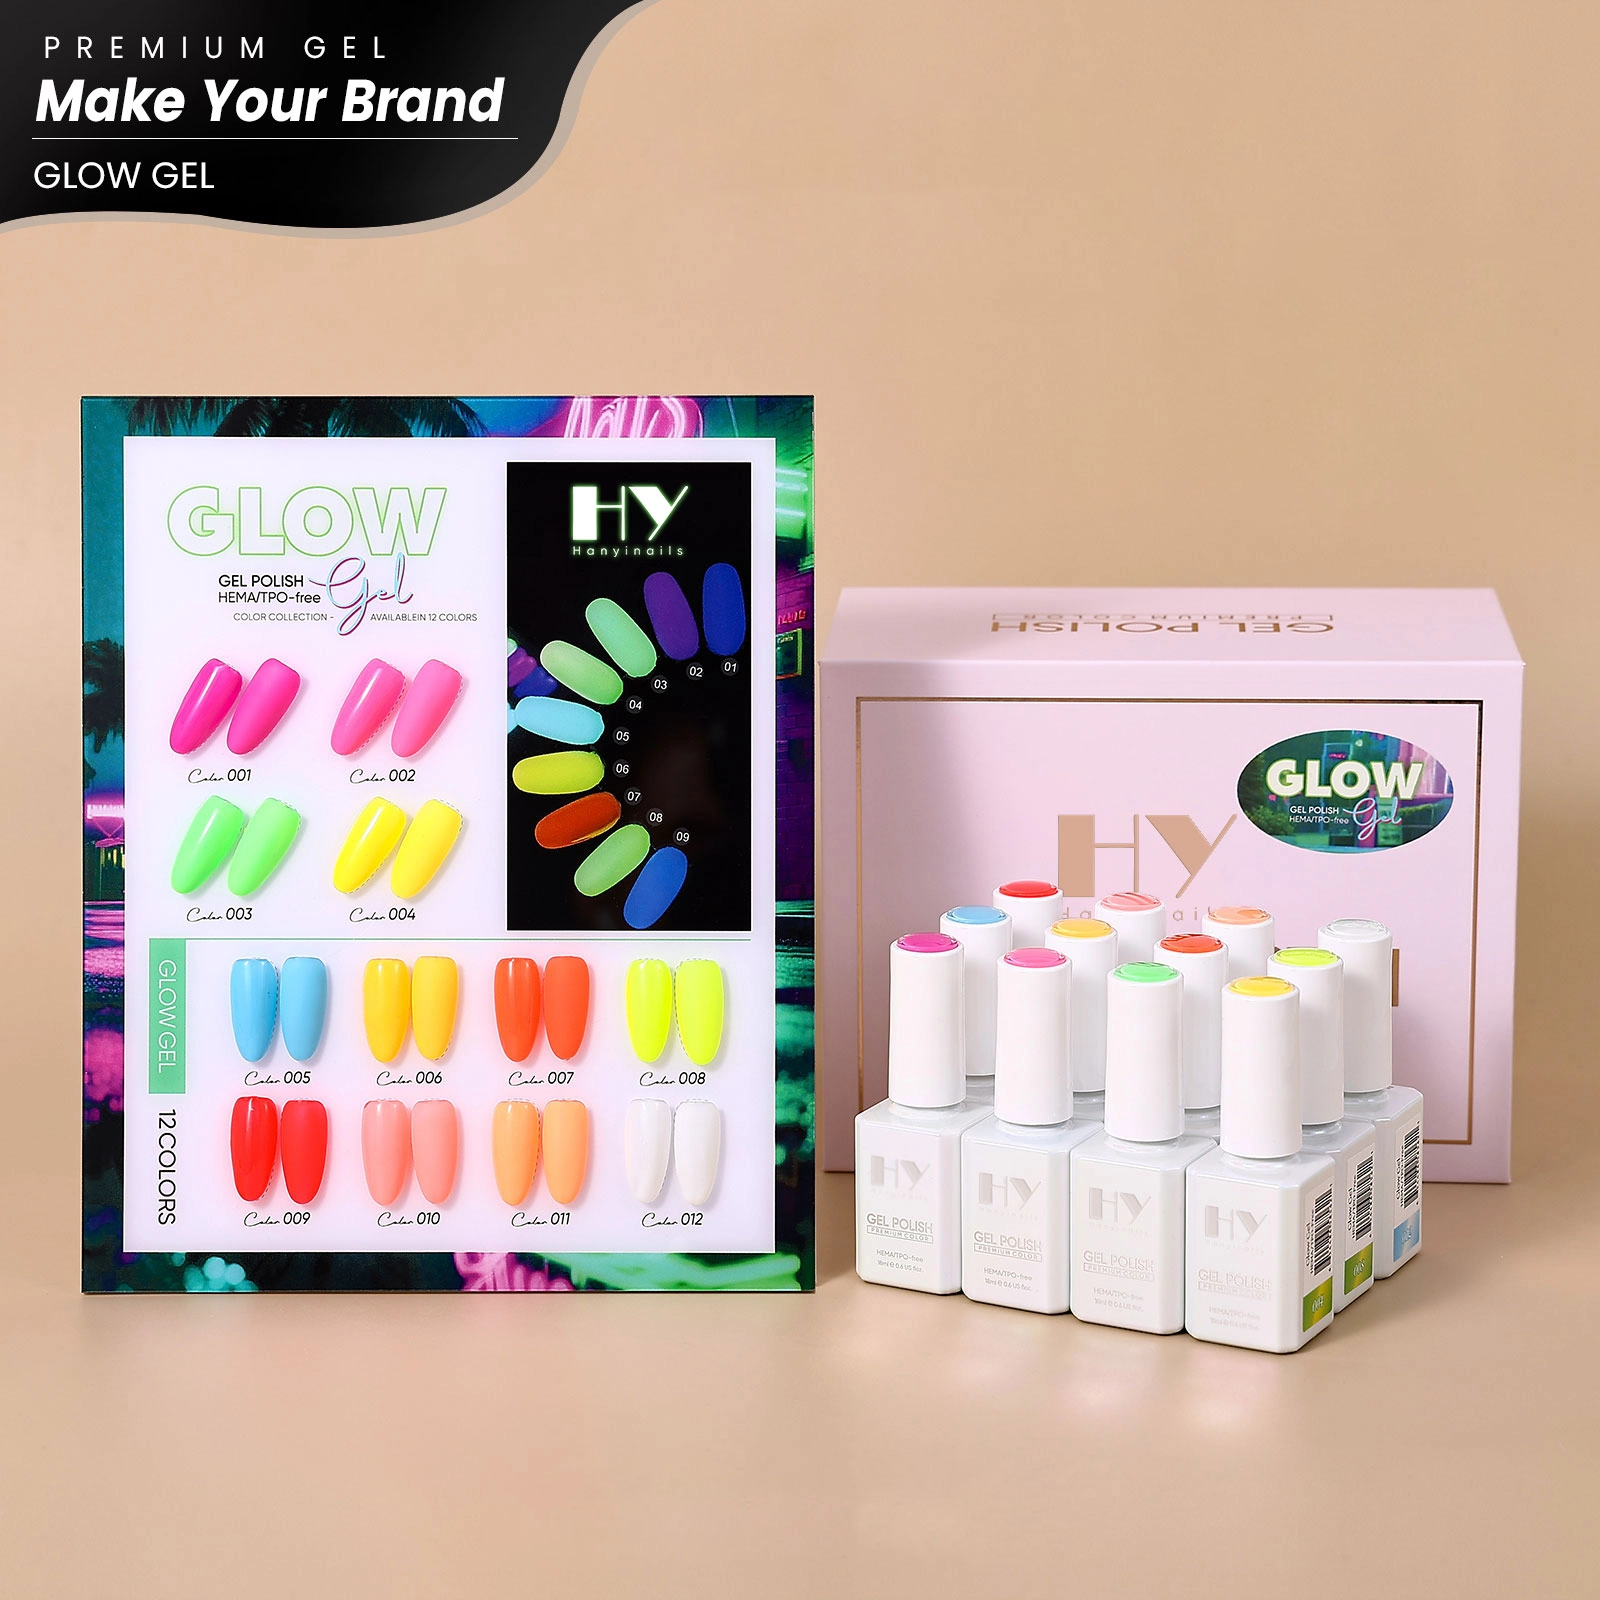
HEMA-Free Glow Gel for Sensitive Nails – A Complete Guide to Safe, Luminous Manicures
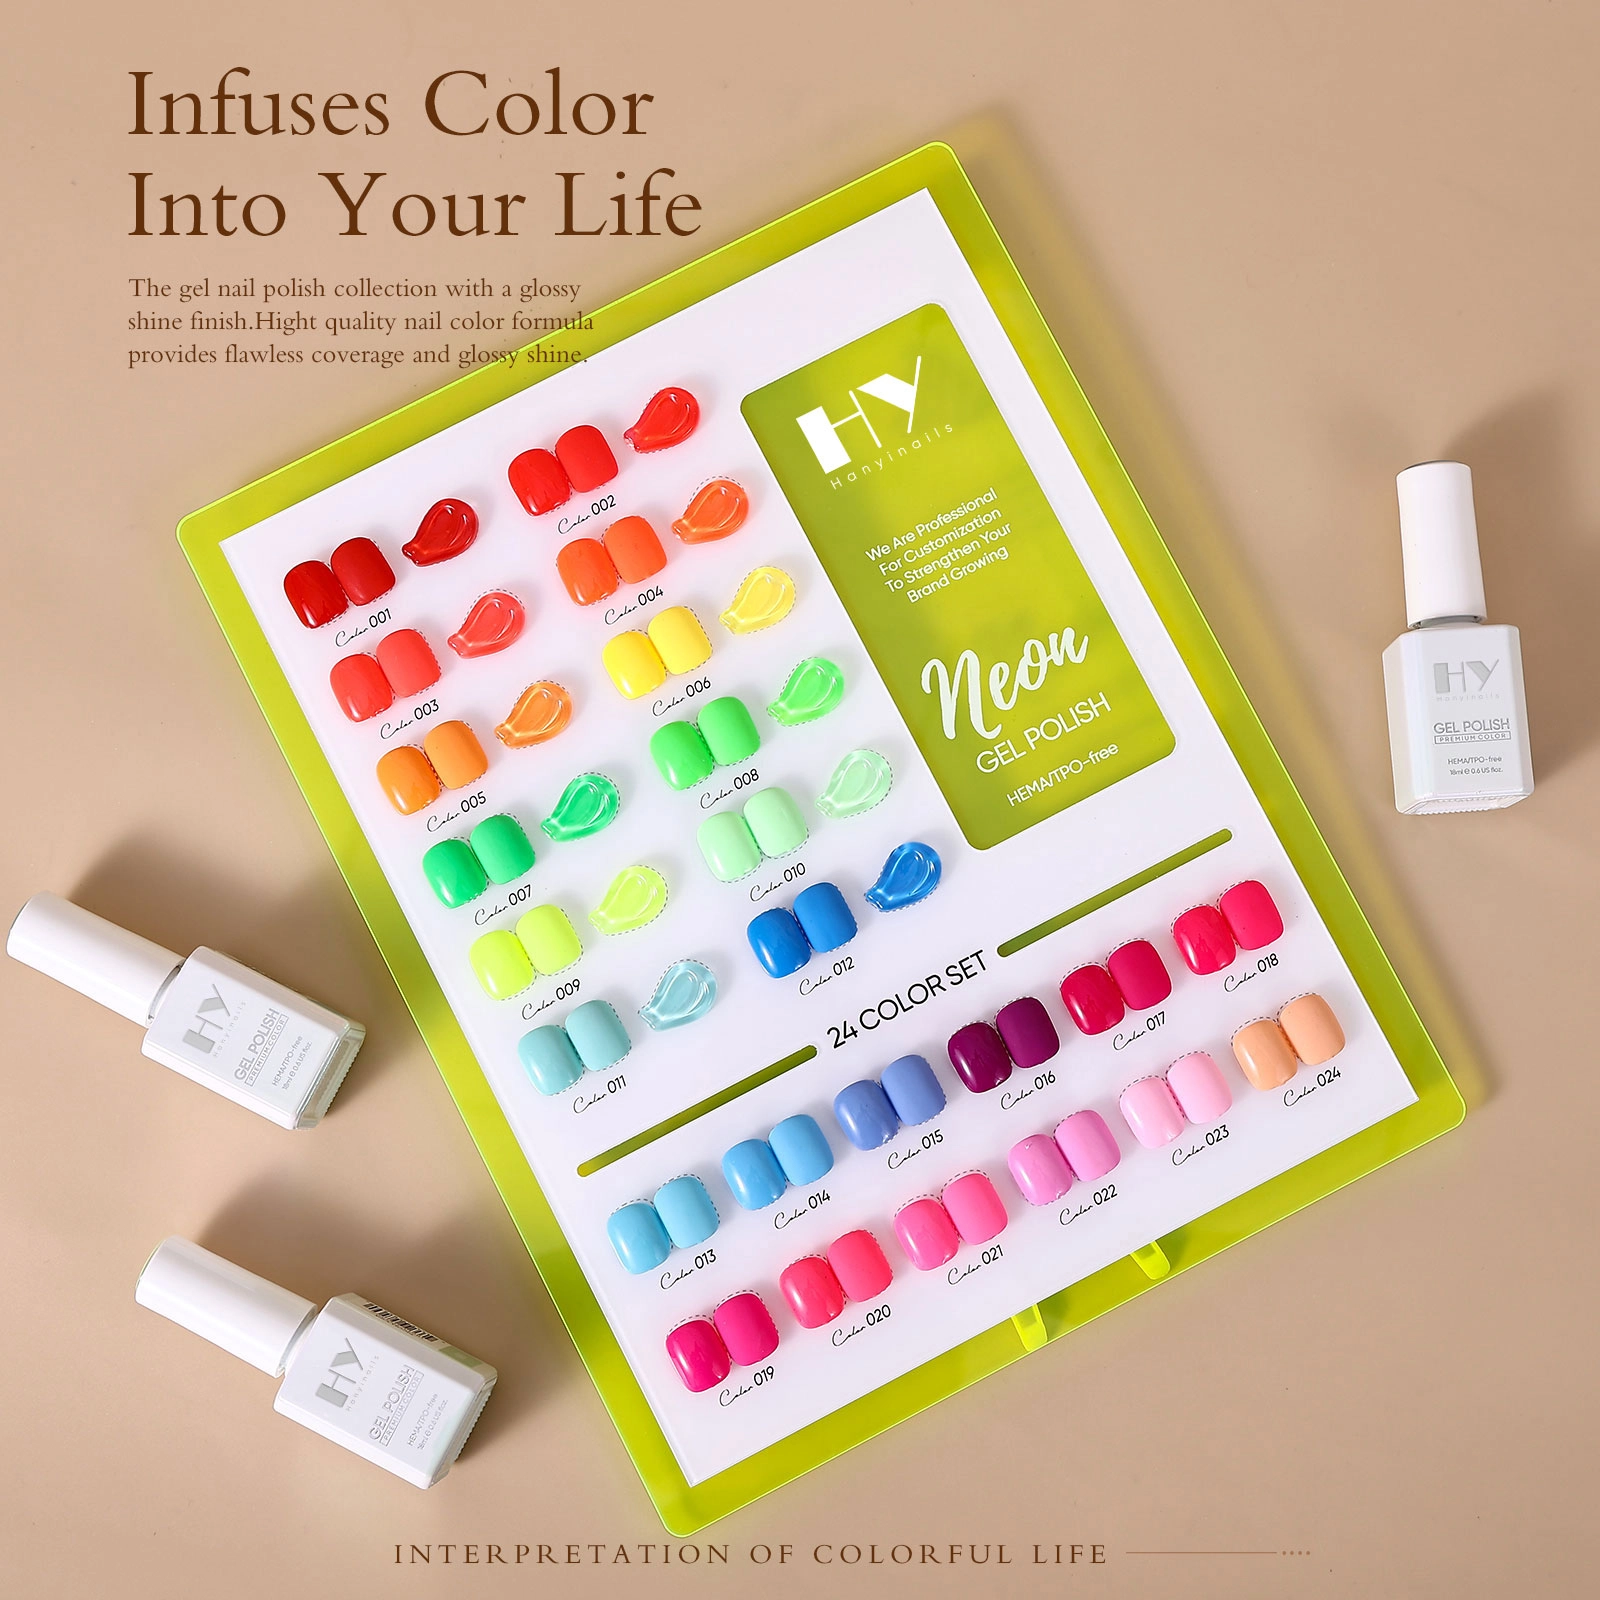
How to Prevent Nail Polish from Chipping – Expert Tips for a Long-Lasting Manicure
For Customization
How long it takes for production?
We do customization for your brand, we specialize in high-quality OEM/ODM nail products, including gel polishes, acrylic systems, nail art supplies, and more. Our streamlined production process ensures efficiency while maintaining strict quality control. Below is a detailed breakdown of our standard production timelines.
For After-sales
How is your quality?
Quality are qualified, Try Before You Commit: Free Samples with Bulk Order Assurance
At [Your Brand Name], we stand by our 100% quality guarantee—but we don’t just say it, we prove it. Here’s how we make your buying decision risk-free:
Free Sample Program
How It Works:
Request Samples – Choose up to 5 products (you only pay shipping*).
Test Thoroughly – Check quality, consistency, and performance.
Place Bulk Order – Commit to a larger quantity (MOQ applies).
Get Refunded – Your sample cost is 100% credited back to your mass order!
Build Trust – Confidently invest in bulk after hands-on verification.
Save Money – Sample fees aren’t lost—they’re deducted from your big order.
Popular Sample Picks:
Best-selling gel polish shades
Top-performing BIAB/Rubber Base
Trendy cat eye or thermal effects
What can I do if the gel nail polish colors don't match what l purchased?
If you think you have received the wrong set you ordered, please contact our customer support team and we will get back to yousoon.lf it is the corect product but you are unsatisfied with the color match, we work very hard to closely match each color to adigital replication for our image. lt is impossible to match an exact color with any digitalrepresentation of a physical product;however, we have worked closely on each set making sure that each color is as close as it can be to the color in the bottle.lfyou arestill unsatisfied, please contact us. We are here to help and make it right in any way!
FAQ
What is your minimum order quantity (MOQ)?
Our MOQ varies based on customization requirements. Please contact us to discuss your specific needs.
HEMA-Free Gel Polish
Where can I buy your HEMA-free collection?
Shop now: YourBrand.com/HEMA-free
Sample kits available—try before bulk ordering!
Recommended for You
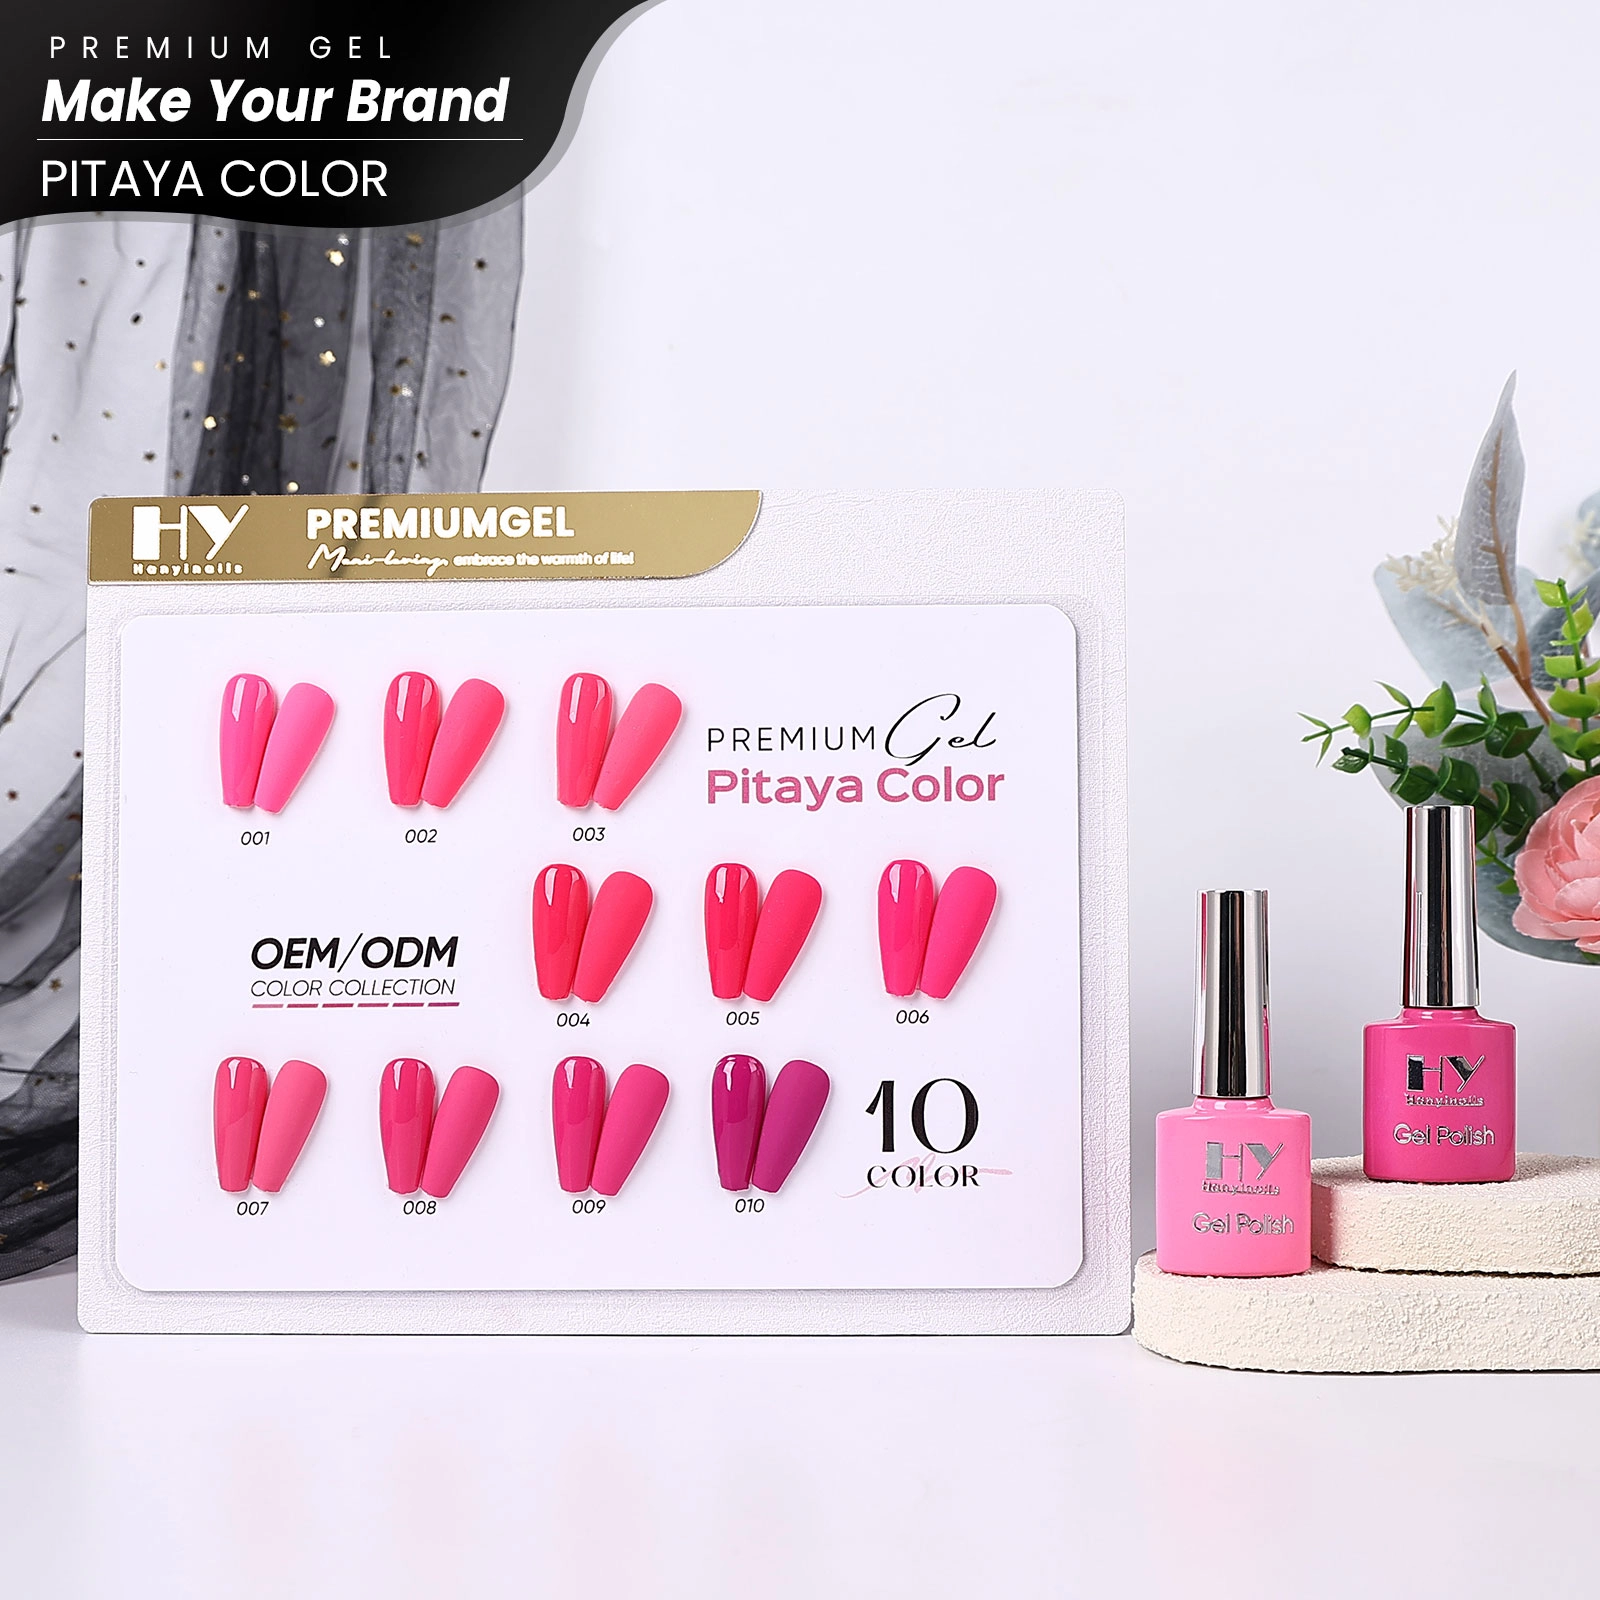
🔑 Key Features:
-
🌸 Vibrant Pitaya Pink Color—Trendy and bold, perfect for all skin tones and seasons.
-
💅 Long-Lasting Formula—Stays chip-free for up to 21 days with proper application.
-
✨ High Gloss Finish—Provides a salon-quality shine that won't dull.
-
🌿 Eco-Friendly & Cruelty-Free – Made with non-toxic ingredients, gentle on nails.
-
🛠️ OEM/ODM Support—Customize color, packaging, logo, bottle shape, and more.
-
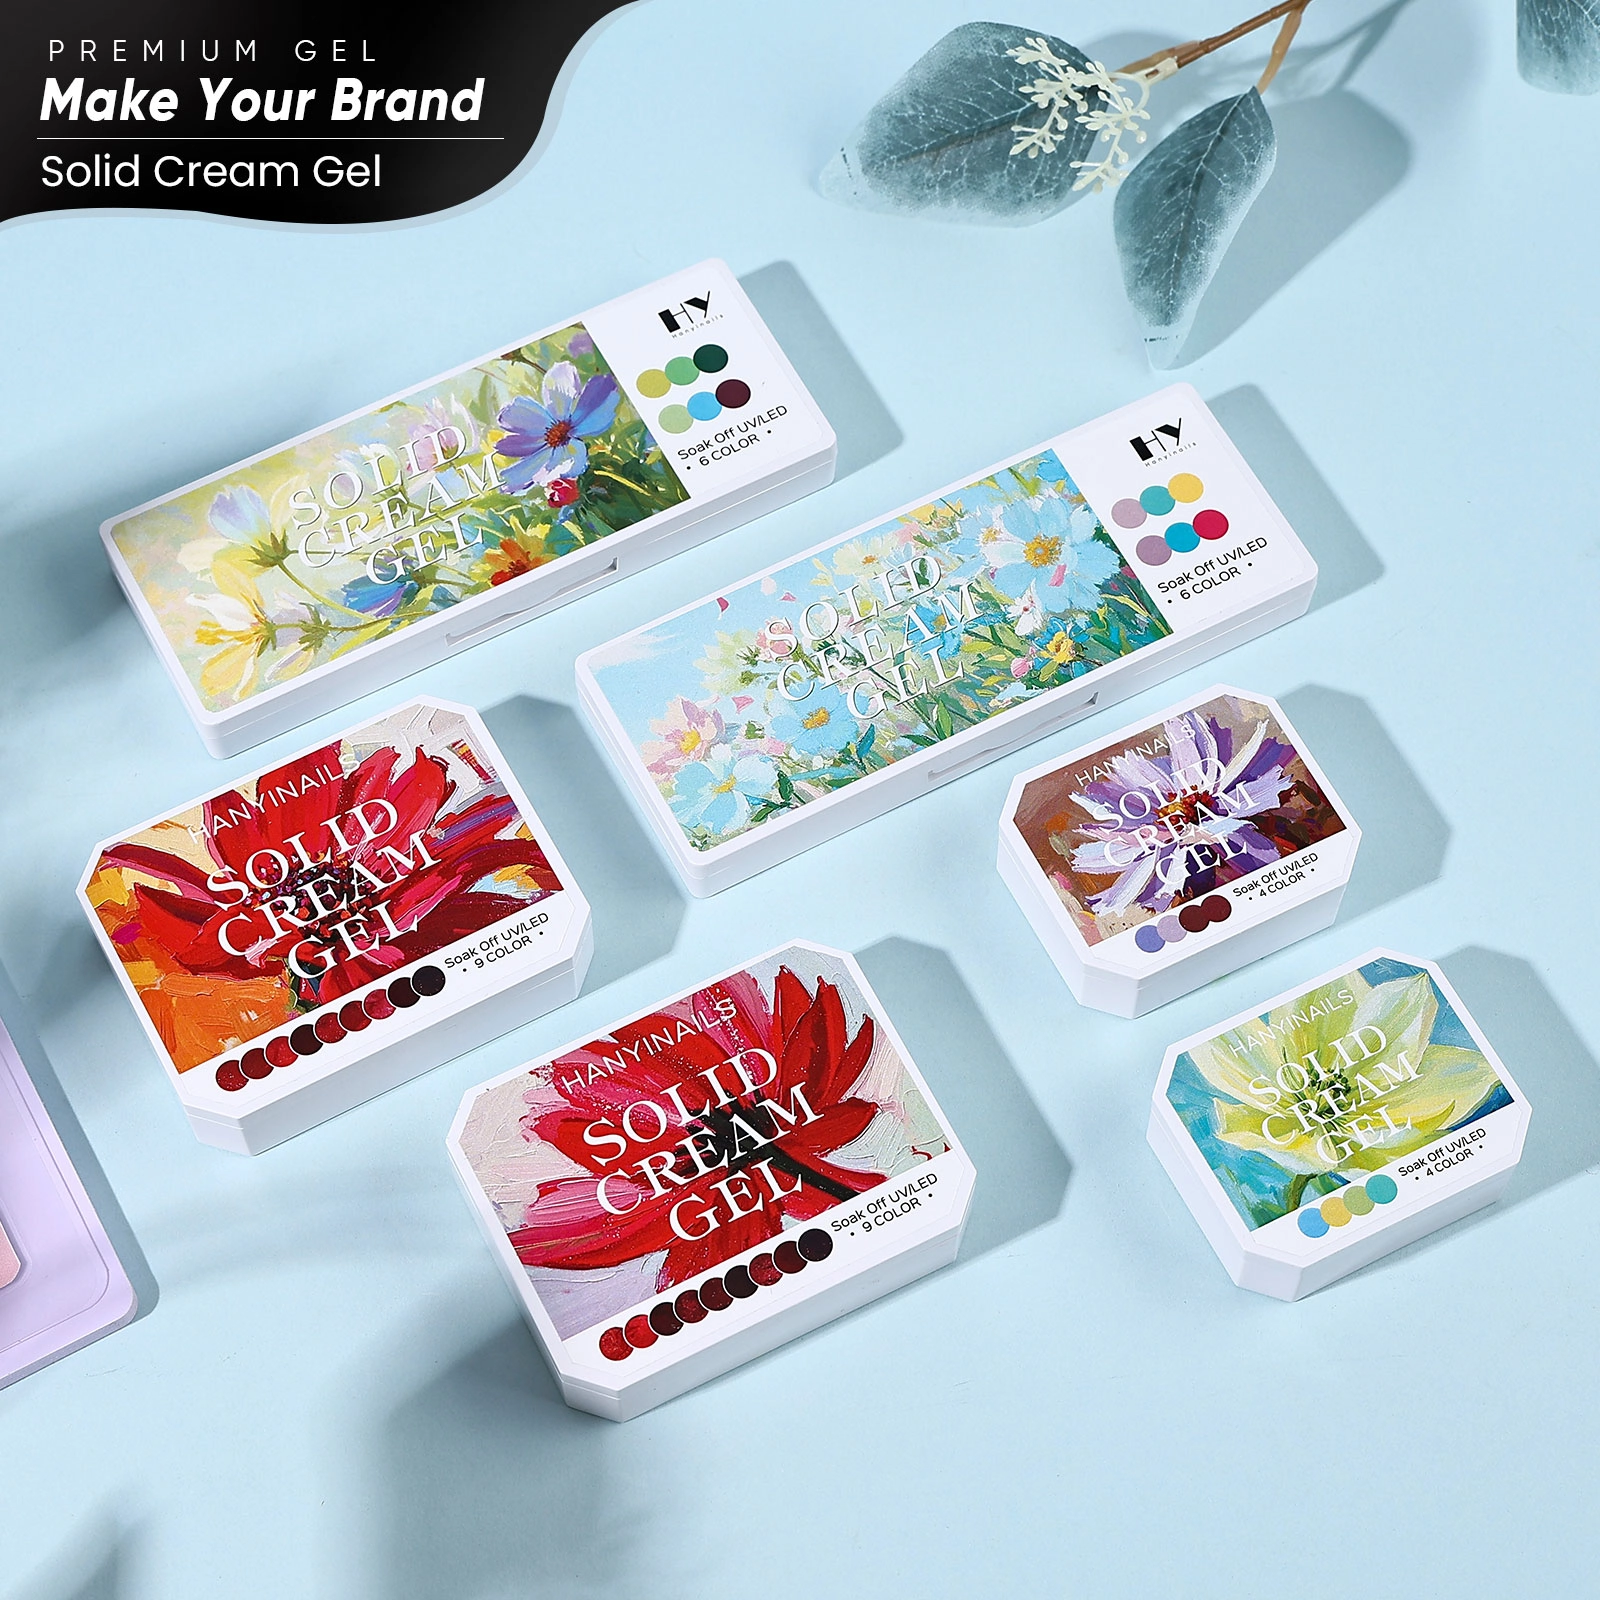
✨ Key Features:
✔ 100% HEMA-Free Formula—Gentle on nails and skin, ideal for sensitive users and allergy-prone customers.
✔ Vegan & Organic—Cruelty-free, eco-conscious, and skin-friendly.
✔ Vibrant Colors & Pigmentation—Rich, full-coverage colors with intense pigment that require only a thin layer for bold results.
✔ Quick & Easy Application—Smooth consistency that applies evenly for professional-looking results at home or in the salon.
✔ Safe for Sensitive Skin—Formulated without harmful chemicals and safe for most nail types, including sensitive skin.
✔ OEM/ODM Support—From formula tweaks to bulk orders, we bring your brand to life.
Ideal for salons, indie brands, and retailers who value safety, sustainability, and standout style.
"Get vibrant, long-lasting color—unlock creativity with Pat Pat Gel ."
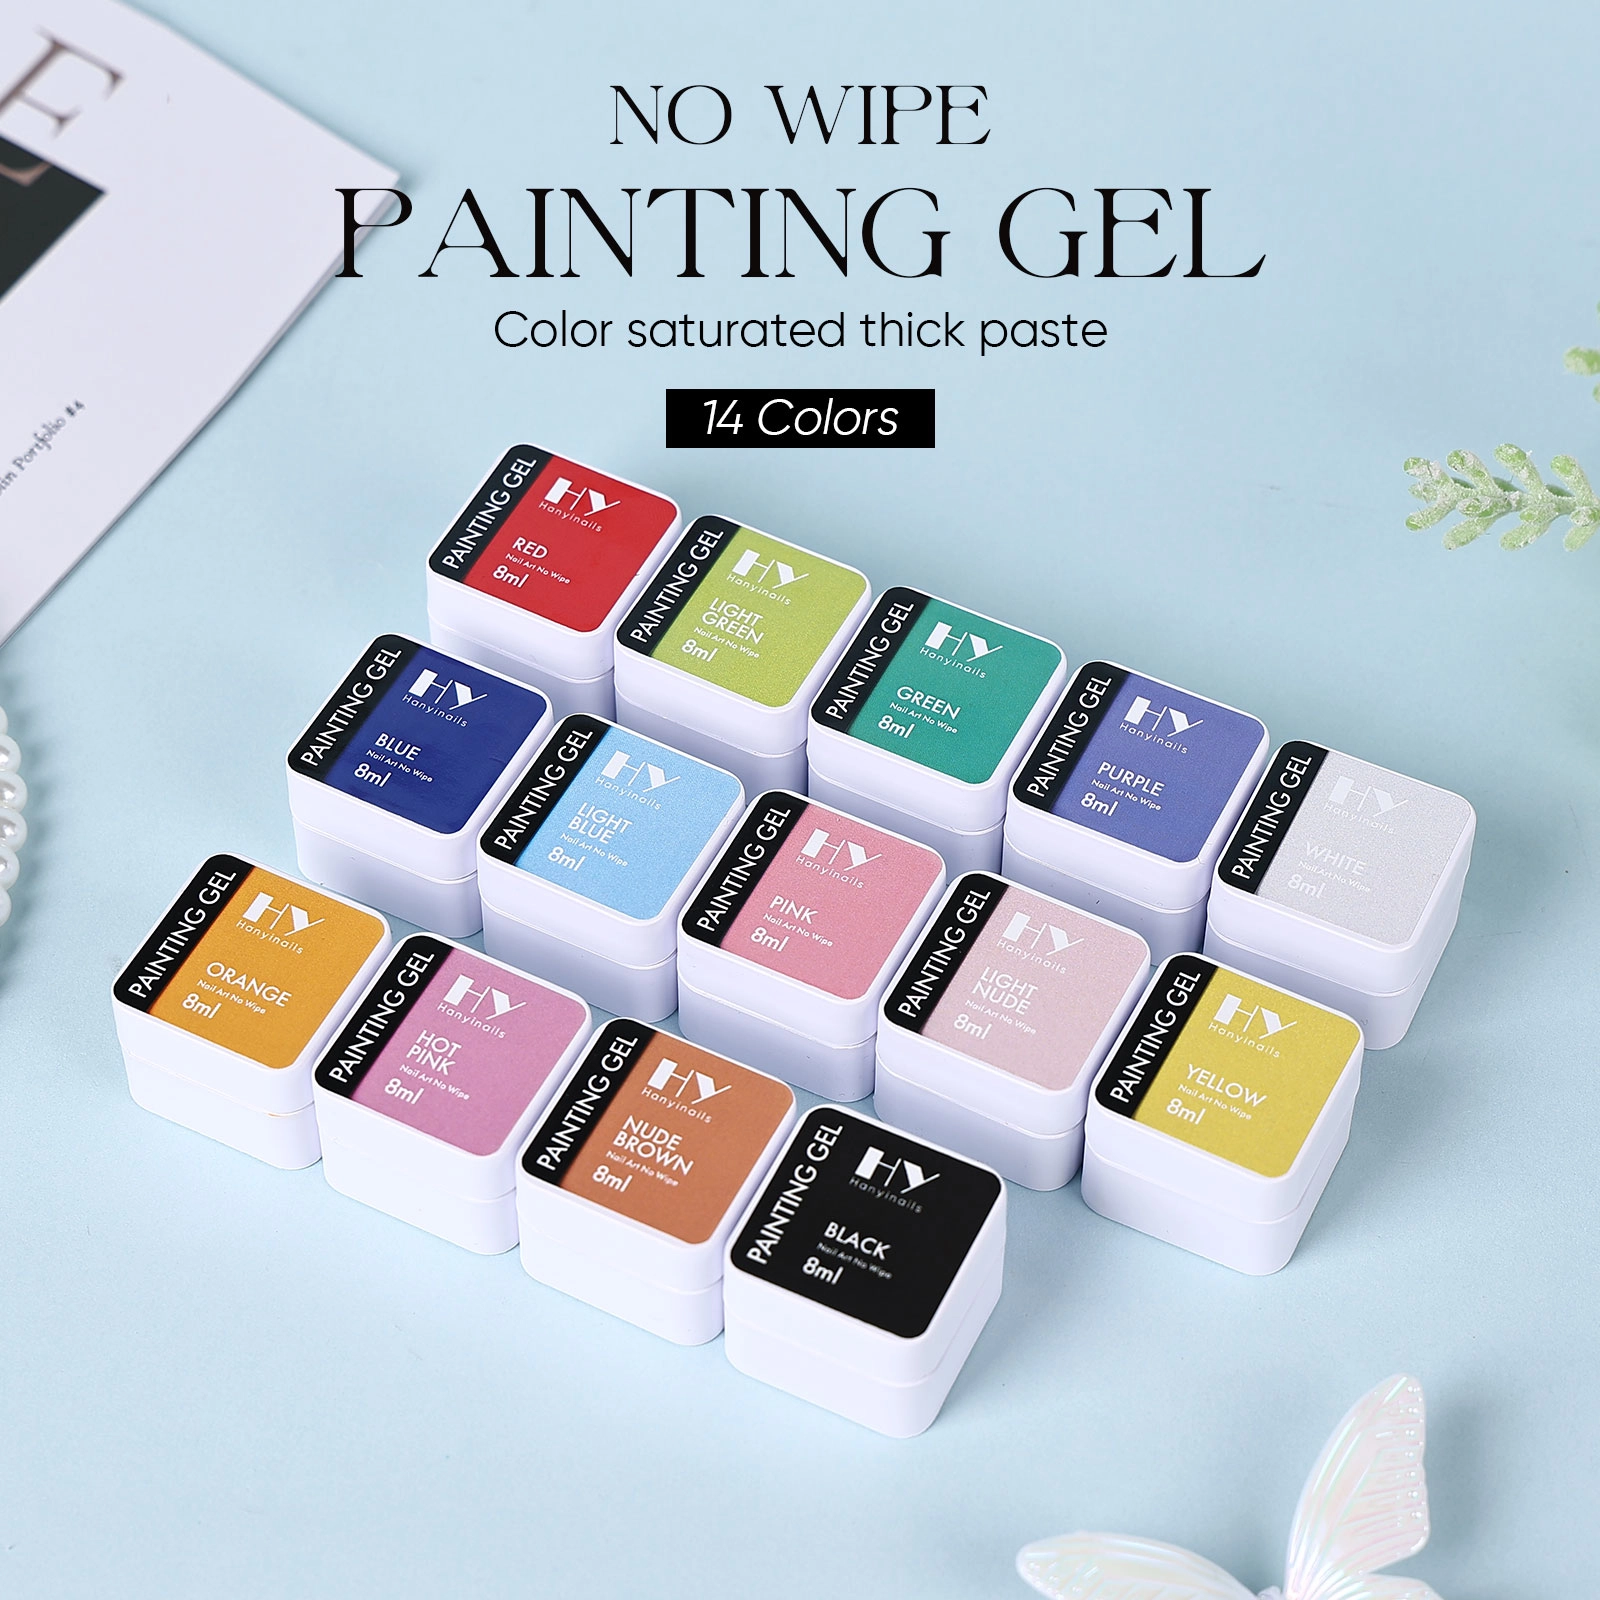
✨ Key Features:
✔ 100% HEMA-Free Formula—Gentle on nails and skin, ideal for sensitive users and allergy-prone customers.
✔ Vegan & Organic—Cruelty-free, eco-conscious, and skin-friendly.
✔ No-Wipe Formula—The finish leaves no sticky layer, eliminating the need for additional top coats or wipe-off solutions.
✔ Vibrant Colors & Pigmentation—Rich, full-coverage colors with intense pigment that require only a thin layer for bold results.
✔ Quick & Easy Application—Smooth consistency that applies evenly for professional-looking results at home or in the salon.
✔ Quick & Easy Application—Smooth consistency that applies evenly for professional-looking results at home or in the salon.
✔ Safe for Sensitive Skin—Formulated without harmful chemicals and safe for most nail types, including sensitive skin.
✔ OEM/ODM Support—From formula tweaks to bulk orders, we bring your brand to life.
Ideal for salons, indie brands, and retailers who value safety, sustainability, and standout style.
"Get vibrant, long-lasting color—unlock creativity with Paint Gel."
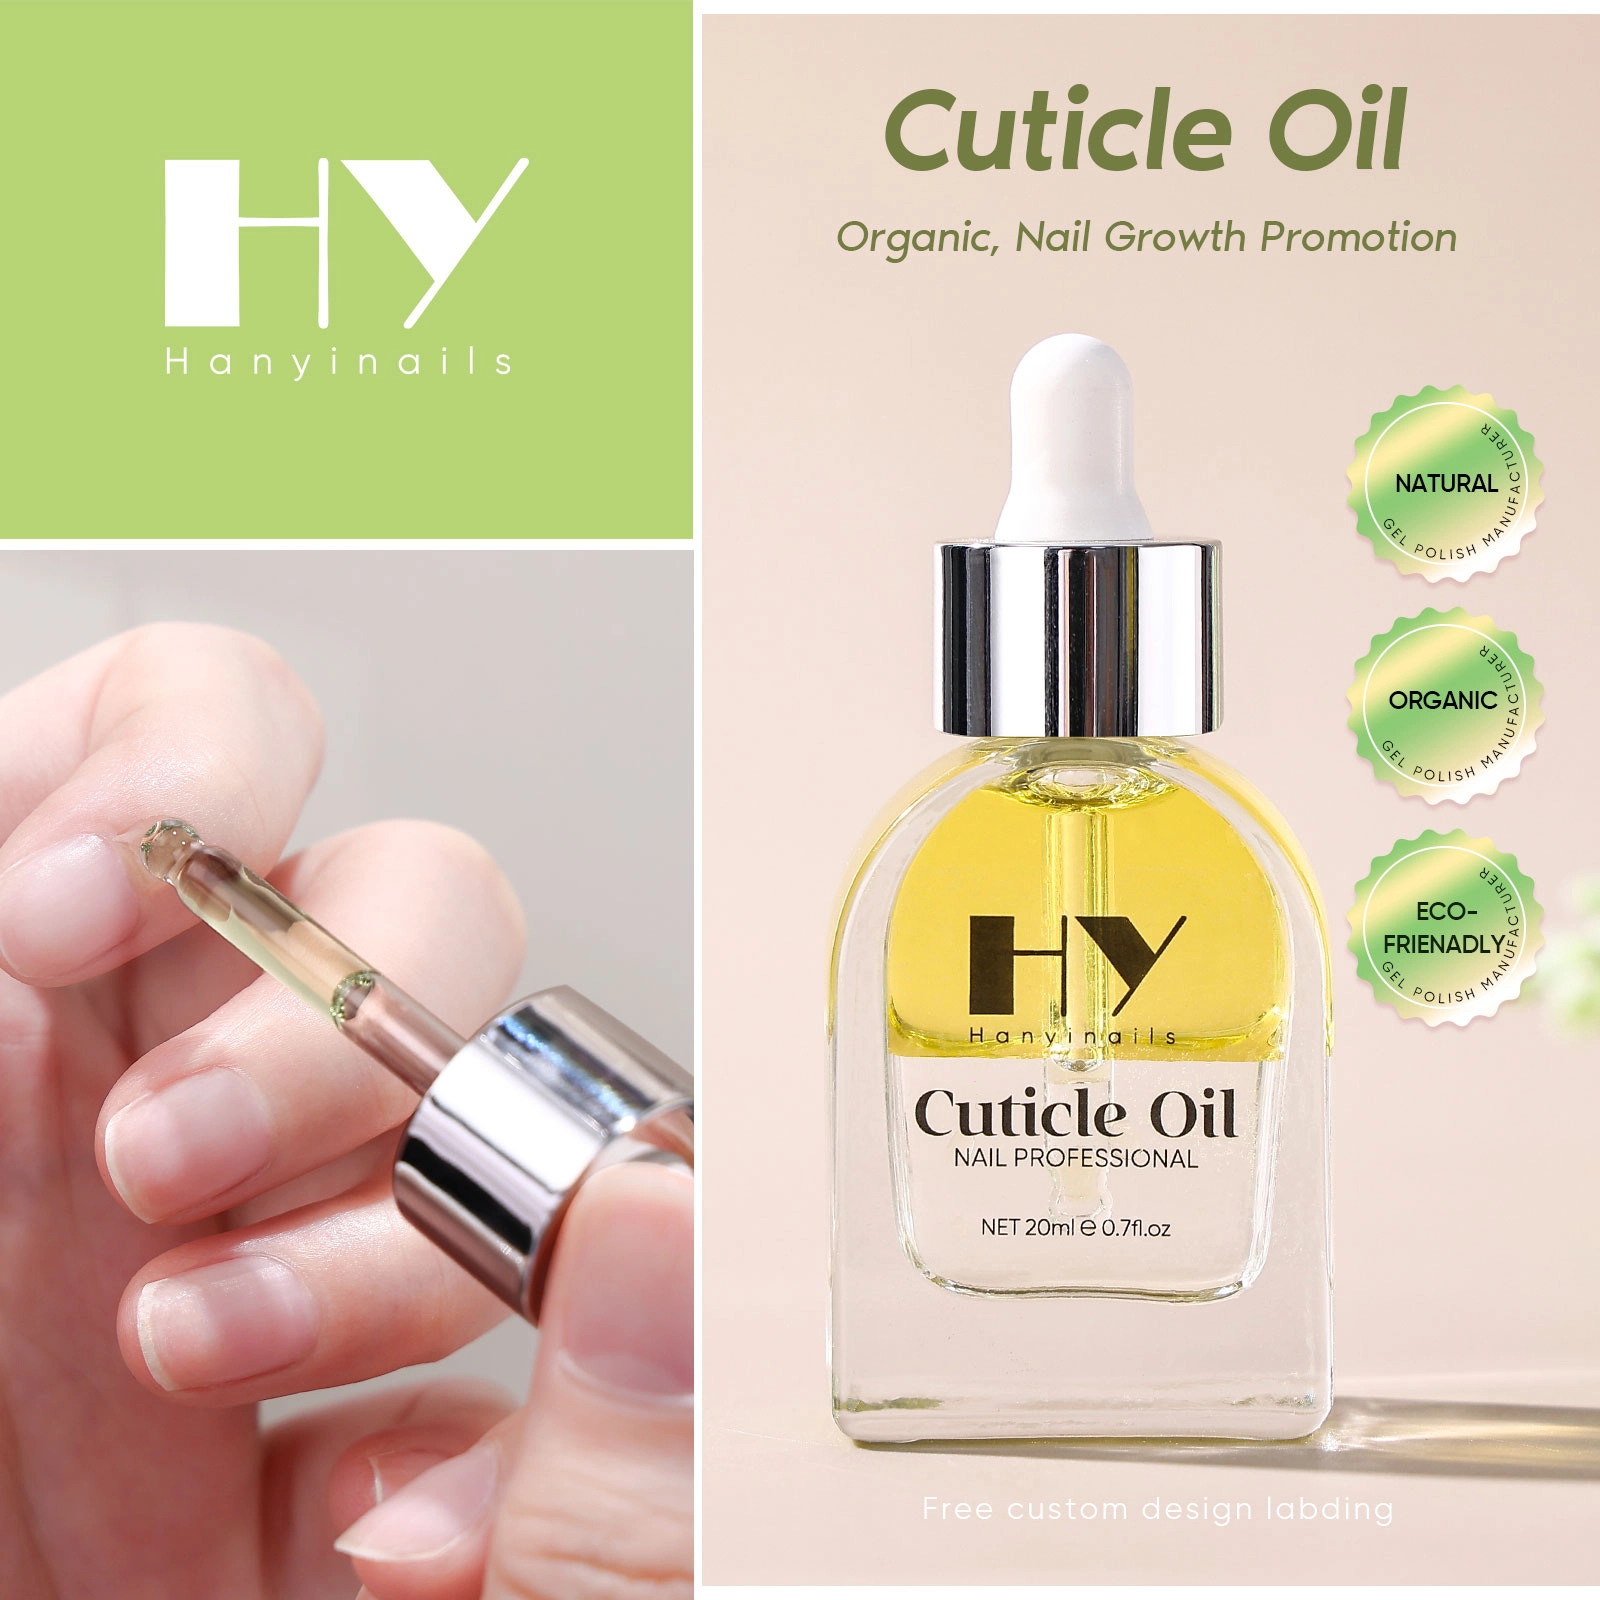
✨ Key Features:
✔ Vegan & Organic—Cruelty-free, eco-conscious, and skin-friendly.
✔ Deep Moisturizing Formula—Softens dry, cracked cuticles and nourishes surrounding skin
✔ Promotes Healthy Nail Growth—Supports stronger, longer nails with regular use
✔ Natural & Plant-Based Oils—Infused with ingredients like Vitamin E, Jojoba, and Sweet Almond Oil
✔ Non-Greasy & Fast-Absorbing – Leaves no residue; perfect for daily use or on-the-go hydration
✔ Lightweight & Refreshing Scent – Gentle floral or fruity aroma adds a spa-like touch to your nail routine
✔ Perfect for At-Home or salon use—great for professional manicures or personal nail care routines
✔ Suitable for All Skin Types—Gentle on sensitive skin, cuticle areas, and nail beds
"Perfect for repairing dry cuticles and promoting healthy nail growth."
Looking for a creative, premium, and reliable nail product manufacturer?
Whether you're an Amazon seller, Shopify store owner, chain store buyer, brand owner, distributor, wholesaler, or nail supply retailer — Hanyinails is your trusted partner for custom and wholesale nail solutions.
Hanyinails
Hanyinails
Hanyinails
Hanyinails