

Step-by-Step Tutorial: How to Create Perfect Fine Lines with Liner Art Gel
Discover Hanyinails' step-by-step tutorial to create perfect fine lines using Liner Art Gel. Learn techniques, tools, and tips for flawless Liner Art Gel Nail Gel designs—ideal for pros and beginners.
- Introduction to Liner Art Nail Gel
- What Is Liner Art Nail Gel?
- Why Fine Lines Are Essential in Modern Nail Art
- Tools and Preparation
- Essential Nail Gel Tools and Brushes
- Prepping Your Nails for Clean Application
- Step-by-Step Tutorial: Creating Perfect Fine Lines
- Step 1: Choosing the Right Liner Art Gel Color
- Step 2: Loading the Fine Brush Properly
- Step 3: Practicing Line Control and Pressure
- Step 4: Drawing Consistent Thin Lines on the Nail
- Step 5: Curing and Sealing for Long-Lasting Results
- Why Choose Hanyinails for Liner Art Gel
- High-Quality Formulas and Professional Pigmentation
- Wide Range of Colors and Nail Art Kits
- Trusted Supplier for Salons and Nail Artists
- Conclusion: Mastering Fine Lines with Liner Gel
Introduction to Liner Art Nail Gel
Nail art has been refined and advanced and the art of applying colors has developed more advanced methods. Liner Art Nail Gel is one of the most outstanding products that allow designing it in a complex and detailed way. This gel is specially made to attract subtle swirls, geometric designs, and extremely thin lines that give the nail appearance a professional appearance.
What Is Liner Art Nail Gel?
Liner Art Nail Gel is a richly saturated gel formula that comes with a thin brush applicator, which can be used to create finer nail art. This product is designed to be applied to artistic designs and controlled, unlike a regular gel polish, which is applied over the entire nail. It is imperative in the nail designs of today, as nail artists can create fine lines with liner gel.
Why Fine Lines Are Essential in Modern Nail Art
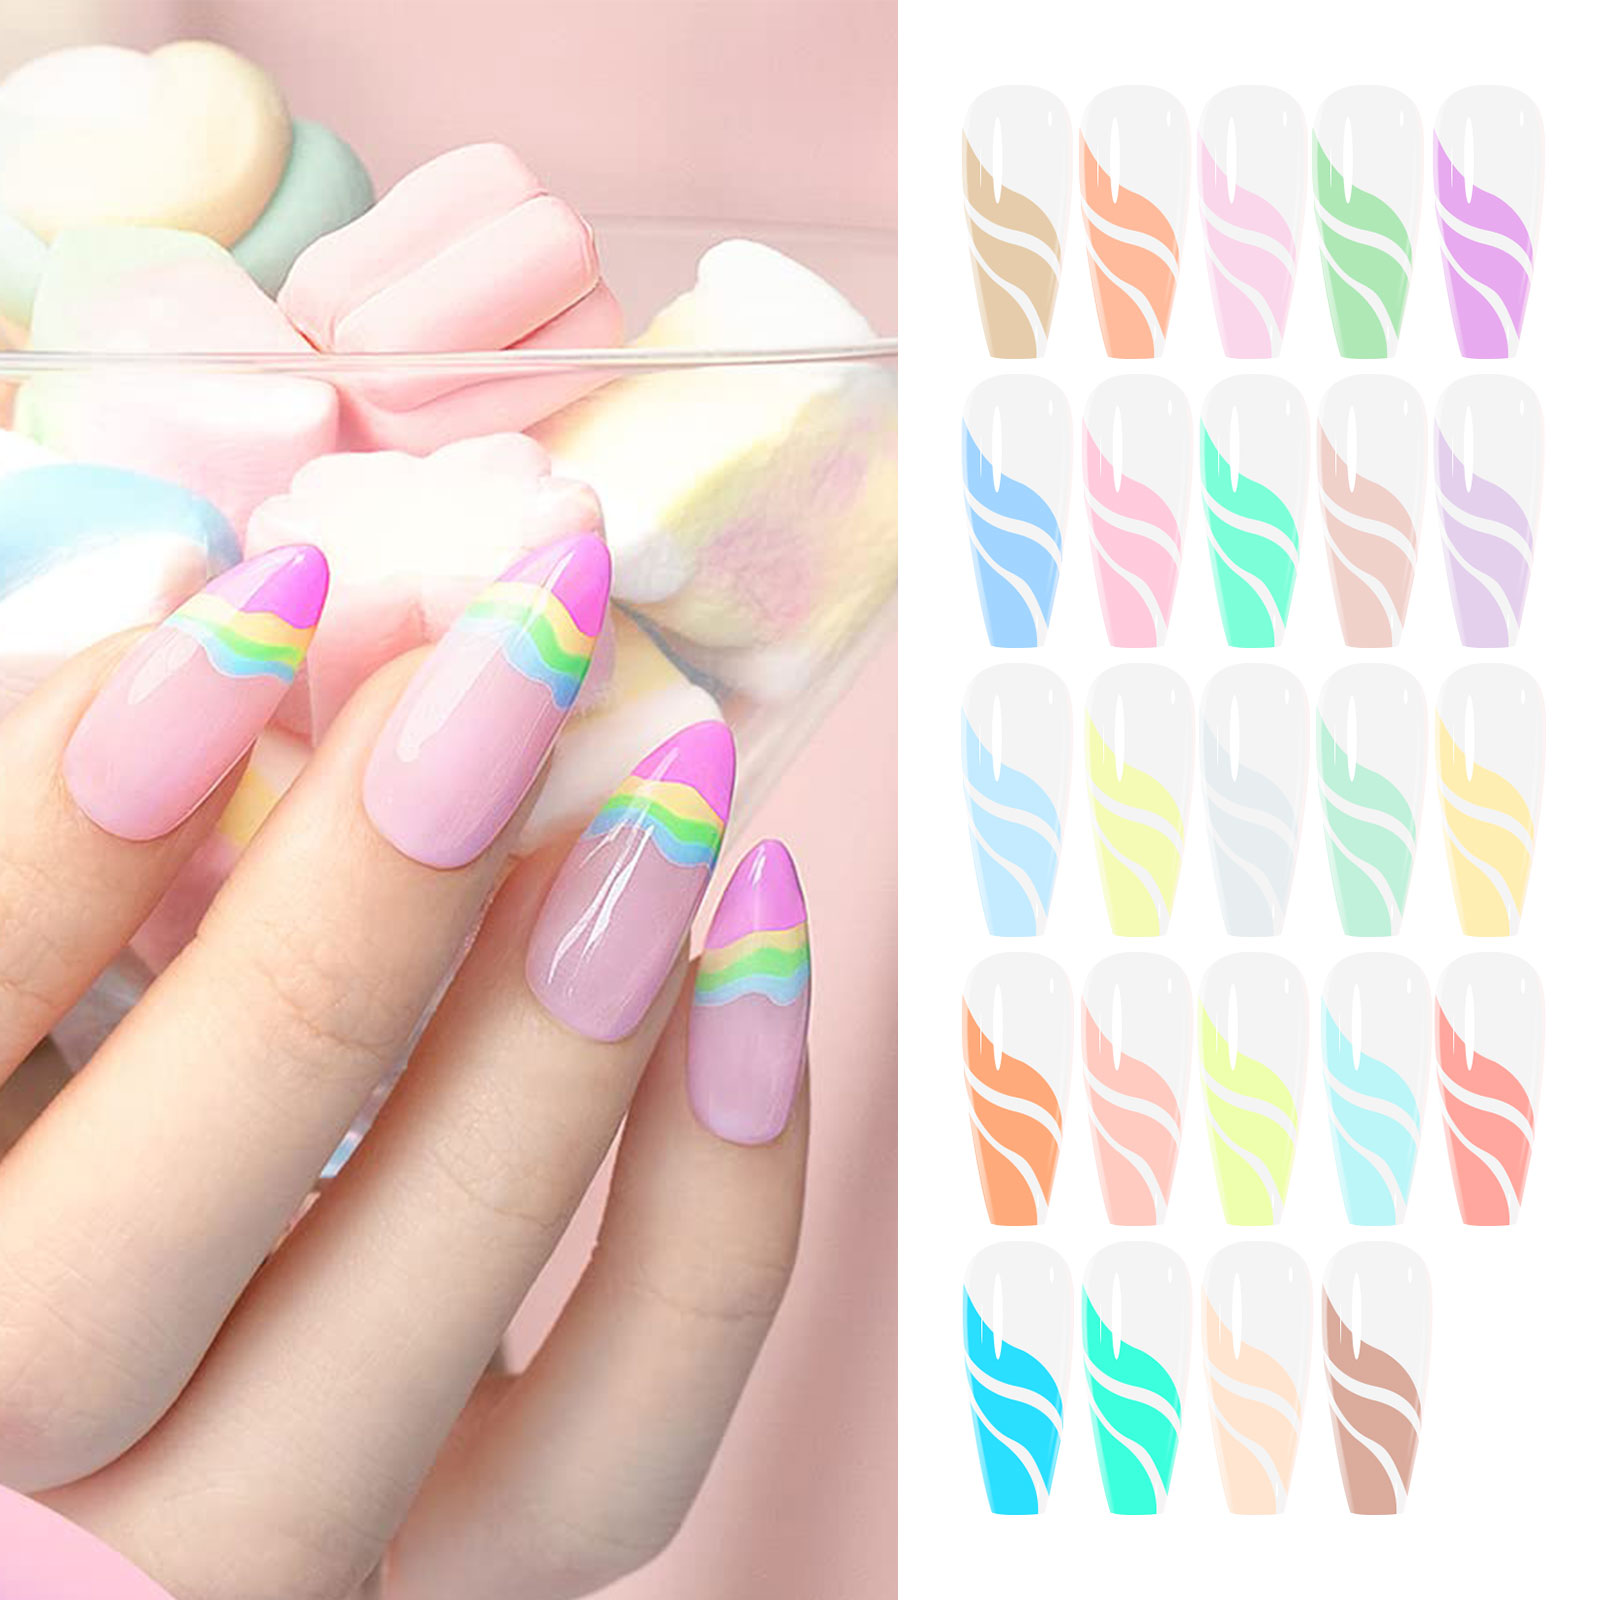
Fine lines are very important in designing minimalist, sleek or elaborate nail designs. Thin strokes are elegant and distinct, whether it is a mildly striped accent or a bold abstract pattern. Novices will find a step-by-step liner art gel tutorial with the information they need to practice control and accuracy, so even novices should be able to learn complicated designs.
Tools and Preparation
Preparation is important before getting down to nail art. The proper equipment and nail-making process directly affect your design and its longevity.
Essential Nail Gel Tools and Brushes
In fine lines, it is essential to have fine-line nail art brushes. Most liner art nail gel products include a brush that is built in; however, some professionals use ultra-thin detailing brushes to ensure greater control. Other tools such as dotting pens, palettes and LED lamps are used to maintain uniformity at the design stage.
Prepping Your Nails for Clean Application
Nails made clean and shaped form the ideal canvas. Start by the cuticle, polish it and use a dehydrator to remove the natural oils. This will avoid the premature raising and will also make the gel adhere evenly. The preparation of a nail surface is essential to form sharp lines that will not smear or run.
Step-by-Step Tutorial: Creating Perfect Fine Lines
So, now we are going to get into the process. This step-by-step liner art gel tutorial is structured to provide clean, elegant and professional-looking results. The steps become progressively harder so that you can become more in control and confident with the steps as you practice.
Step 1: Choosing the Right Liner Art Gel Color
The basis of a dramatic design is color choice. High-contrast colors such as black, white or deep red are also best paired with nude or pastel bases to create a geometric or minimalist design when using liner art nail gel. Gold and silver are also metallic colors that are beautiful and may be applied as a party ornament or as an accent line. When beginning to practice line work, it is better to start with darker colors so you can easily see each line. Always do a test patch on a swatch first before putting it on your nail to see how the color will react to the nail.

Step 2: Loading the Fine Brush Properly
It is important to load the brush properly to be precise. Place the tip of the thin brush into the gel lightly and wipe off any excess product against the neck of the bottle or against a palette. This makes sure that the bristles do not clump together. Excessive gel on the brush may leave smudges on the nail, whereas insufficient gel will leave jagged and uneven traces. One of the good habits is to roll the brush a little on a palette after loading—this spreads out the gel evenly and also allows more control over fine strokes.
Step 3: Practicing Line Control and Pressure
The fine lines with liner gel need steadiness and patience to create. Grasp the brush as a pen with the wrist loose but steady. With very light pressure, the strokes will be ultra-thin, whereas a little harder will result in a heavier line thickness—just what is needed to provide variety within the same design. Novices need to practice on nail ends or art paper first, trying straight, curved, and zig-zag lines until they reach the same thickness. The muscle memory will build up over time and your strokes will become smoother and more accurate.
Step 4: Drawing Consistent Thin Lines on the Nail
After being comfortable, you can apply your designs on the nail. Place your hand on a flat surface to steady the hand and then move the brush slowly and evenly over the nail. Never move the brush too fast; this will cause the line to be broken. To be more sophisticated, try layering, i.e. making grids, crosshatching or dots on top of a base polish. Where mistakes occur, a clean brush dipped in a small amount of cleanser may be applied to remove or sharpen the line before it hardens.
Step 5: Curing and Sealing for Long-Lasting Results
Once every design is done, cure the nail in an LED or UV lamp to fix the details. Flash curing (between several lines) helps prevent smudging when you are dealing with a complicated design. After the painting is finished, put on a good top coating to cover it all over. Not only does this preserve the fine lines, but it also adds shine and smoothness and makes the manicure look professional. With the right cure and seal, fine lines using the liner gel can last as long as a normal gel manicure—two to three weeks without fading or chipping.

Why Choose Hanyinails for Liner Art Gel
Learning to work with thin lines is half the battle—the difference is in the products one uses. No matter how well a brush is controlled, poor-quality gels will smear, fade, or become indistinct with time. This is why it is important to select a professional-grade brand. When you need the performance of a salon and the precision that lasts long, the Hanyinails liner art gel kit offers the durability and reliability that you expect of a nail artist and salon.
High-Quality Formulas and Professional Pigmentation
Hanyinails creates its gels using thick, highly pigmented colors that make each line of its gels sharp and vivid. The colors remain colorful without fading or muddiness whether you are sketching with simple lines or layered designs. This consistency will enable nail artists to create perfect fine lines using liner gel that lasts weeks even when worn daily.
Wide Range of Colors and Nail Art Kits
Hanyinails provides a wide range of colors, including the most important classics, such as black and white, and the most striking neons and classy metallics. Every nail gel kit of liner art is custom-made to allow professionals to experiment with endless possibilities in styles: geometric, abstract, and minimalist. This assortment means that you are able to add to your nail art collection and provide your customers with new, trendy designs.
Trusted Supplier for Salons and Nail Artists
In addition to products, Hanyinails is a trusted supplier to salons and nail professionals throughout the world. Our reliable quality, high-quality packaging, and attentive service enable artists to concentrate on what is important to them: producing excellent outcomes for customers. To make a choice in favor of Hanyinails is to make a choice in favor of art and trust, which is what uplifts any manicure.
Conclusion: Mastering Fine Lines with Liner Gel
Mastering the tricks of liner art nail gel takes time, proper equipment and organization. Whether it is nail preparation or application and curing, each step leads to the desired salon-like results at home or in the workplace.
You can count on Hanyinails as your supplier when you want to get on the next level with your nail art. Using salon-quality nail art gel, advanced formulas and a variety of colors, we are here to assist nail artists and nail enthusiasts in creating a flawless design. Get in touch with Hanyinails and see what we can create today!
Common FAQs About Liner Art Gel Lines
Can Beginners Master Fine Lines Easily?
Yes, with practice and a good "how to use liner art gel" video, any beginner will be able to attain consistent results in just a few attempts.
How Long Does Liner Art Gel Last on Nails?
Designs made using liner art nail gel may last as long as three weeks when properly used and cured.
What’s the Difference Between Liner Gel and Nail Art Pens?
Liner gel is also more pigmented and durable than pens. Pens are also superb when it comes to quick drawings, but gels are more accurate and professional and will last longer.
Private Label Success: Launching Your Own Line of Chrome Nail Polish
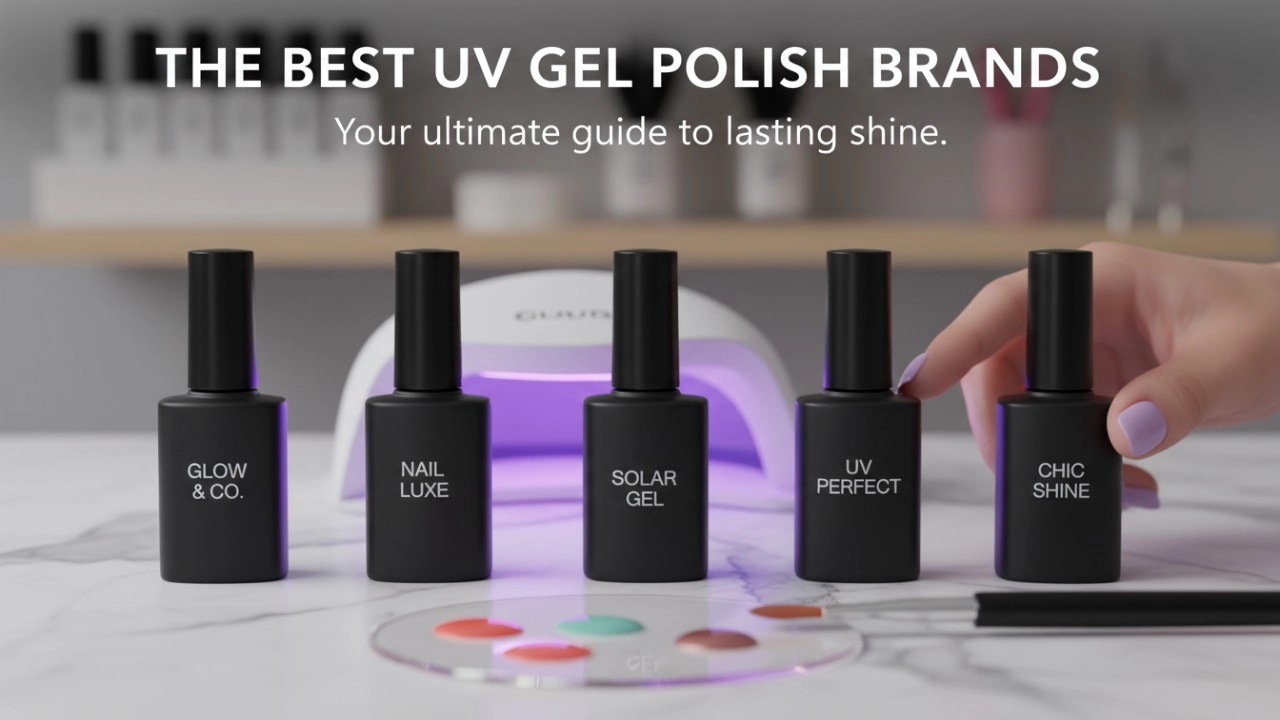
The Ultimate 2026 Buyer's Guide: Best UV Gel Polish Brands for Every Budget
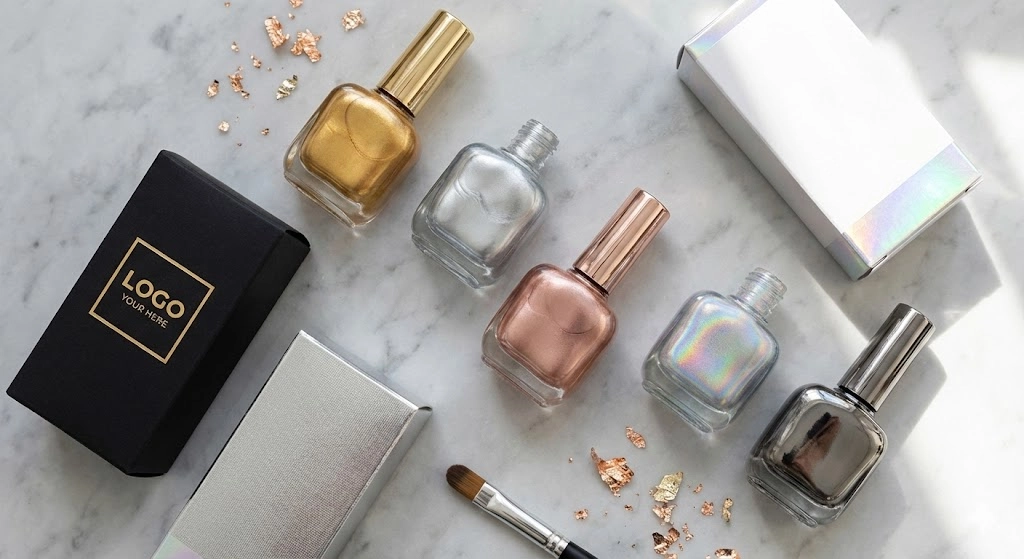
Sourcing Guide: How to Find Reliable Manufacturers for Chrome Nail Polish
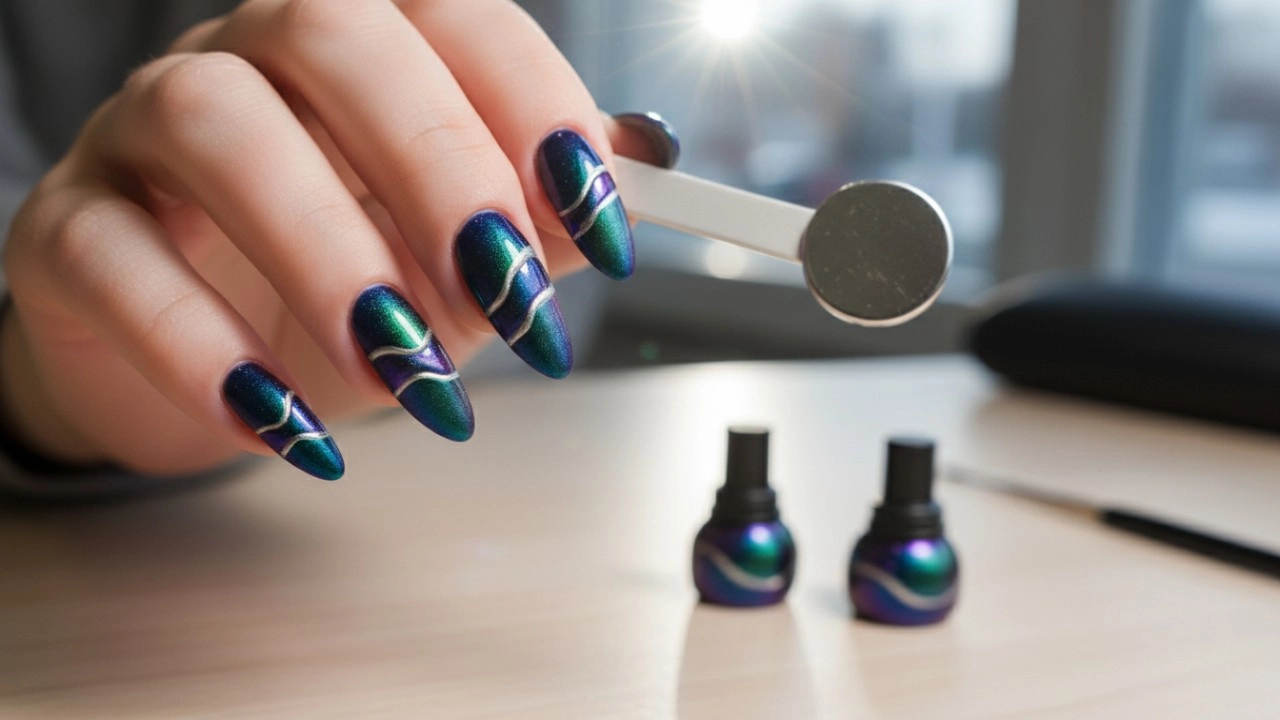
Best Cat Eye Gel Polish Comparison 2026: Salon-Grade Brands vs. Budget-Friendly Alternatives
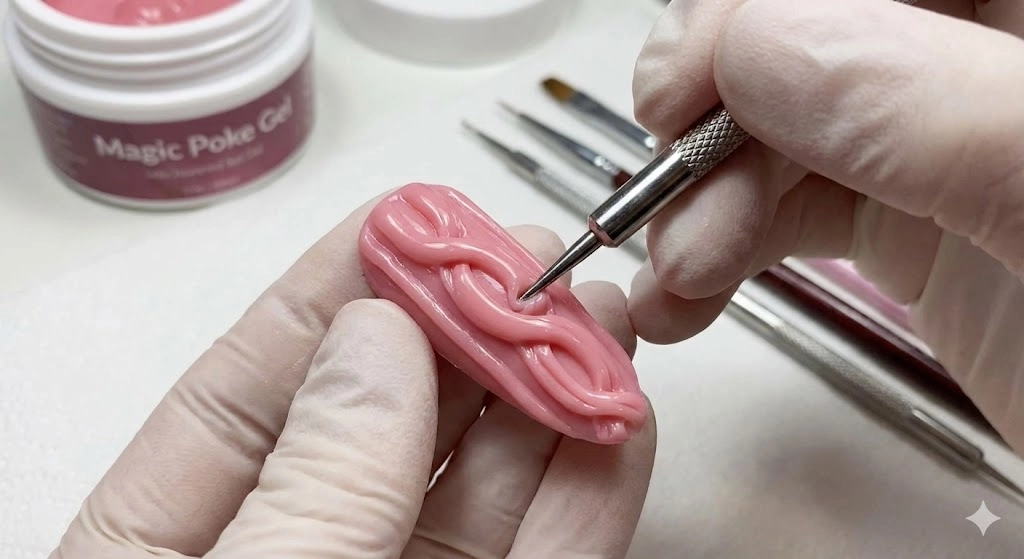
What Is Magic Poke Gel Polish and Why Is It Trending in Nail Art?
For After-sales
What can I do if the gel nail polish colors don't match what l purchased?
If you think you have received the wrong set you ordered, please contact our customer support team and we will get back to yousoon.lf it is the corect product but you are unsatisfied with the color match, we work very hard to closely match each color to adigital replication for our image. lt is impossible to match an exact color with any digitalrepresentation of a physical product;however, we have worked closely on each set making sure that each color is as close as it can be to the color in the bottle.lfyou arestill unsatisfied, please contact us. We are here to help and make it right in any way!
FAQ
Can I customize the formula and colors?
Absolutely! We offer full customization, including formula, color shades, textures, and finishes to match your brand’s vision.
Do you provide samples?
Yes, we offer samples for quality testing. Contact us for more details on sample policies and costs.
For Customization
How long it takes for production?
We do customization for your brand, we specialize in high-quality OEM/ODM nail products, including gel polishes, acrylic systems, nail art supplies, and more. Our streamlined production process ensures efficiency while maintaining strict quality control. Below is a detailed breakdown of our standard production timelines.
HEMA-Free Gel Polish
What does "HEMA-Free" mean?
HEMA-free gel polishes are formulated without Hydroxyethyl Methacrylate, a common allergen in traditional gels. They use alternative bonding agents that are gentler on skin while still providing long-lasting wear.
Recommended for You
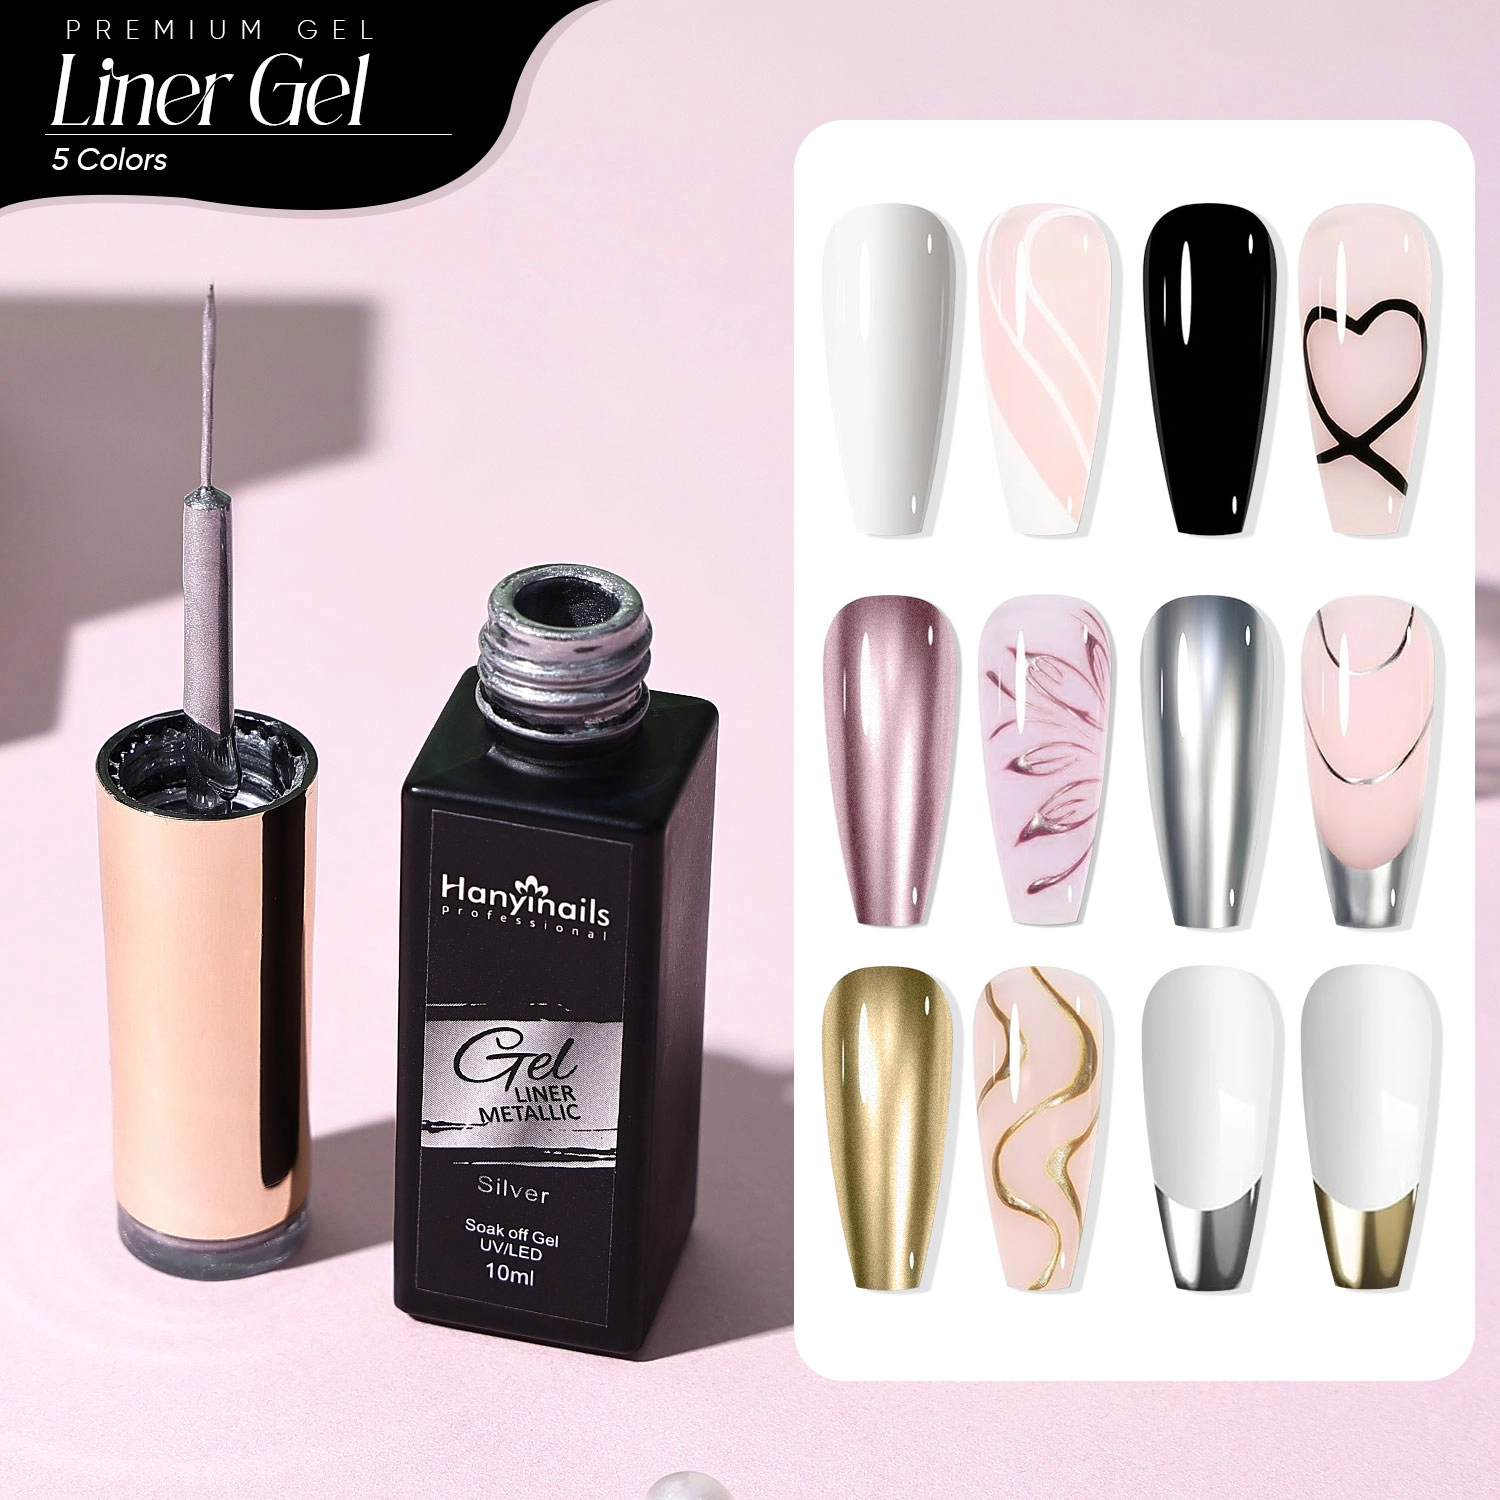
Key Advantages:
🎨 Vibrant & Opaque Colors: Rich, highly-pigmented formula for bold designs; 1-stroke coverage with smooth application; No fading or streaking.
🖌 Professional Precision Brush: Ultra-fine 0.5mm brush tip for detailed lines; flexible bristles for control and accuracy; perfect for French tips, florals, geometrics & more.
💎 Long-Lasting Wear: Chip-resistant for up to 3 weeks; cures in 30s under an LED/UV lamp; compatible with all base/top coats.
🌈 Versatile Color Range: Includes essentials: Black, White, Red + trendy shades; Mixable for custom colors; Matte & glossy finishes
📦 Salon & DIY Friendly: Compact 10ml bottles (24-piece set); easy-to-store organizer box; ideal for professionals & home users.
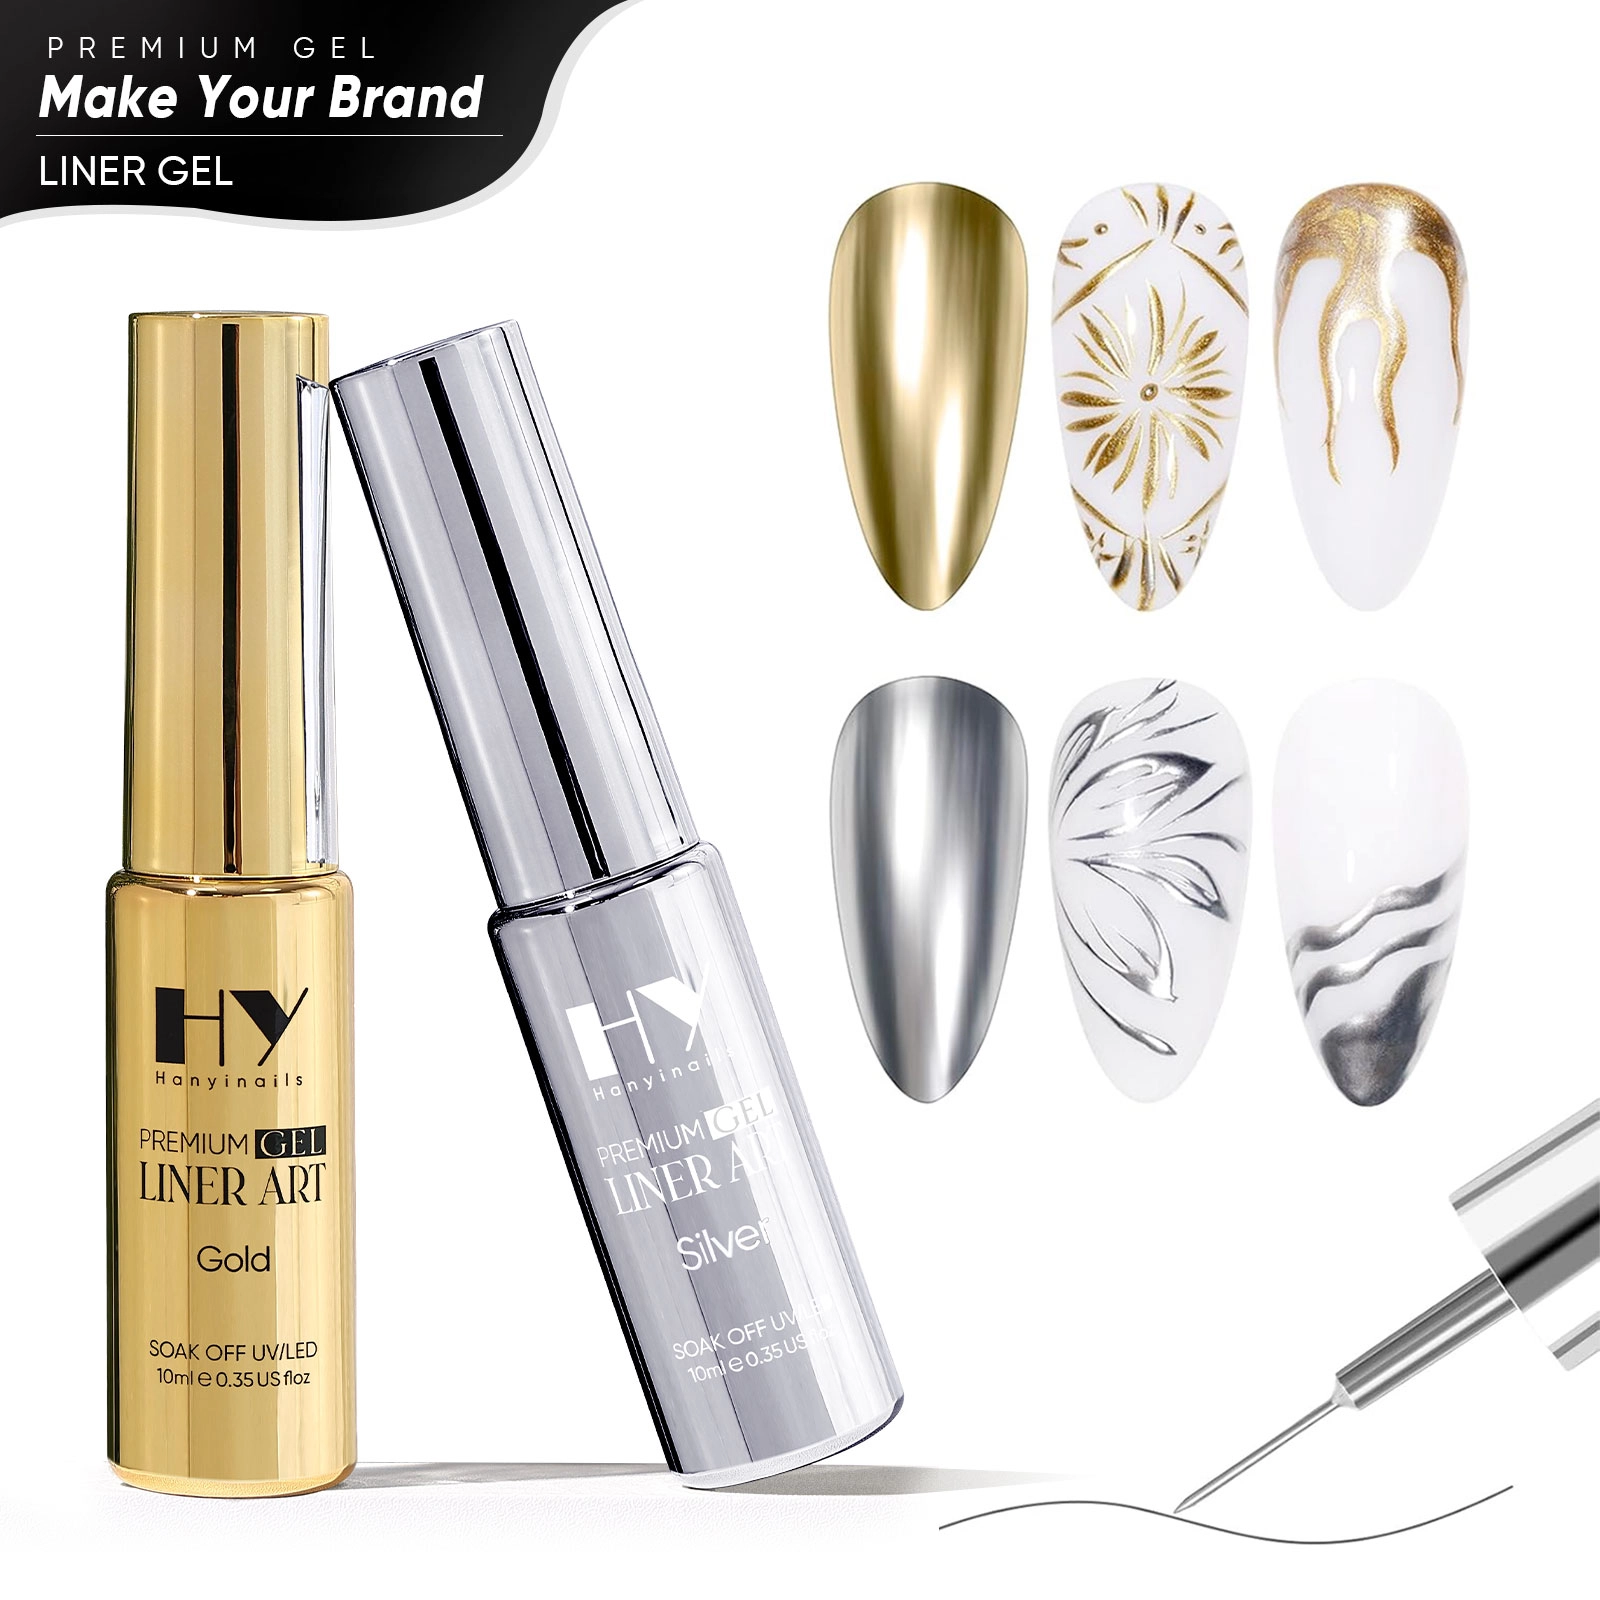
✨ Key Features:
✔ 100% HEMA-Free Formula—Gentle on nails, reducing allergy risks.
✔ Vegan & Organic—Cruelty-free, eco-conscious, and skin-friendly.
✔ Customizable Sets—Tailor colors, packaging, and branding to your vision.
✔ Long-Lasting Neon Glow – Ultra-pigmented, UV/LED-cured for brilliant shine.
✔ OEM/ODM Support—From formula tweaks to bulk orders, we bring your brand to life.
Ideal for salons, indie brands, and retailers who value safety, sustainability, and standout style.
"Glow Bold. Glow Your Way."
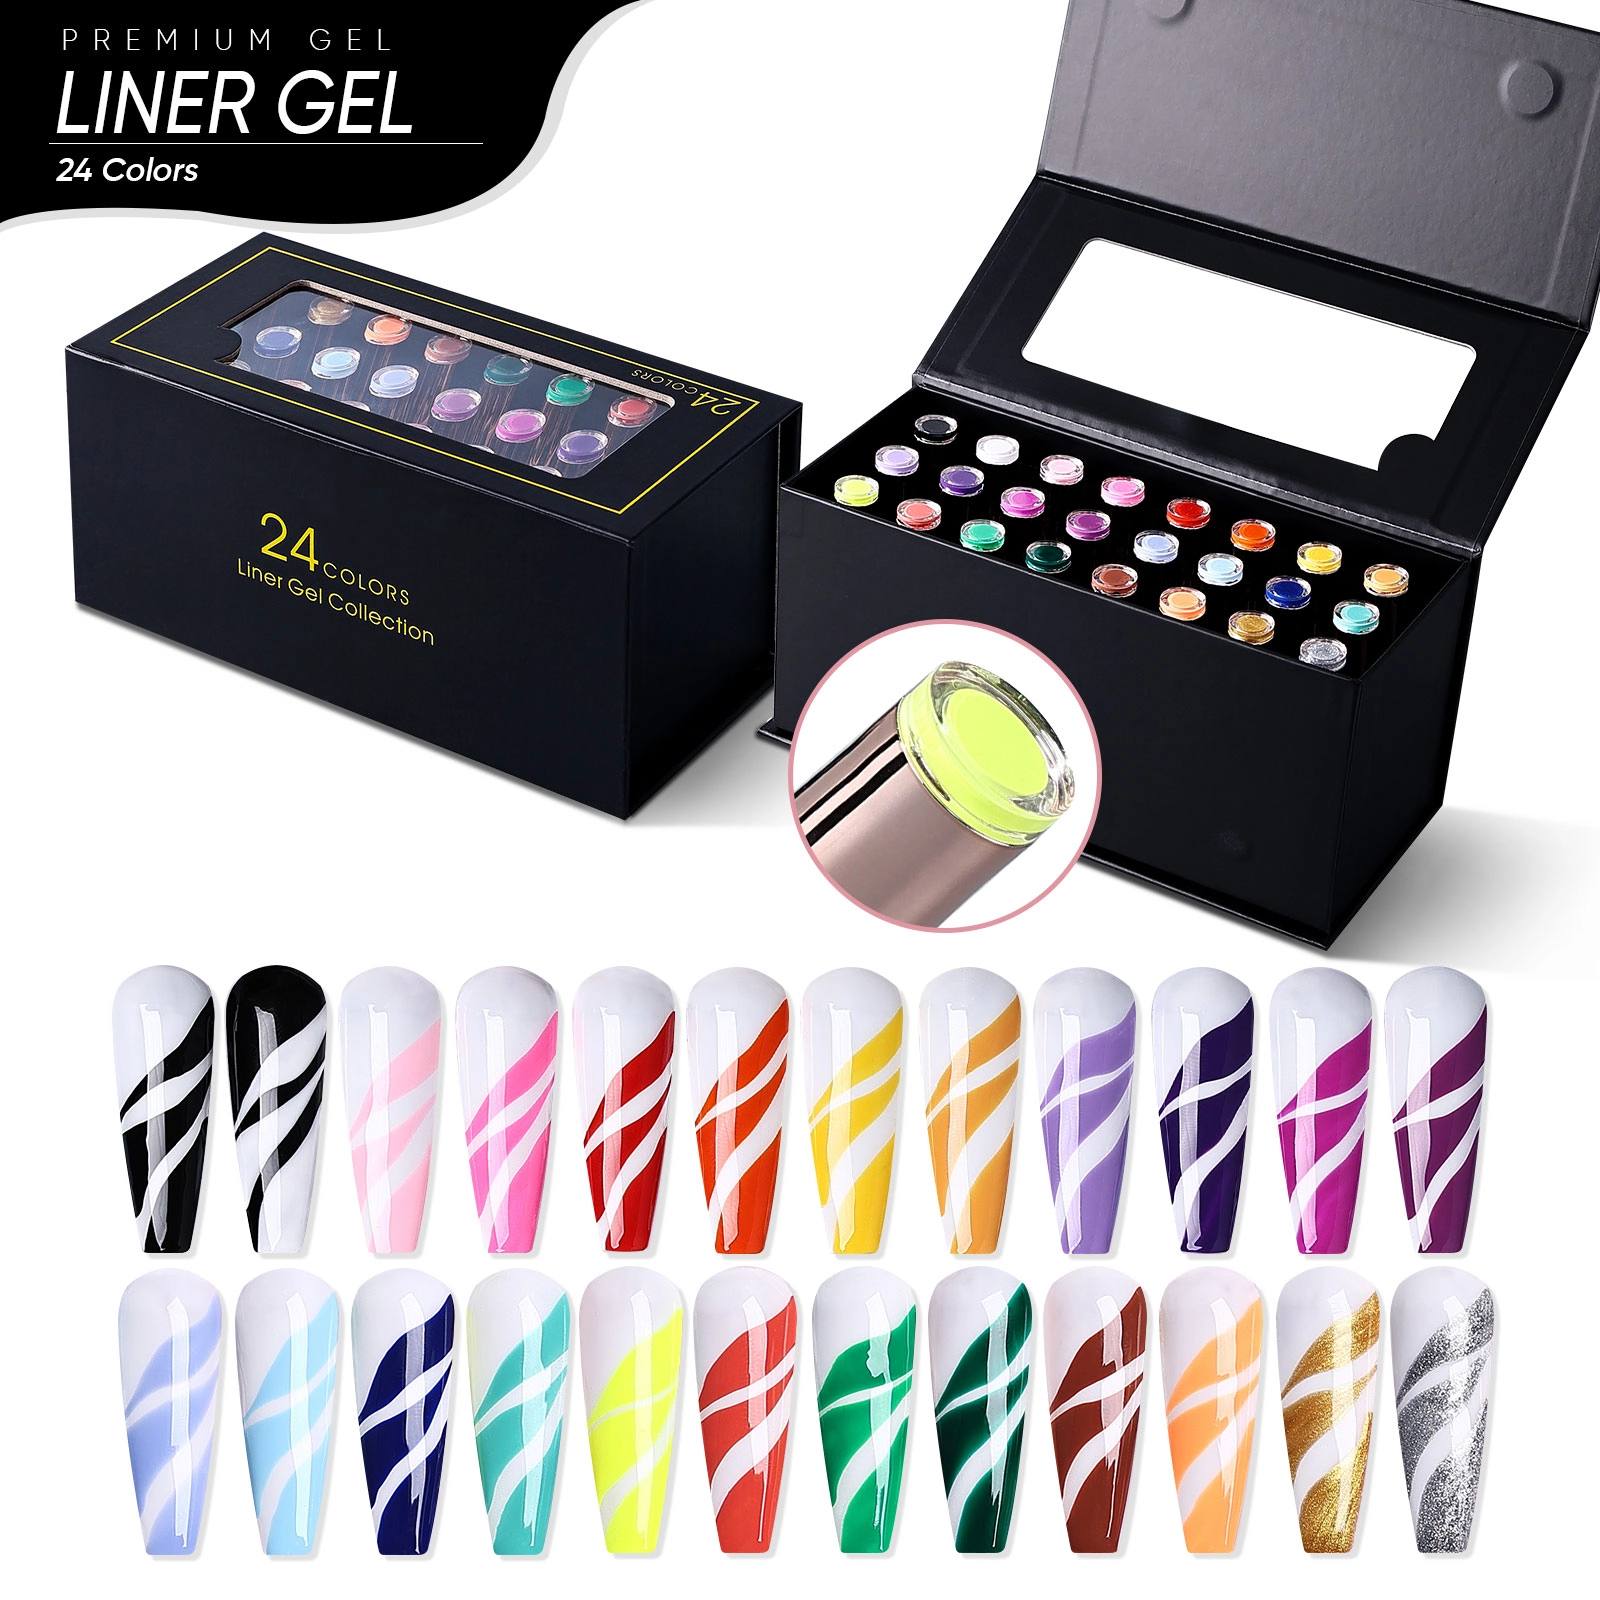
Key Advantages:
🎨 Vibrant & Opaque Colors: Rich, highly-pigmented formula for bold designs; 1-stroke coverage with smooth application; No fading or streaking.
🖌 Professional Precision Brush: Ultra-fine 0.5mm brush tip for detailed lines; flexible bristles for control and accuracy; perfect for French tips, florals, geometrics & more.
💎 Long-Lasting Wear: Chip-resistant for up to 3 weeks; cures in 30s under an LED/UV lamp; compatible with all base/top coats.
🌈 Versatile Color Range: Includes essentials: Black, White, Red + trendy shades; Mixable for custom colors; Matte & glossy finishes
📦 Salon & DIY Friendly: Compact 10ml bottles (24-piece set); easy-to-store organizer box; ideal for professionals & home users.
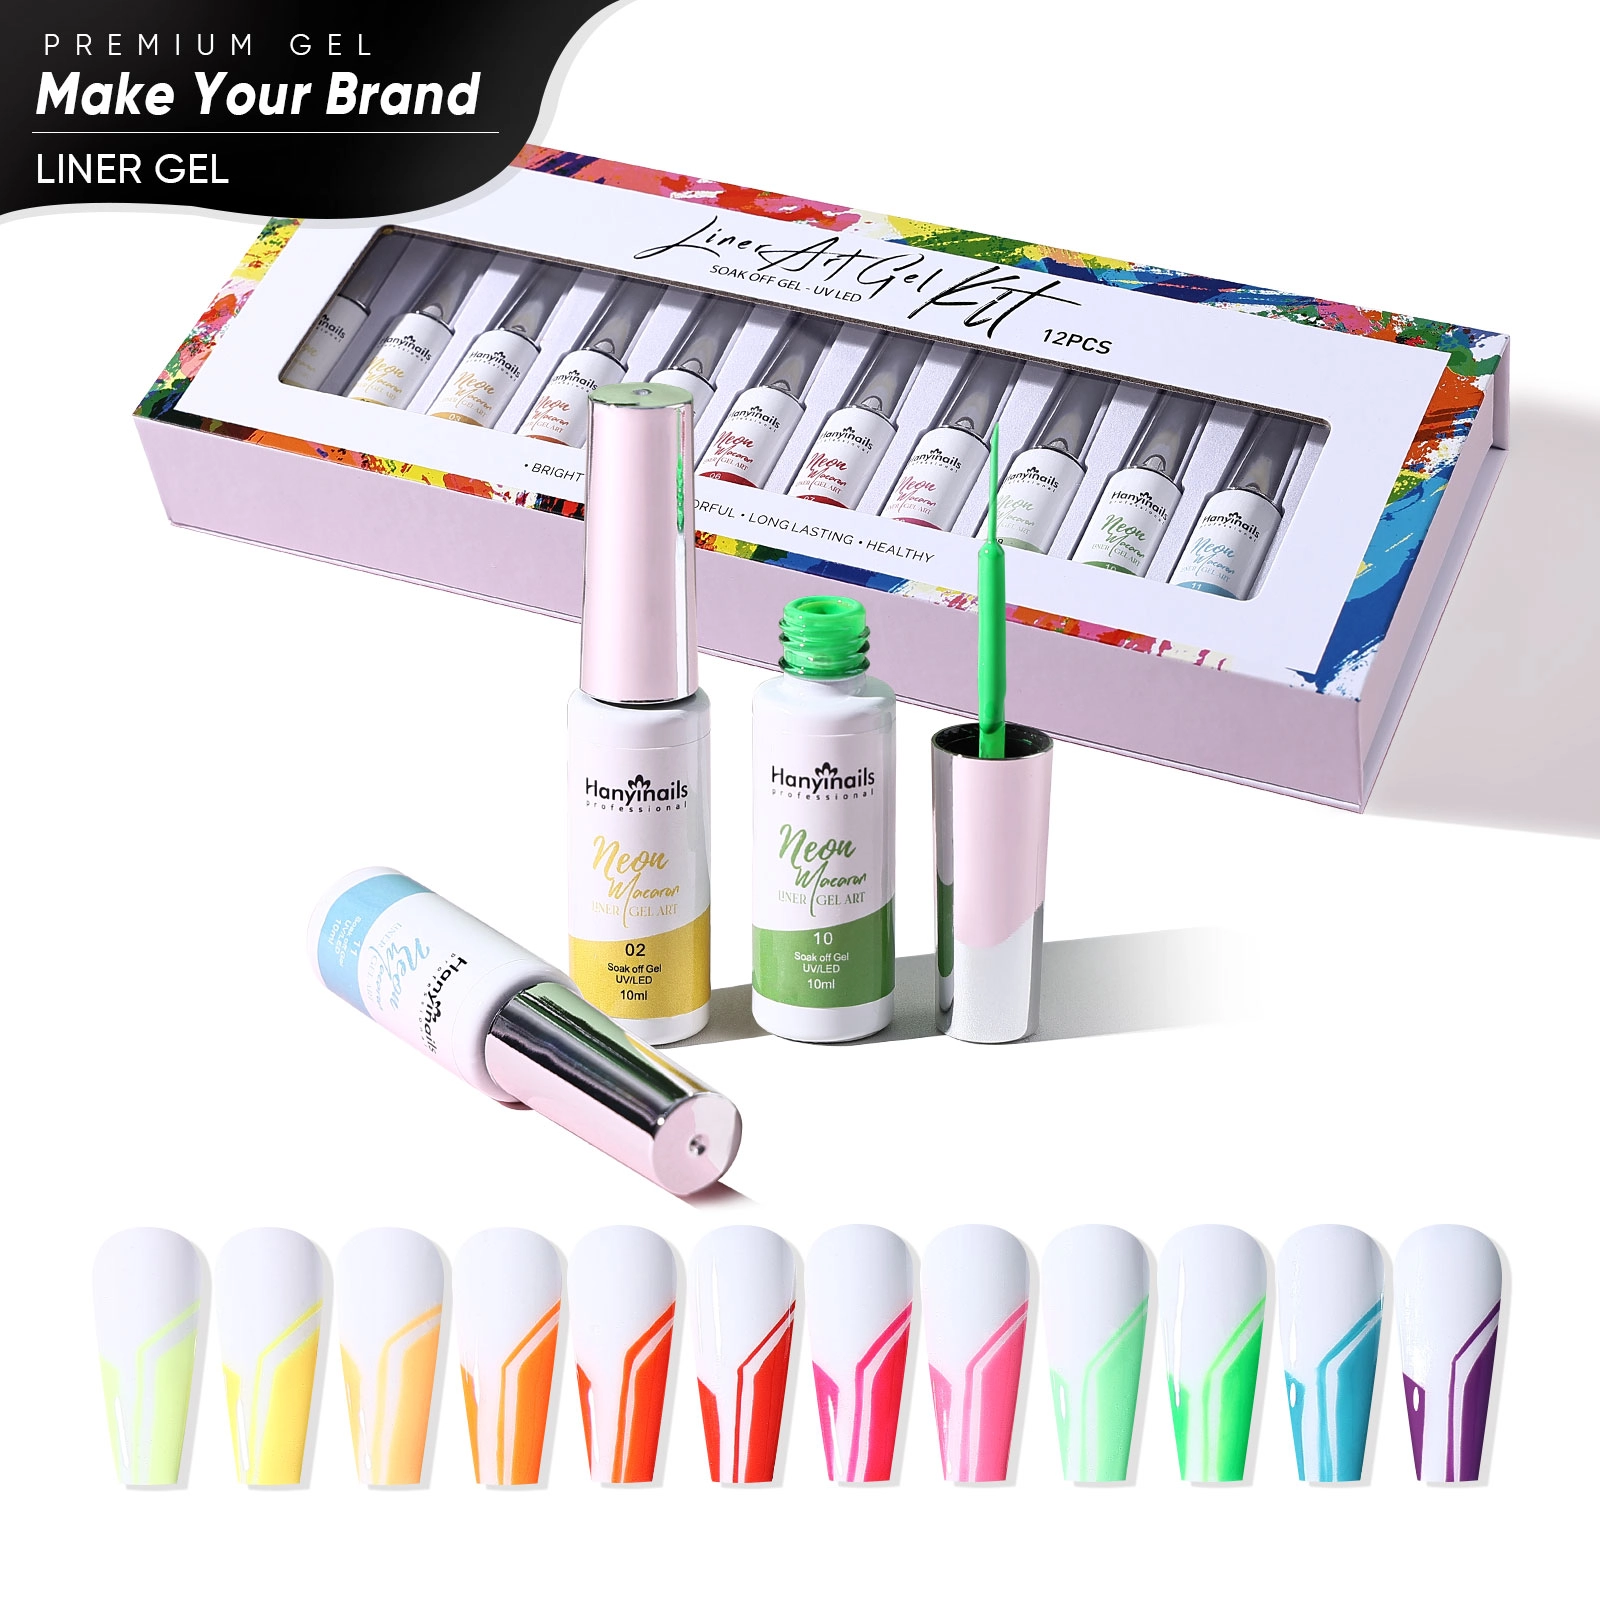
Key Advantages:
🎨 Vibrant & Opaque Colors: Rich, highly-pigmented formula for bold designs; 1-stroke coverage with smooth application; No fading or streaking.
🖌 Professional Precision Brush: Ultra-fine 0.5mm brush tip for detailed lines; flexible bristles for control and accuracy; perfect for French tips, florals, geometrics & more.
💎 Long-Lasting Wear: Chip-resistant for up to 3 weeks; cures in 30s under LED/UV lamp; compatible with all base/top coats.
🌈 Versatile Color Range: Includes essentials: Black, White, Red + trendy shades; Mixable for custom colors; Matte & glossy finishes
📦 Salon & DIY Friendly: Compact 10ml bottles (24-piece set); easy-to-store organizer box; ideal for professionals & home users.
Looking for a creative, premium, and reliable nail product manufacturer?
Whether you're an Amazon seller, Shopify store owner, chain store buyer, brand owner, distributor, wholesaler, or nail supply retailer — Hanyinails is your trusted partner for custom and wholesale nail solutions.
Hanyinails
Hanyinails
Hanyinails
Hanyinails