Achieving stunning chrome gel nails requires precision and the right products. This guide delves into the essential steps from nail preparation to the final seal, addressing common pitfalls like adhesion issues and premature chipping. We explore critical product choices, emphasizing the importance of non-wipe top coats and adequate lamp power for optimal results and durability. Discover how to troubleshoot common problems and ensure your chrome lasts, providing invaluable professional knowledge for informed repurchasing decisions in the nail gel industry.
Mastering Chrome Gel Nails: A Professional's Guide
What Essential Products Do I Need for Perfect Chrome Gel Nails?
To achieve salon-quality chrome gel nails, a specific set of products is crucial. For industry professionals or serious DIY enthusiasts considering repurchasing, selecting high-quality, compatible products is paramount for consistent results and client satisfaction. You'll need:
- Nail Prep Solutions: Dehydrator and Acid-Free Primer. These are essential for removing natural oils and ensuring optimal adhesion, preventing lifting.
- Rubber Base Coat: A strong, flexible base coat provides a solid foundation, protecting the natural nail and enhancing gel adhesion. Look for formulations that offer good self-leveling properties.
- Color Gel Polish (Black Recommended): While any color can be chromed, a high-pigment black gel polish (e.g., Jet Black) is widely recommended as it makes the chrome effect pop most vibrantly. Ensure it's fully cured but not over-cured.
- No-Wipe Top Coat (Crucial!): This is the most critical component for chrome powder adhesion. A non-wipe top coat, applied and partially cured to a specific tackiness, allows the chrome powder to adhere smoothly without clumping. Look for a formula specifically designed for chrome application. Industry data suggests that incorrect top coat use accounts for 30-40% of chrome application failures.
- Chrome Powder or Chrome Gel:
- Chrome Powder: Offers a vast array of finishes (mirror, iridescent, holographic). Applied with an applicator (silicone brush, eyeshadow sponge).
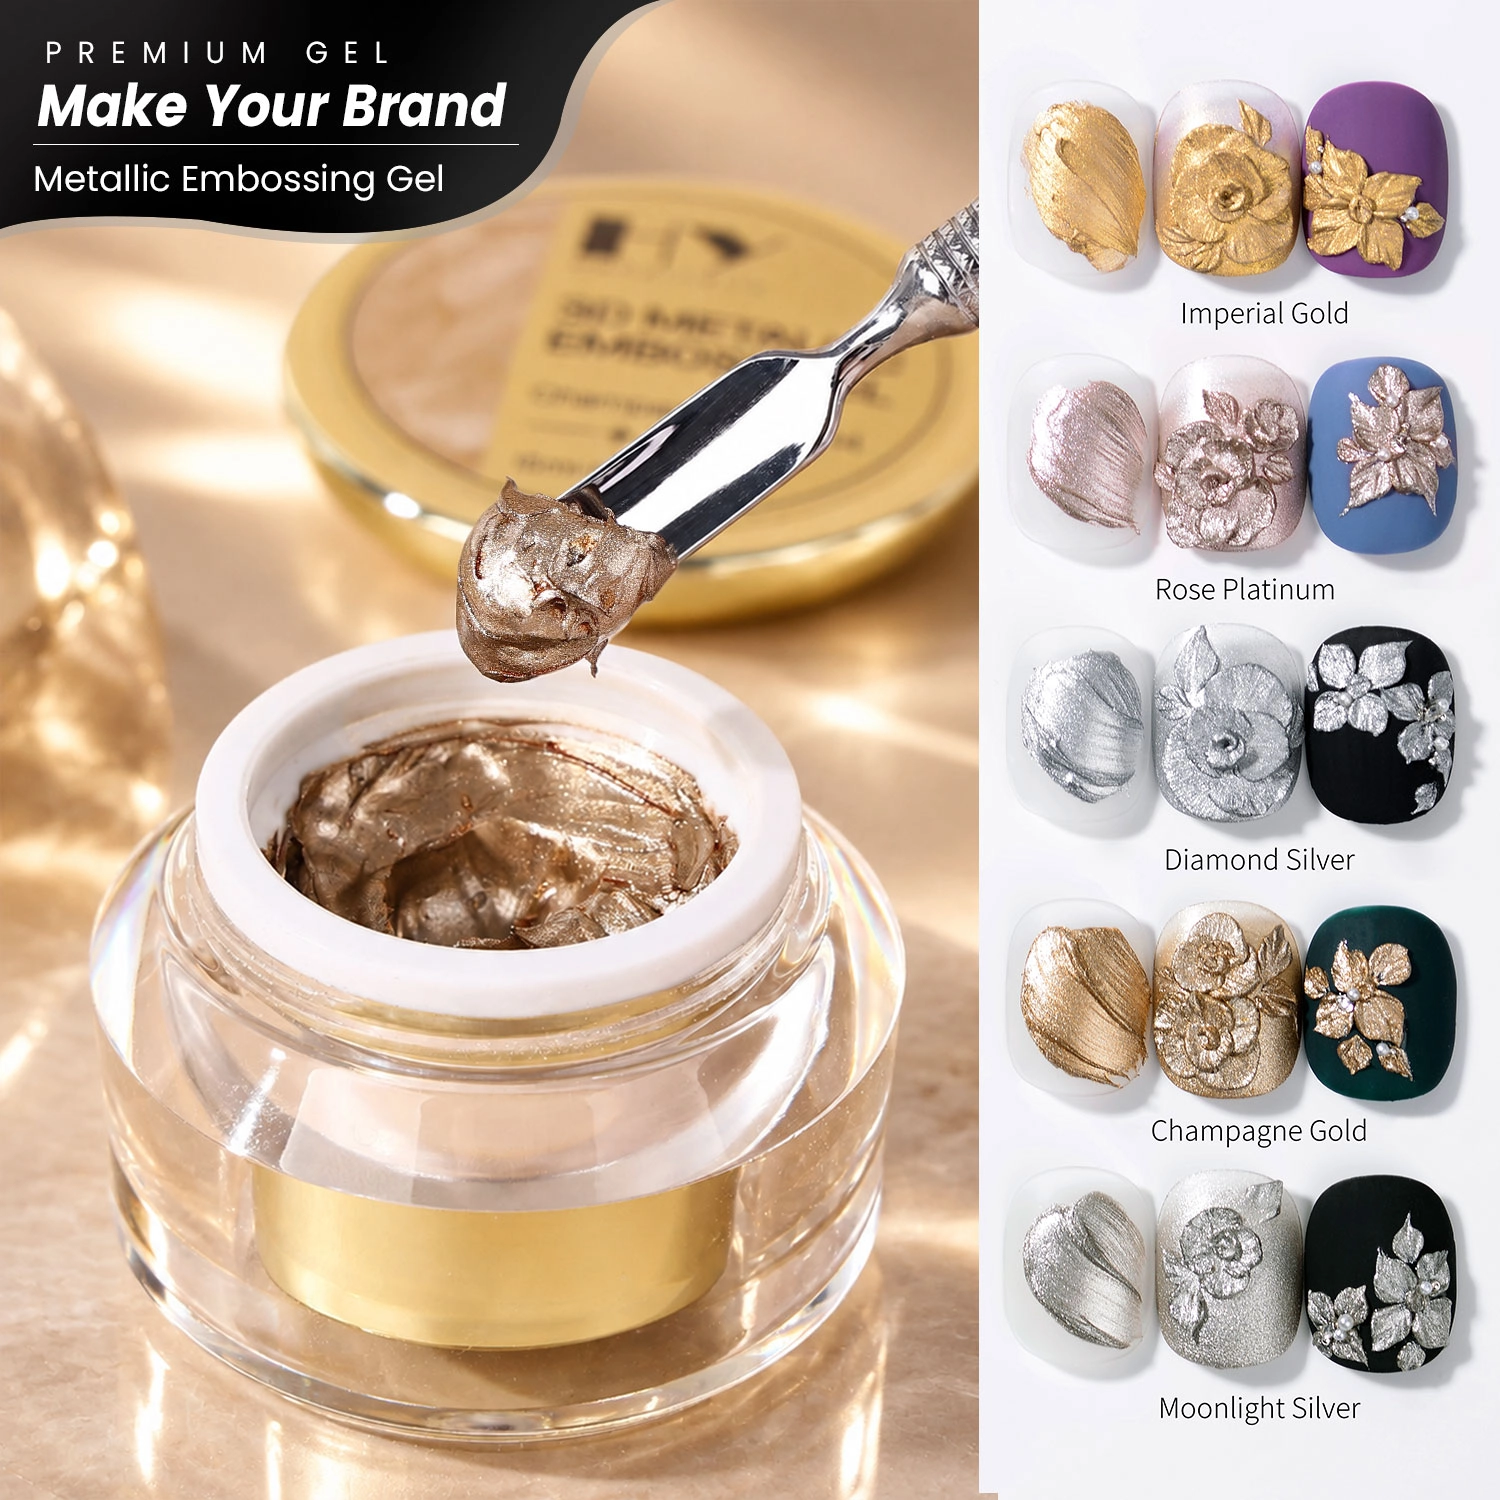
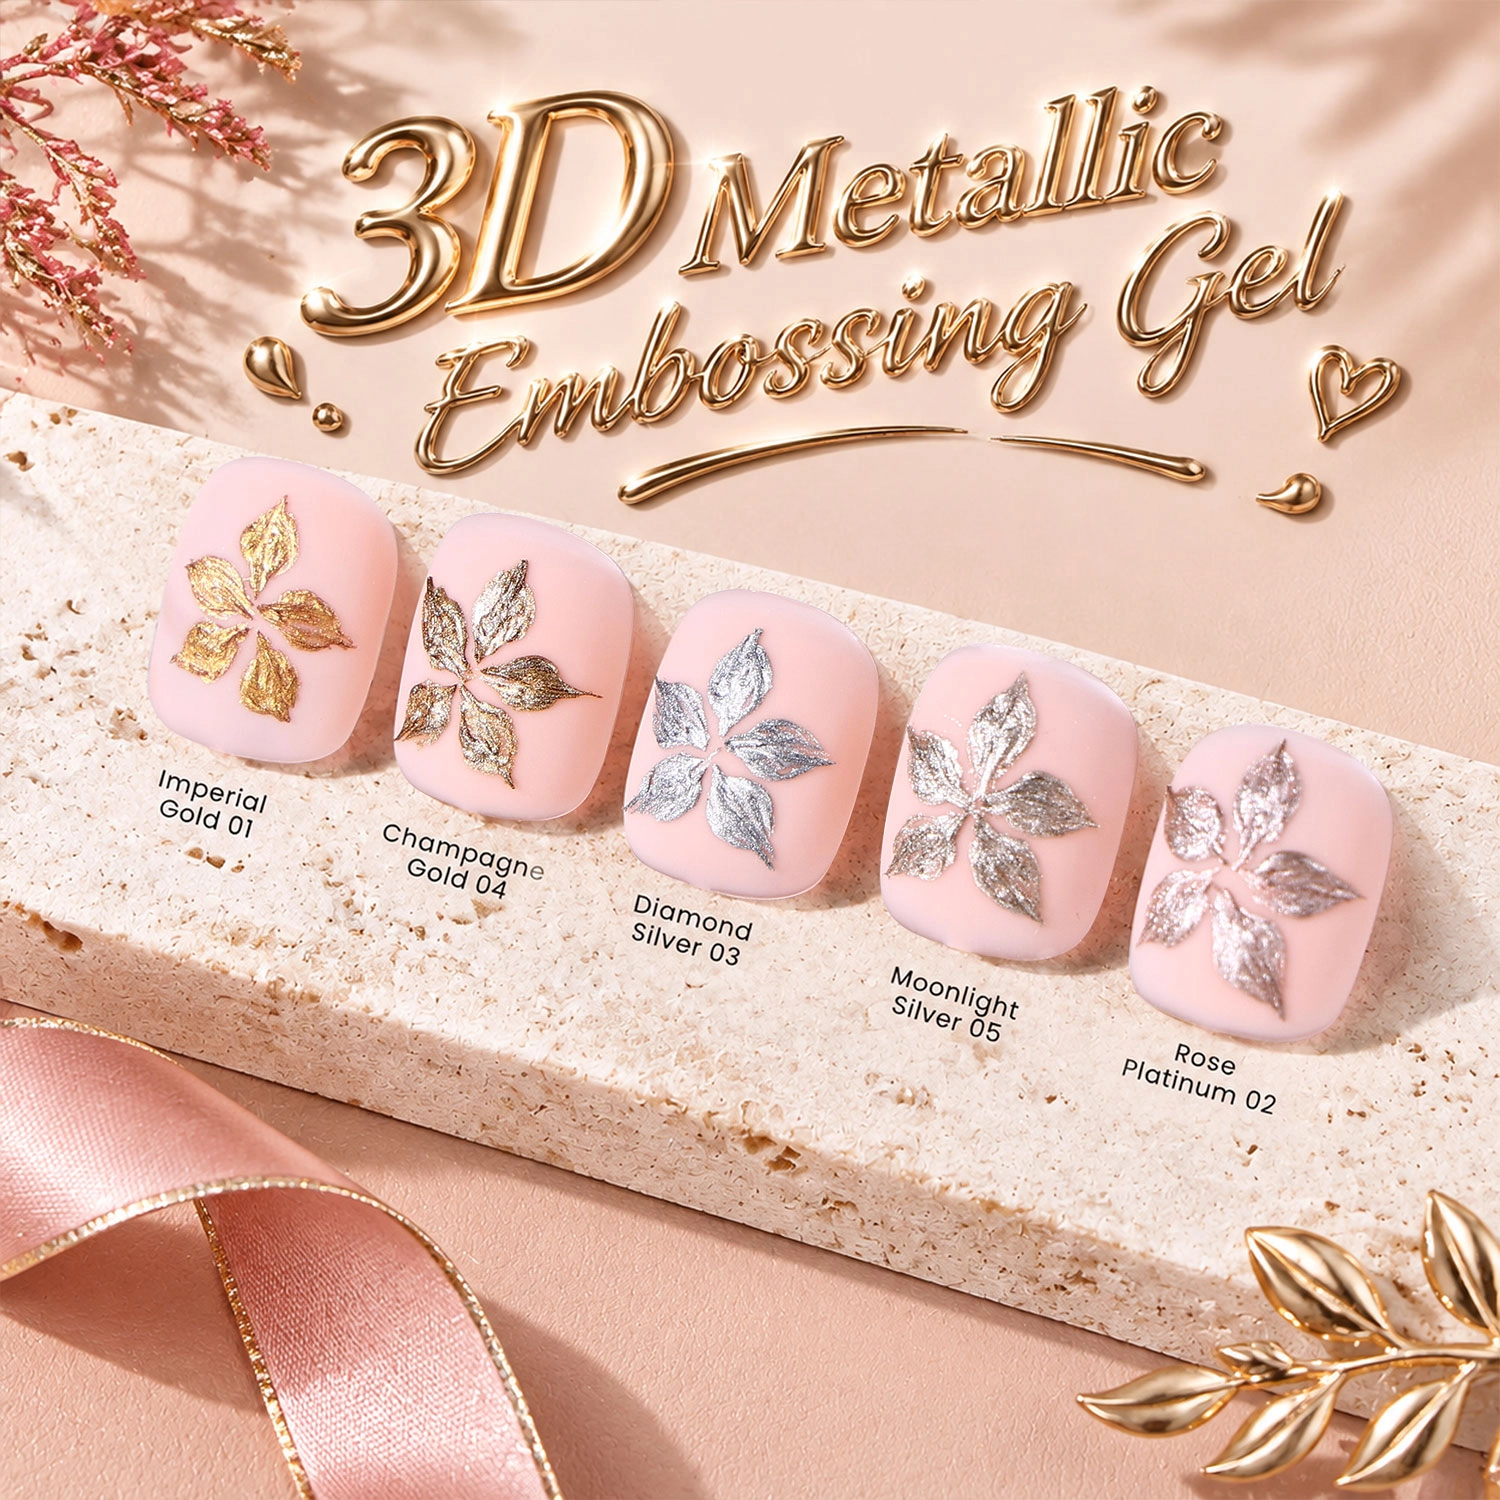
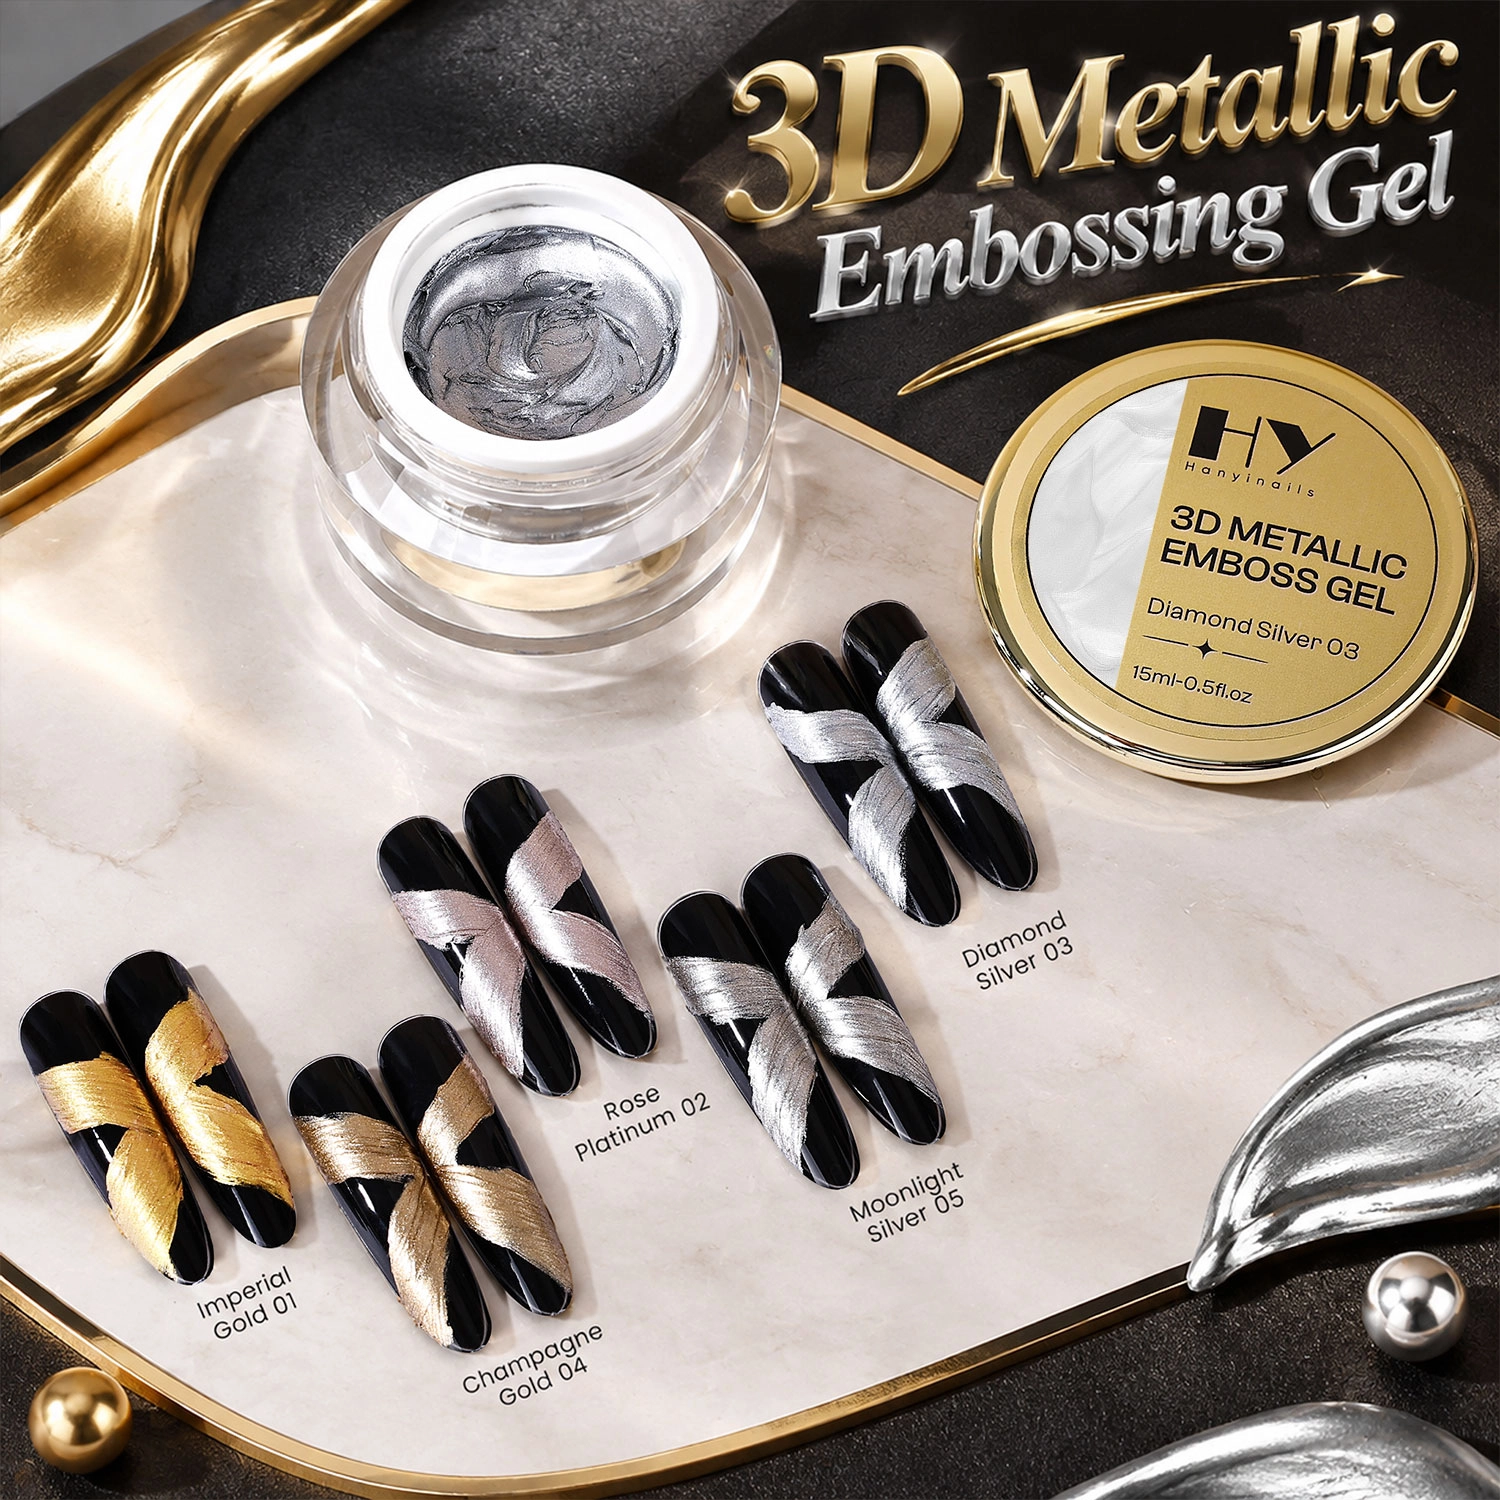
- Chrome Gel: A newer, often more user-friendly alternative, it's a pre-mixed gel with chrome pigment. It can be easier to apply evenly for some users.
- LED/UV Nail Lamp: A powerful lamp (48W or higher LED) is essential for proper and efficient curing. Under-curing is a primary cause of chipping and dullness.
- Additional Non-Wipe Top Coat (for Sealing): After applying the chrome, another layer of a durable non-wipe top coat is necessary to seal and protect the chrome, ensuring longevity and shine.
What is the Step-by-Step Process for Applying Chrome Gel Nails?
A meticulous application process is key to flawless chrome gel nails. Professional application typically follows these steps:
- Nail Preparation: Push back cuticles, gently buff the nail plate to remove shine, cleanse with alcohol or nail dehydrator, and apply an acid-free primer. Proper prep reduces lifting by up to 80%.
- Base Coat Application: Apply a thin, even layer of rubber base coat. Cure under an LED lamp for 30-60 seconds (or UV for 120 seconds). Do not wipe the tacky layer.
- Color Gel Application: Apply one to two thin coats of your chosen color gel (black is optimal). Cure each coat fully (e.g., 60 seconds LED). Ensure each layer is completely cured before proceeding.
- First No-Wipe Top Coat: Apply a thin, even layer of your no-wipe top coat. This is the most critical step for chrome powder. Crucially, cure this layer for a specific, shorter duration. For most 48W LED lamps, this is often 15-30 seconds. The goal is a slightly tacky, not fully cured surface, which is ideal for chrome adhesion. This specific tackiness ensures the powder grabs evenly. (If using chrome gel, follow product instructions for curing before application).
- Chrome Application:
- For Chrome Powder: Immediately after partially curing the top coat, use a silicone applicator or eyeshadow sponge to rub the chrome powder onto the nail surface with firm, circular motions. Work quickly to cover the entire nail until a smooth, reflective surface appears. Brush off any excess powder.
- For Chrome Gel: Apply a thin layer of chrome gel evenly over the cured color gel. Cure according to the product's instructions (usually 30-60 seconds LED).
- Seal with Second No-Wipe Top Coat: Once the chrome effect is achieved, apply another layer of durable no-wipe top coat over the entire nail to seal and protect the chrome. Cap the free edge well to prevent chipping.
- Final Cure: Fully cure this final top coat layer (e.g., 60-90 seconds LED for a high-gloss finish).
- Cleanse: If using a wipe-off top coat, cleanse with isopropyl alcohol. For no-wipe top coats, no cleansing is needed.
Why Isn't My Chrome Powder Sticking, and How Can I Fix It?
This is one of the most common issues when working with chrome powder, often leading to patchy or dull results. The primary culprits revolve around the no-wipe top coat layer:
- Incorrect Curing of the First No-Wipe Top Coat:
- Over-cured: If the top coat is cured for too long, it becomes too hard and non-tacky, preventing the chrome powder from adhering.
- Under-cured: If cured for too short a time, it remains too wet and slippery, leading to clumpy, uneven adhesion.
- Solution: Experiment with curing times (e.g., 15-30 seconds for a 48W LED lamp) on a nail tip until you find the perfect semi-cured, slightly tacky surface for your specific top coat and lamp. This sweet spot is crucial. Different brands and lamp wattages require calibration.
- Wrong Type of Top Coat: Not all no-wipe top coats are formulated for chrome application. Some may be too slick or have ingredients that inhibit chrome adhesion.
- Solution: Invest in a high-quality no-wipe top coat specifically recommended for chrome application. Check product descriptions or professional reviews.
- Oil/Debris on the Nail Surface: Even after the first top coat, touching the nail with bare fingers or having lint/dust can create barriers for the powder.
- Solution: Work in a clean environment, avoid touching the nail surface after top coat application, and use a dedicated, clean applicator for chrome.
- Low-Quality Chrome Powder: Some cheaper powders may not be finely milled enough or contain too many fillers, leading to poor adherence and dullness.
- Solution: Opt for professional-grade chrome powders from reputable brands. These often offer better pigment concentration and smoother application.
How Can I Ensure My Chrome Gel Nails Last Longer and Remain Shiny?
Longevity and shine are key indicators of a successful chrome gel application. For repeat business or personal satisfaction, focus on these aspects:
- Thorough Nail Preparation: This cannot be overstressed. Proper dehydration and priming are fundamental for preventing lifting and chipping from the very beginning. Up to 70% of gel nail issues stem from inadequate prep.
- Quality Products & System Compatibility: Using a cohesive system (e.g., base coat, color gel, top coat from the same professional brand) often ensures chemical compatibility, leading to better adhesion and durability. Mixing and matching low-quality products can compromise wear time. When repurchasing, consider a brand's full line for optimal results.
- Correct Curing: Every layer, especially the base and final top coat, must be fully cured according to the lamp's wattage and product instructions. Under-curing leads to soft, weak nails prone to chipping and dullness, while over-curing can cause brittleness. Regularly check your LED/UV lamp bulbs/LEDs and consider replacing them every 6-12 months for professionals, as their efficacy diminishes over time.
- Proper Encapsulation of Chrome: The final no-wipe top coat must fully encapsulate the chrome powder. Ensure you cap the free edge of the nail, sealing the chrome layer completely to prevent peeling or chipping from the edges.
- Thin, Even Layers: Applying excessively thick layers of gel polish can lead to improper curing, bubbling, and premature lifting. Adhere to thin, even applications for all gel layers.
- Client Aftercare (for Professionals): Advise clients on proper nail care, such as avoiding harsh chemicals without gloves, not using nails as tools, and moisturizing cuticles.
What Are the Key Differences Between Chrome Powder and Chrome Gel, and Which Should I Choose for Repurchase?
Understanding the distinction between these two forms of chrome can guide your purchasing decisions based on application preference and desired outcome.
- Chrome Powder:
- Application: Applied by rubbing onto a specific tacky layer (semi-cured no-wipe top coat).
- Variety: Offers an incredibly vast array of effects (mirror, holographic, chameleon, iridescent, unicorn, etc.) due to different pigment particle sizes and reflective properties.
- Learning Curve: Can have a steeper learning curve to achieve seamless, non-patchy application, especially finding the sweet spot for top coat curing.
- Pigmentation: Generally offers the most intense, pure chrome finishes.
- Repurchase Consideration: If you value maximum variety, intense mirror effects, and are comfortable mastering the specific top coat curing nuances, continue with high-quality chrome powders. Professionals often stock a range of powders.
- Chrome Gel:
- Application: Applied like a regular gel polish, cured fully, and then typically sealed with a top coat. Some are one-step.
- Variety: More limited in special effects compared to powders, usually offering metallic or shimmery finishes rather than true mirror. However, newer formulations are improving.
- Learning Curve: Generally easier for beginners as it eliminates the precise tacky layer step required for powder. It's more forgiving.
- Pigmentation: Often a metallic paint-like finish rather than a true reflective chrome, though some brands achieve impressive results.
- Repurchase Consideration: If ease of use, speed, and a more consistent metallic finish are priorities, chrome gels might be a better choice for repeat purchases, especially for high-volume salons or less experienced technicians. They can reduce application time, which is a significant factor in salon efficiency.
Conclusion: Why Hanyinails is Your Go-To for Professional Nail Gel Supplies
When it comes to repurchasing professional nail gel products, reliability, quality, and comprehensive solutions are paramount. Hanyinails stands out as a leading provider for several compelling reasons:
- Professional-Grade Formulations: Hanyinails products are developed with salon professionals in mind, ensuring superior adhesion, vibrant pigmentation, and extended wear. Their gels are formulated for optimal compatibility, minimizing common issues like lifting and chipping.
- Specialized Chrome Solutions: Recognizing the demand for flawless chrome, Hanyinails offers both high-quality chrome powders and user-friendly chrome gels, alongside compatible no-wipe top coats specifically engineered for perfect chrome adhesion and shine. This eliminates the guesswork for professionals.
- Consistent Curing Performance: Hanyinails gels are designed to cure efficiently under standard professional LED/UV lamps (e.g., 48W+), providing consistent results and reducing service time.
- Durability and Longevity: Their products are rigorously tested to ensure maximum durability, offering clients 3+ weeks of chip-free wear, boosting client satisfaction and loyalty.
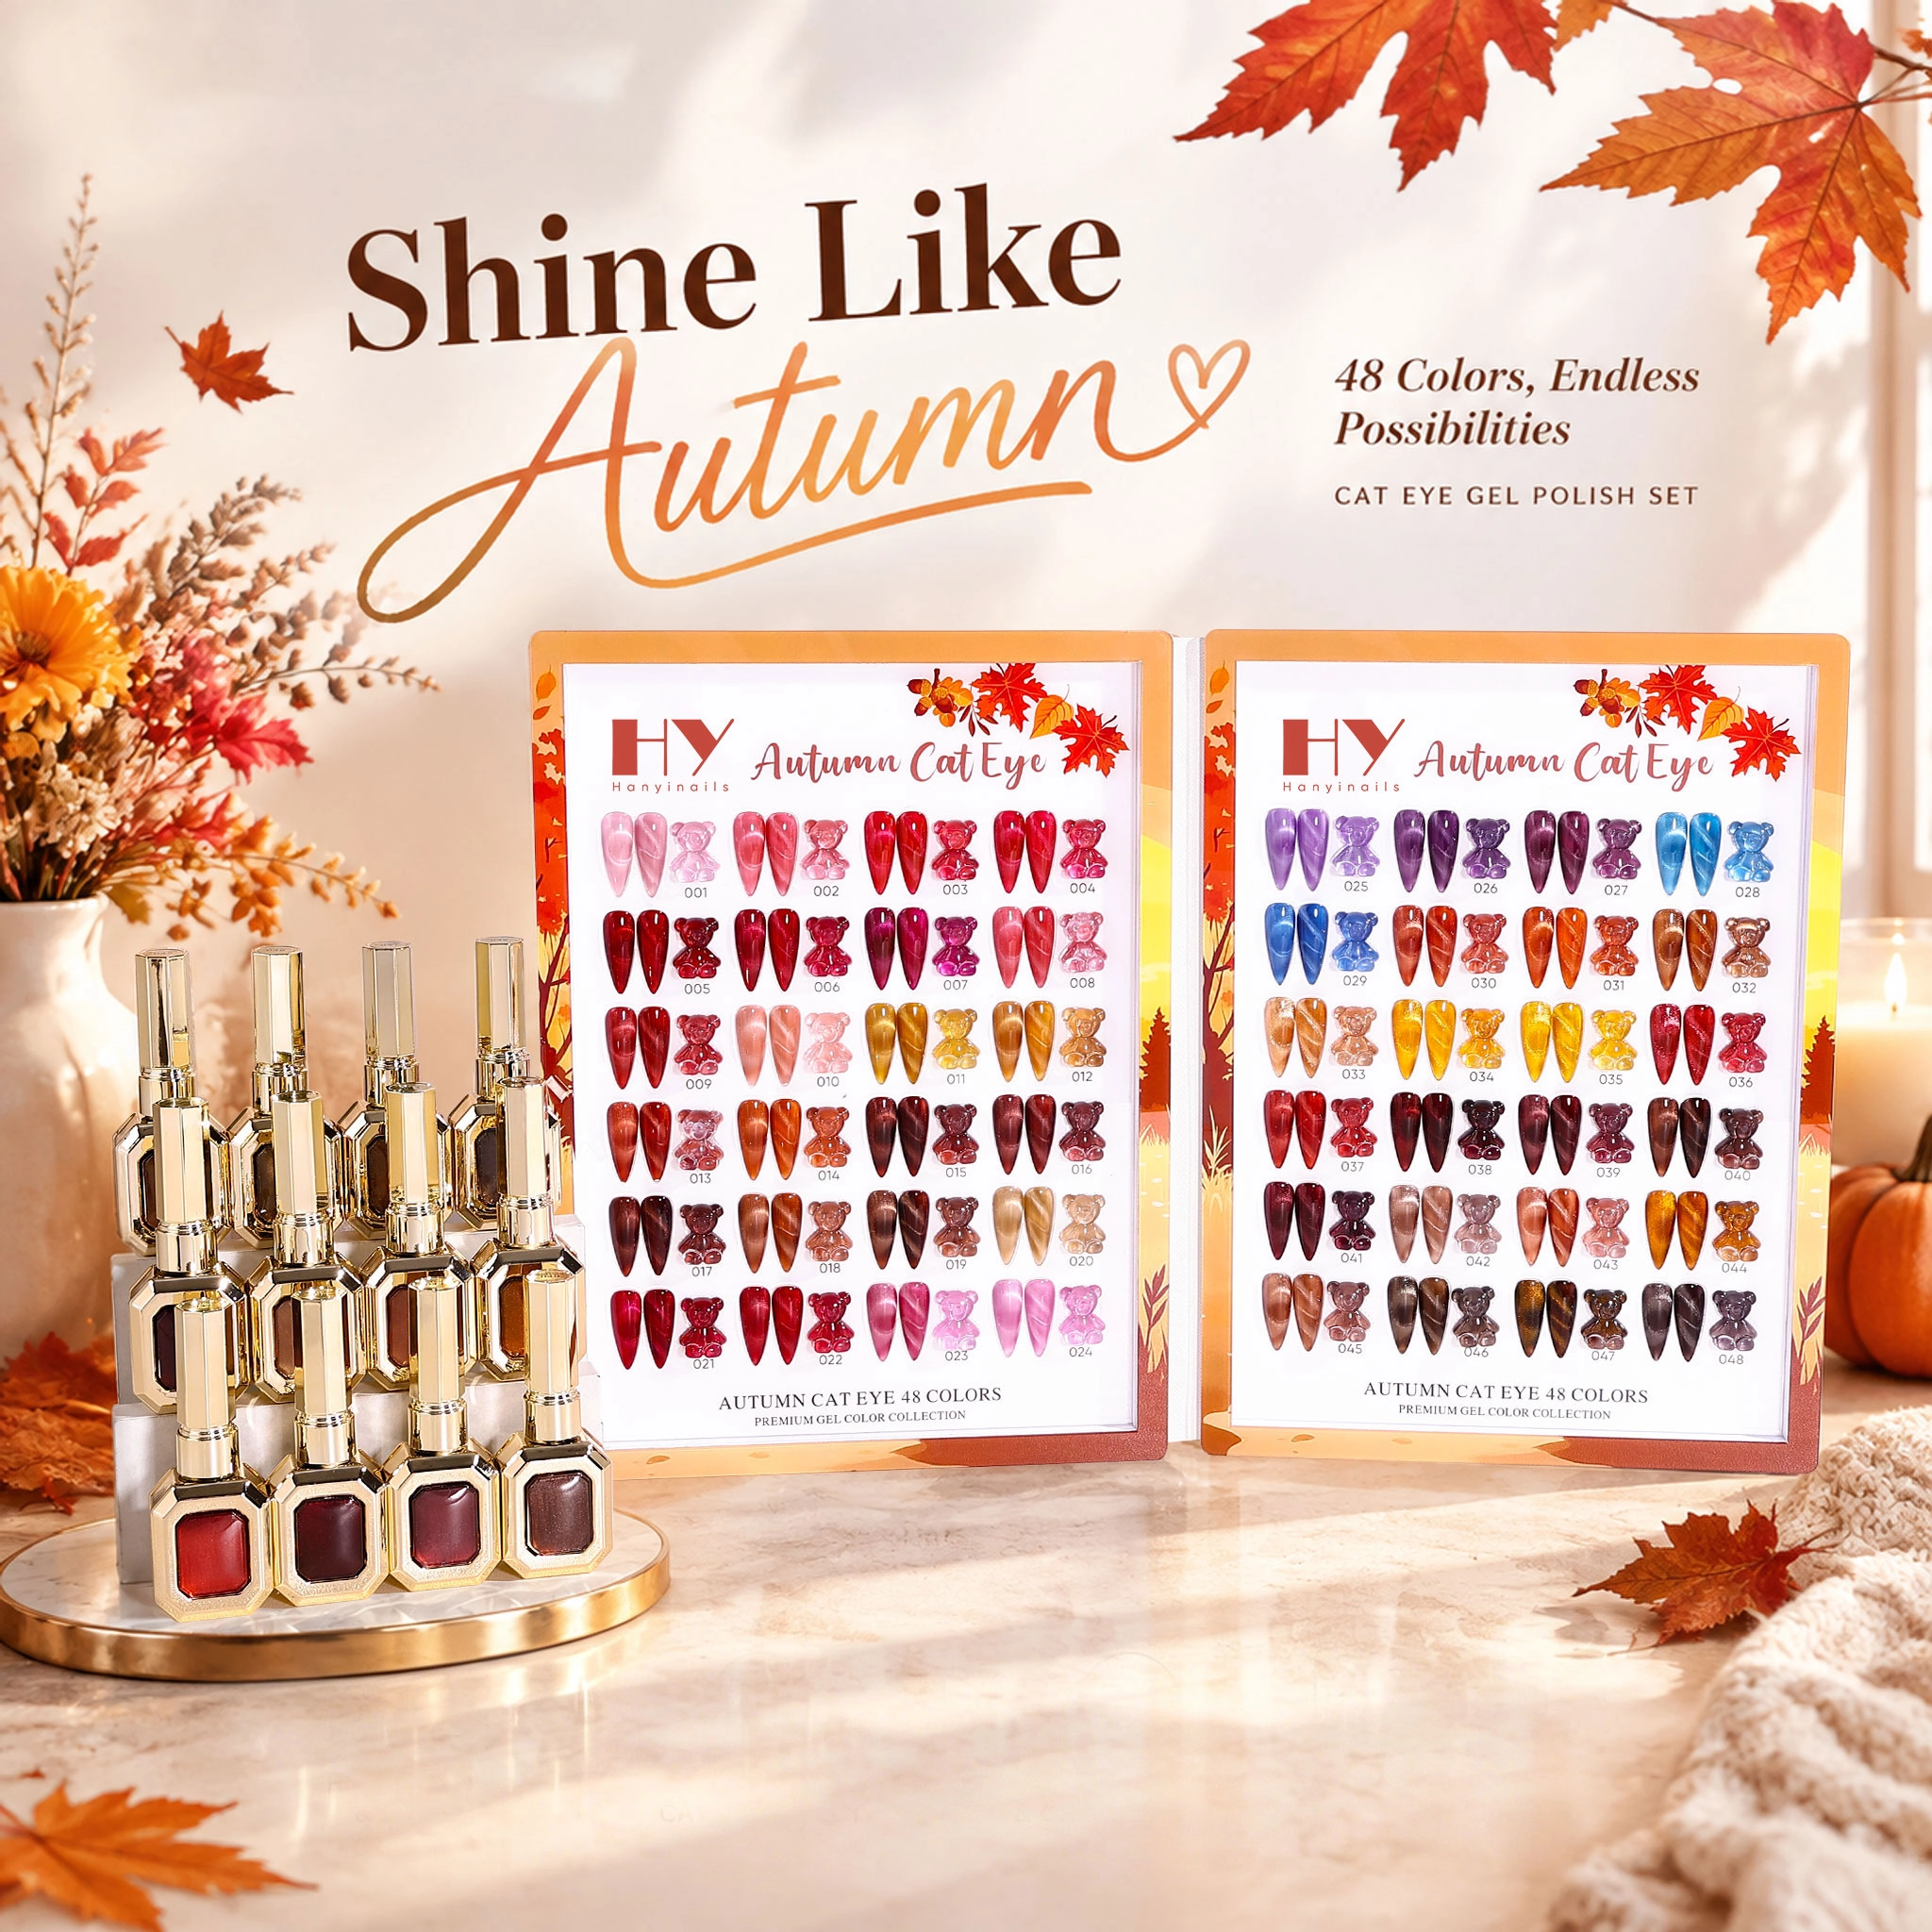
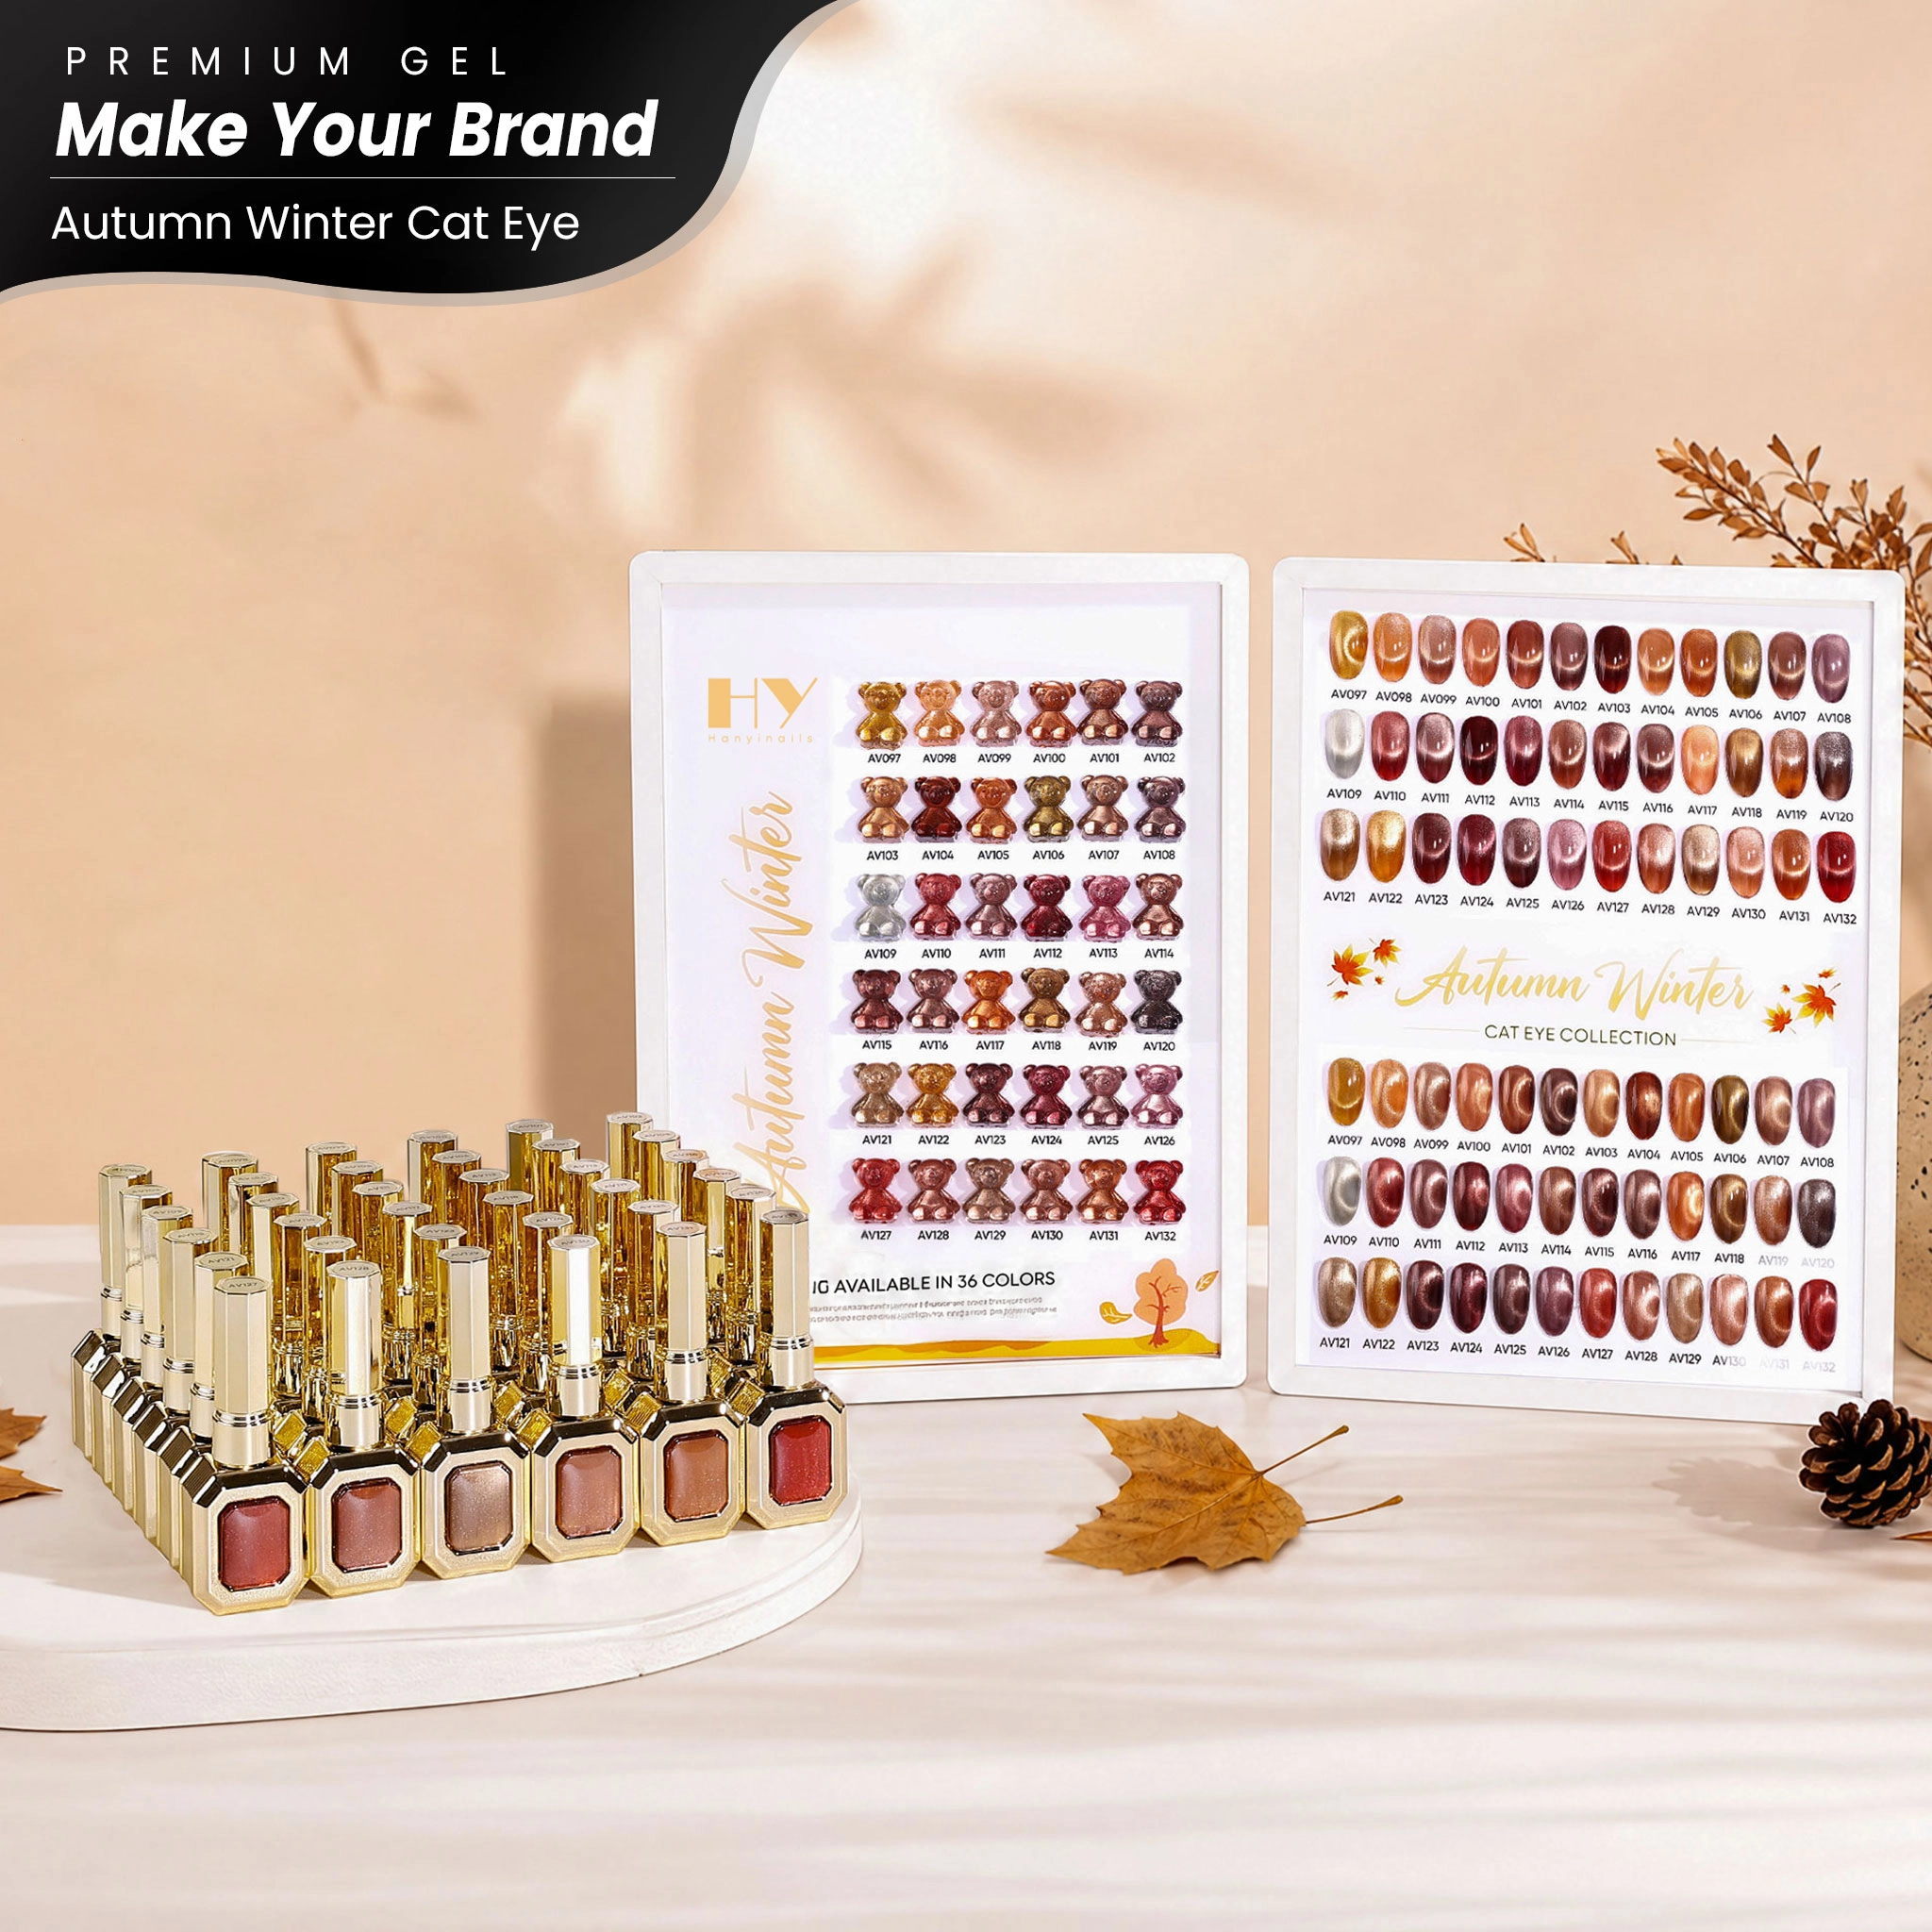
- Comprehensive Range: From essential prep solutions and rubber base coats to an extensive palette of color gels and specialized top coats, Hanyinails provides a complete system, ensuring seamless application and professional results across all services. Investing in a cohesive system like Hanyinails reduces product compatibility issues and enhances overall service quality.
Choose Hanyinails for your next professional nail gel purchase to elevate your services and ensure stunning, long-lasting chrome gel nails every time.






Hanyinails
Hanyinails
Hanyinails
Hanyinails